• My Party Planning Process; Alice In Wonderland Halloween Edition

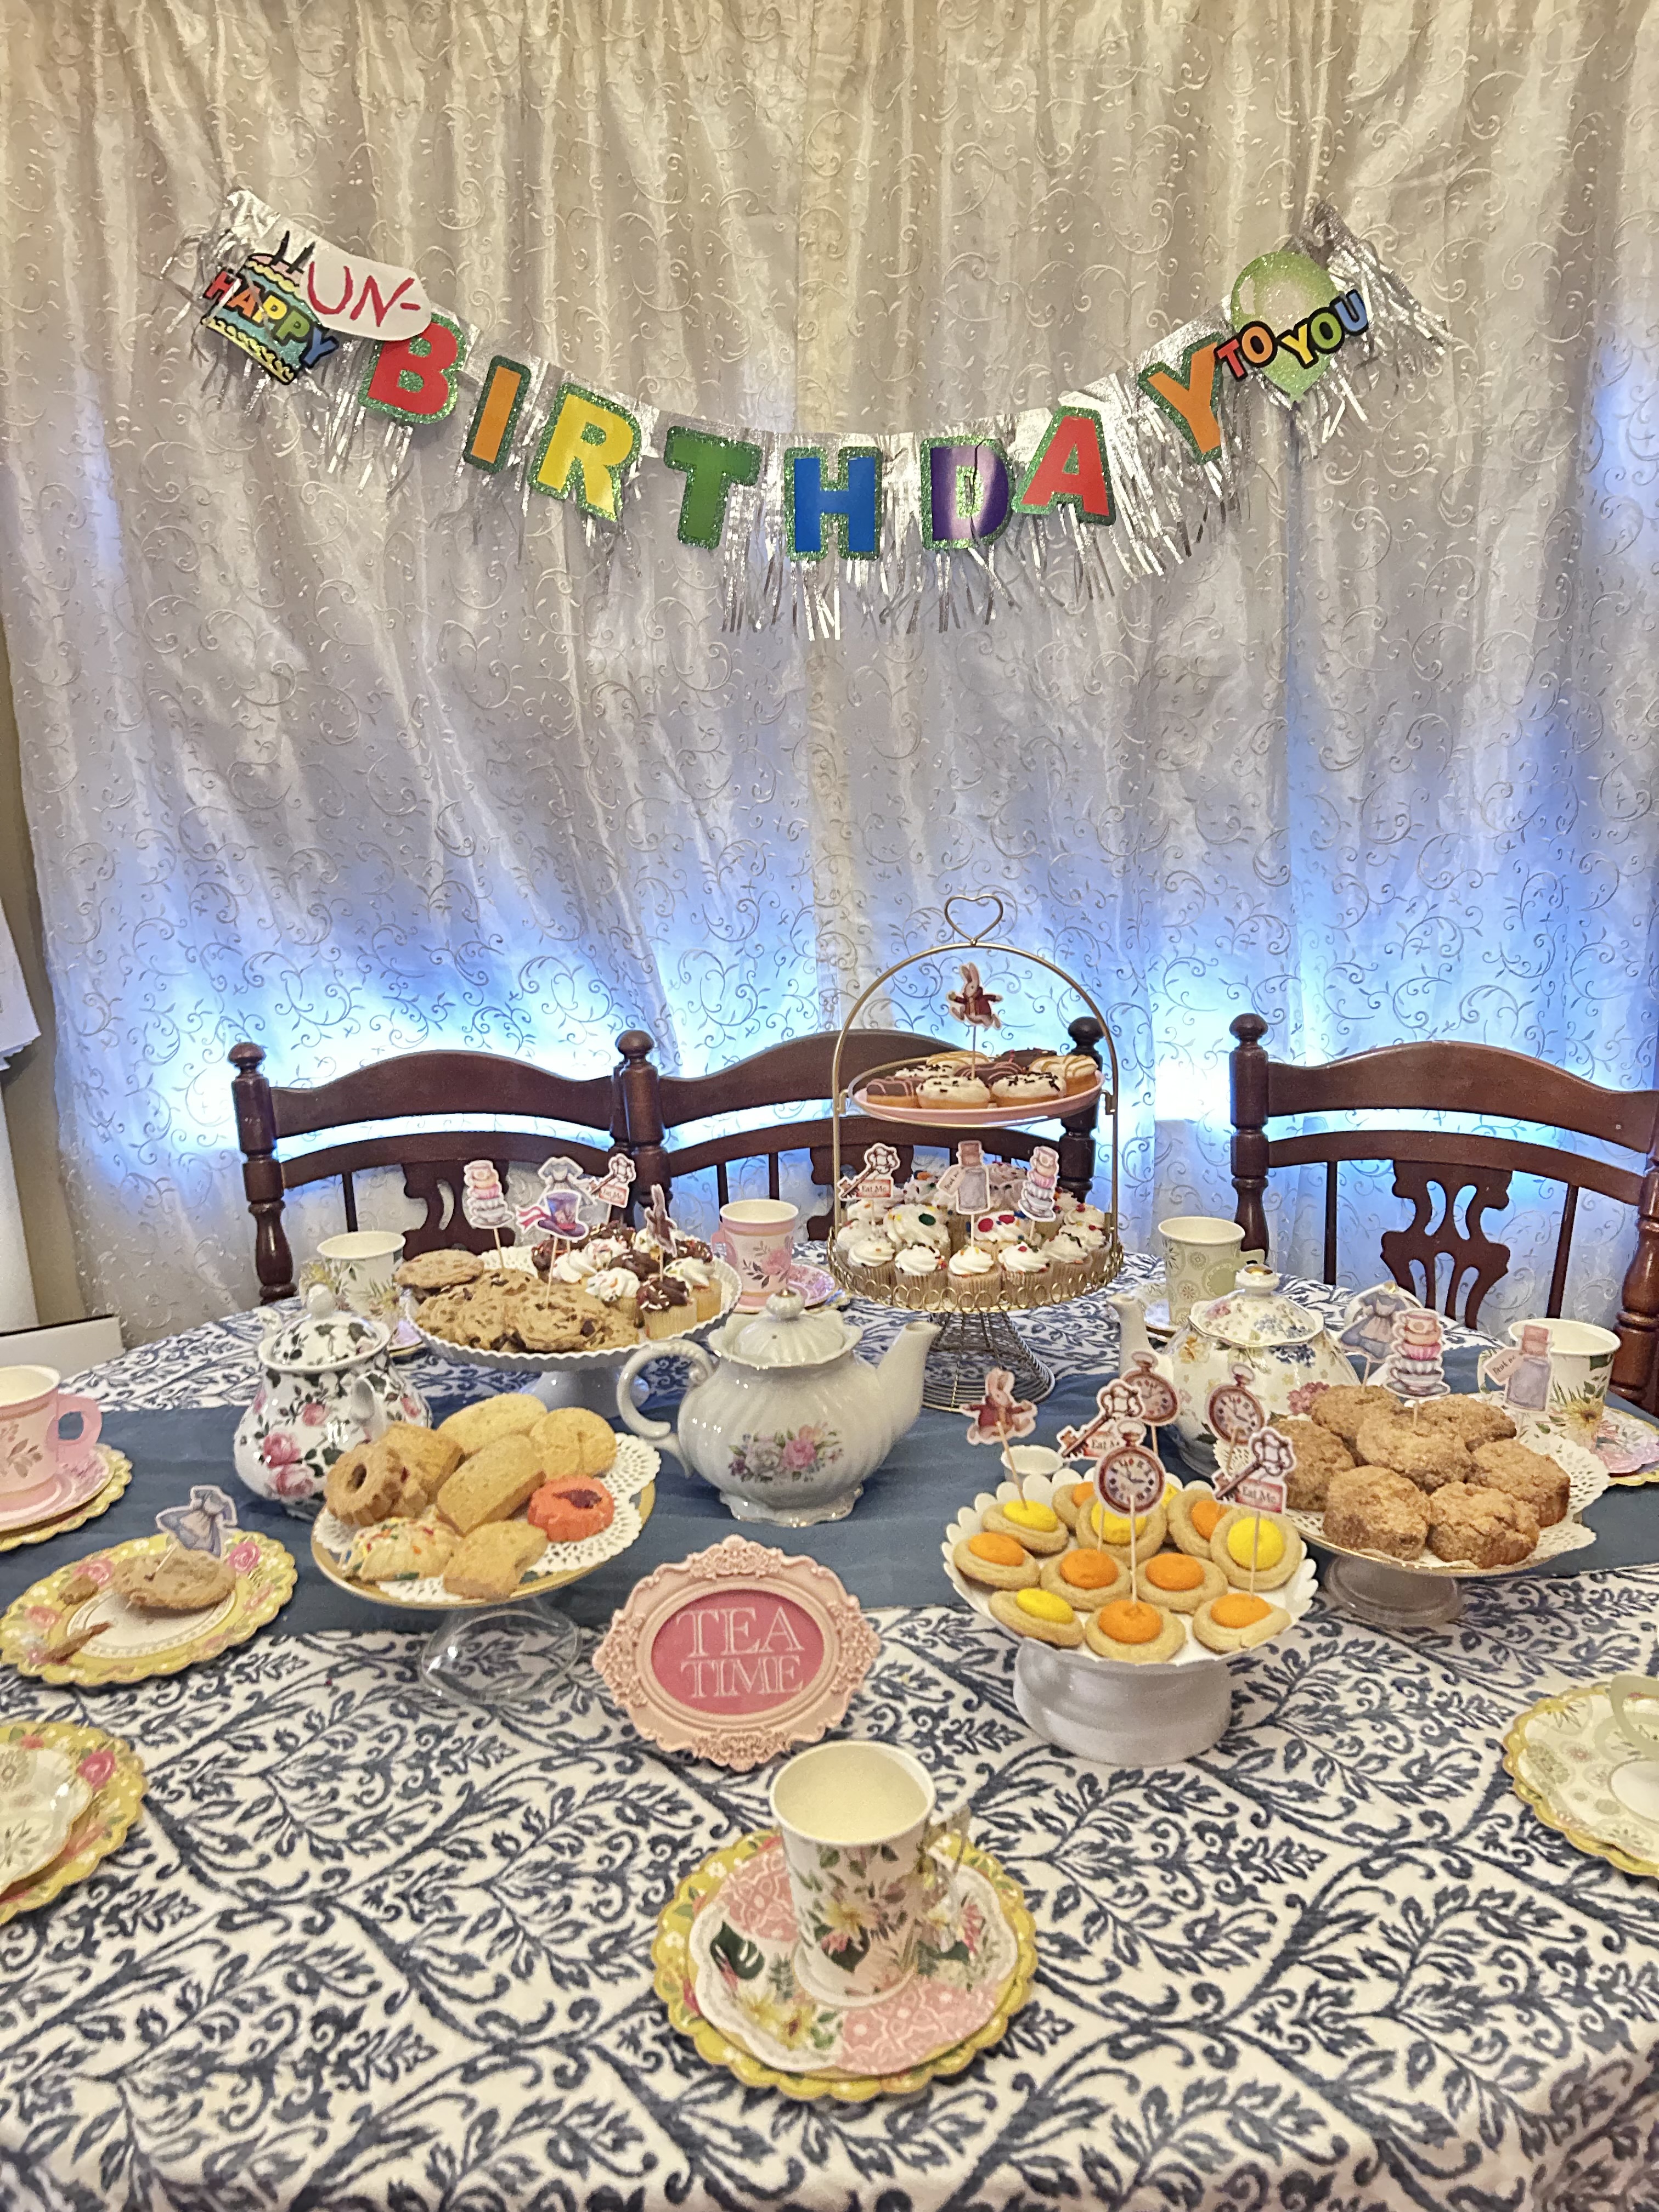
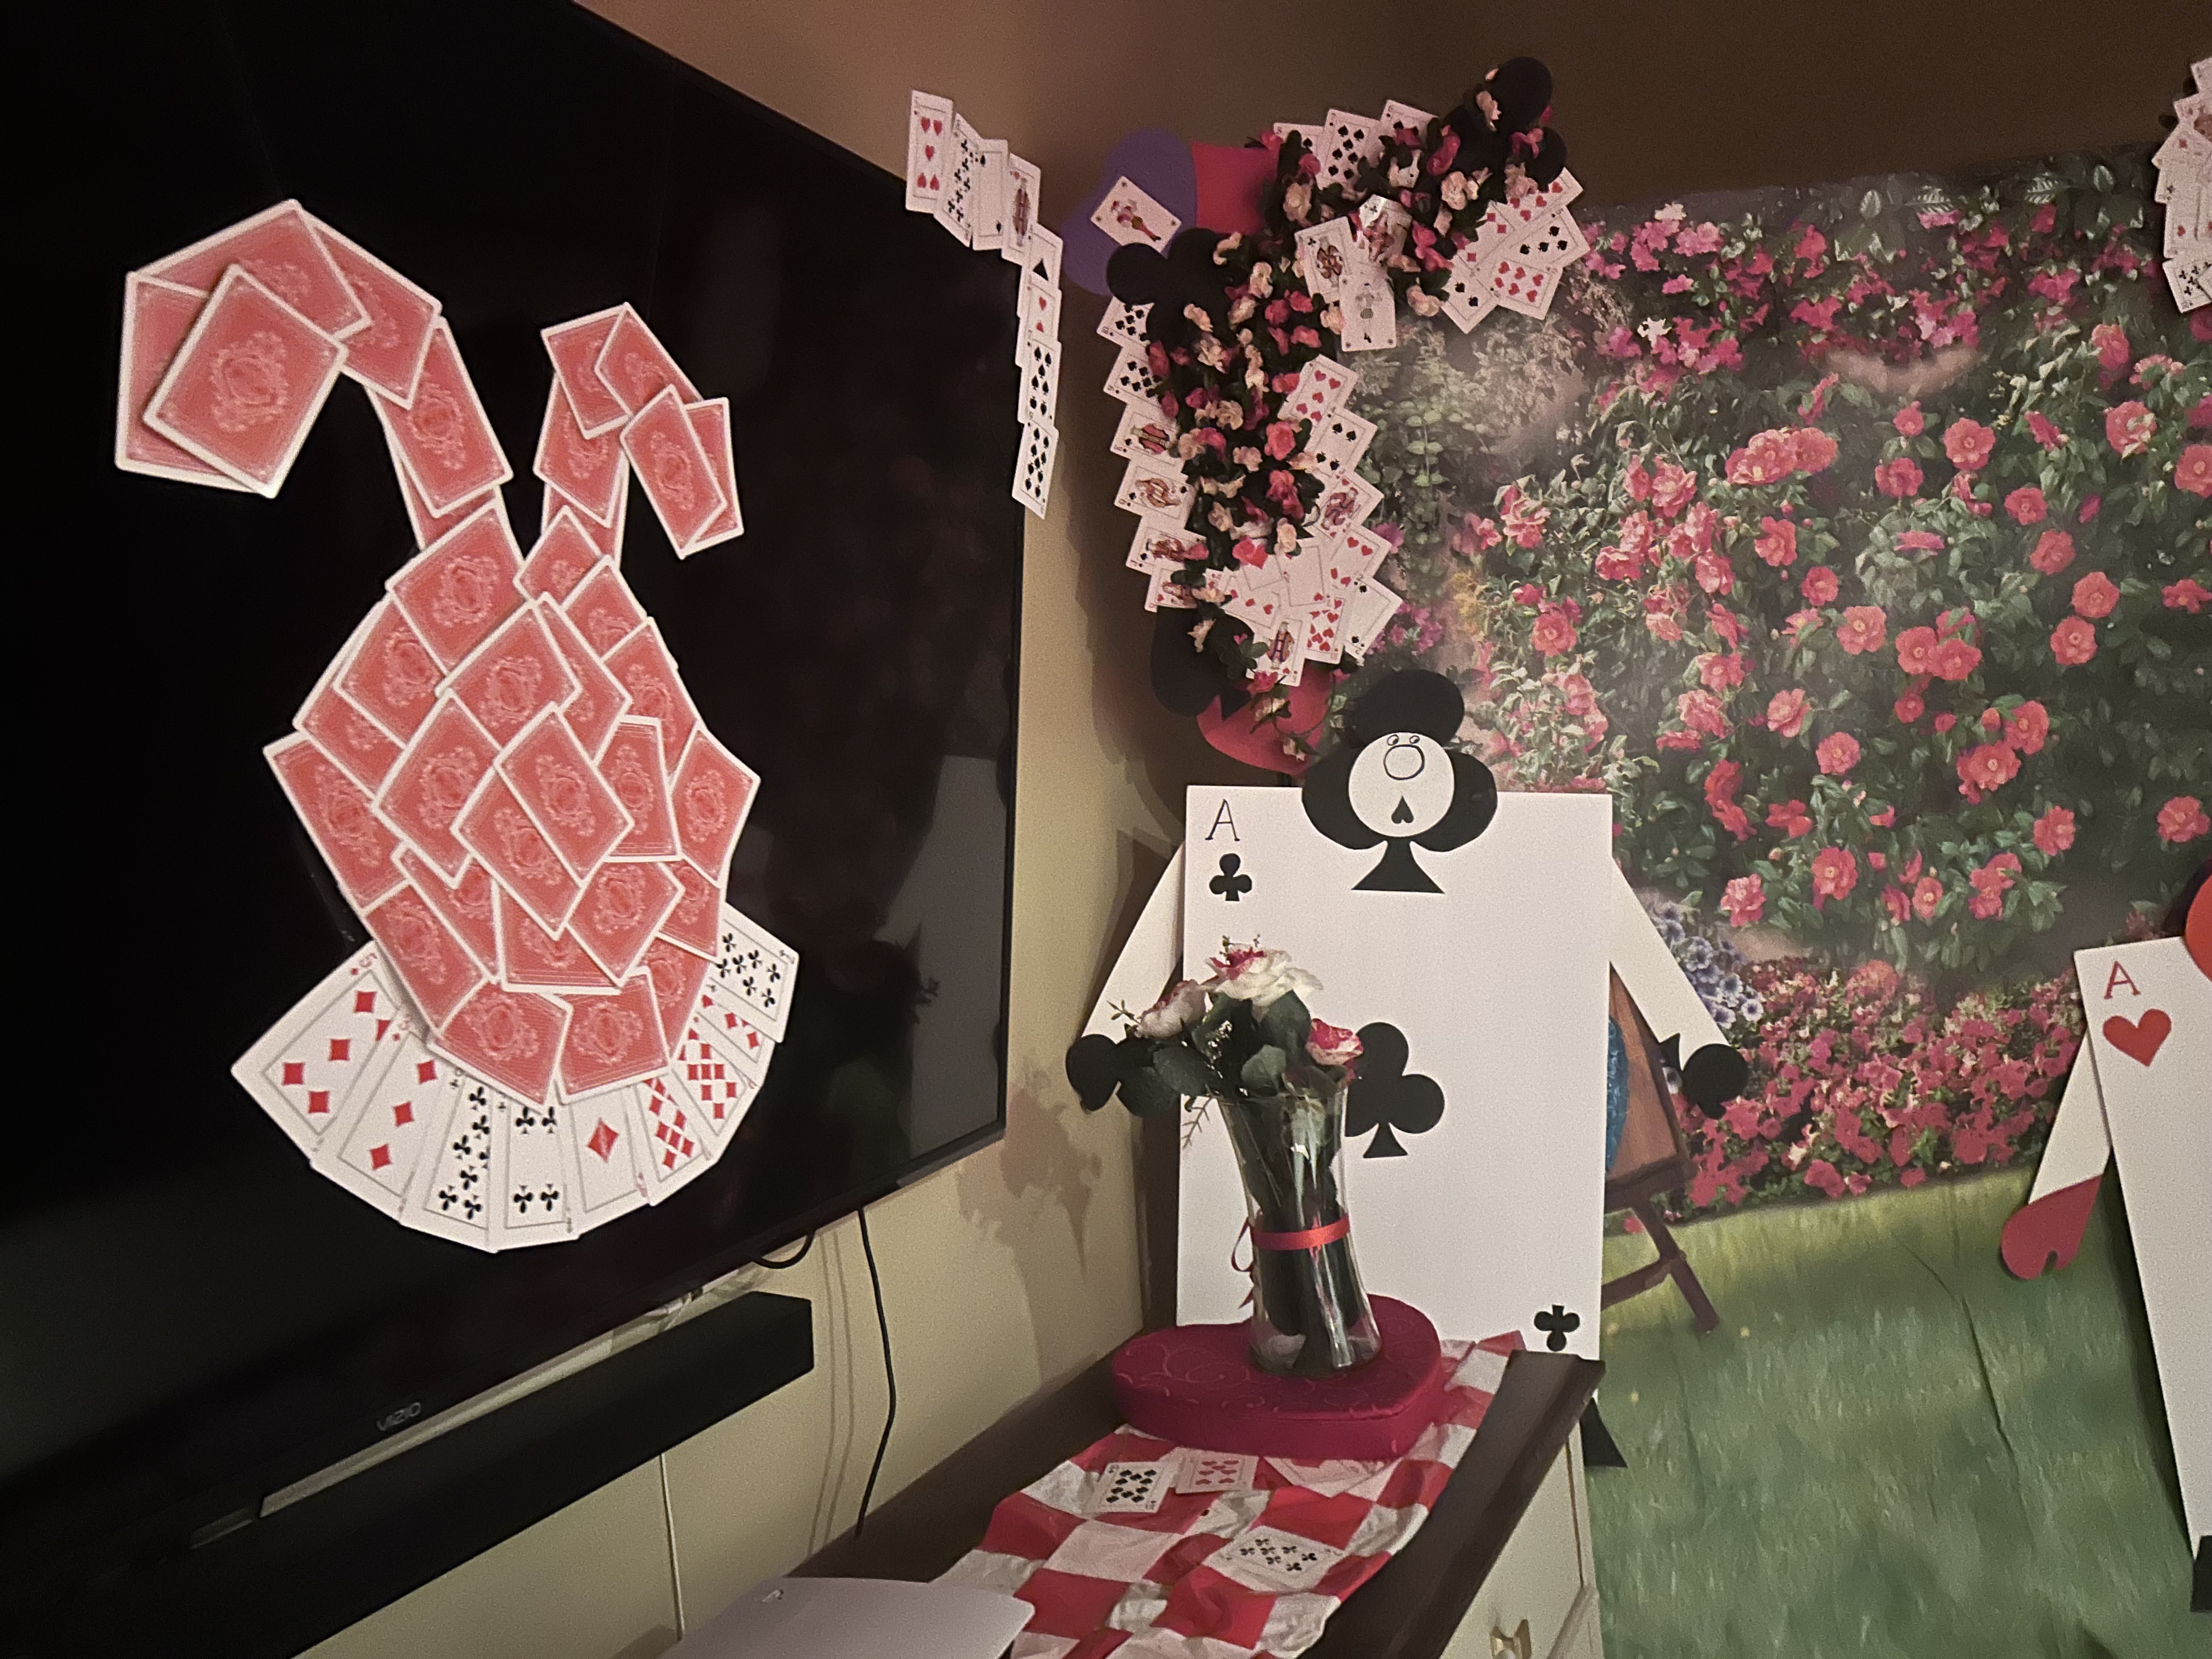
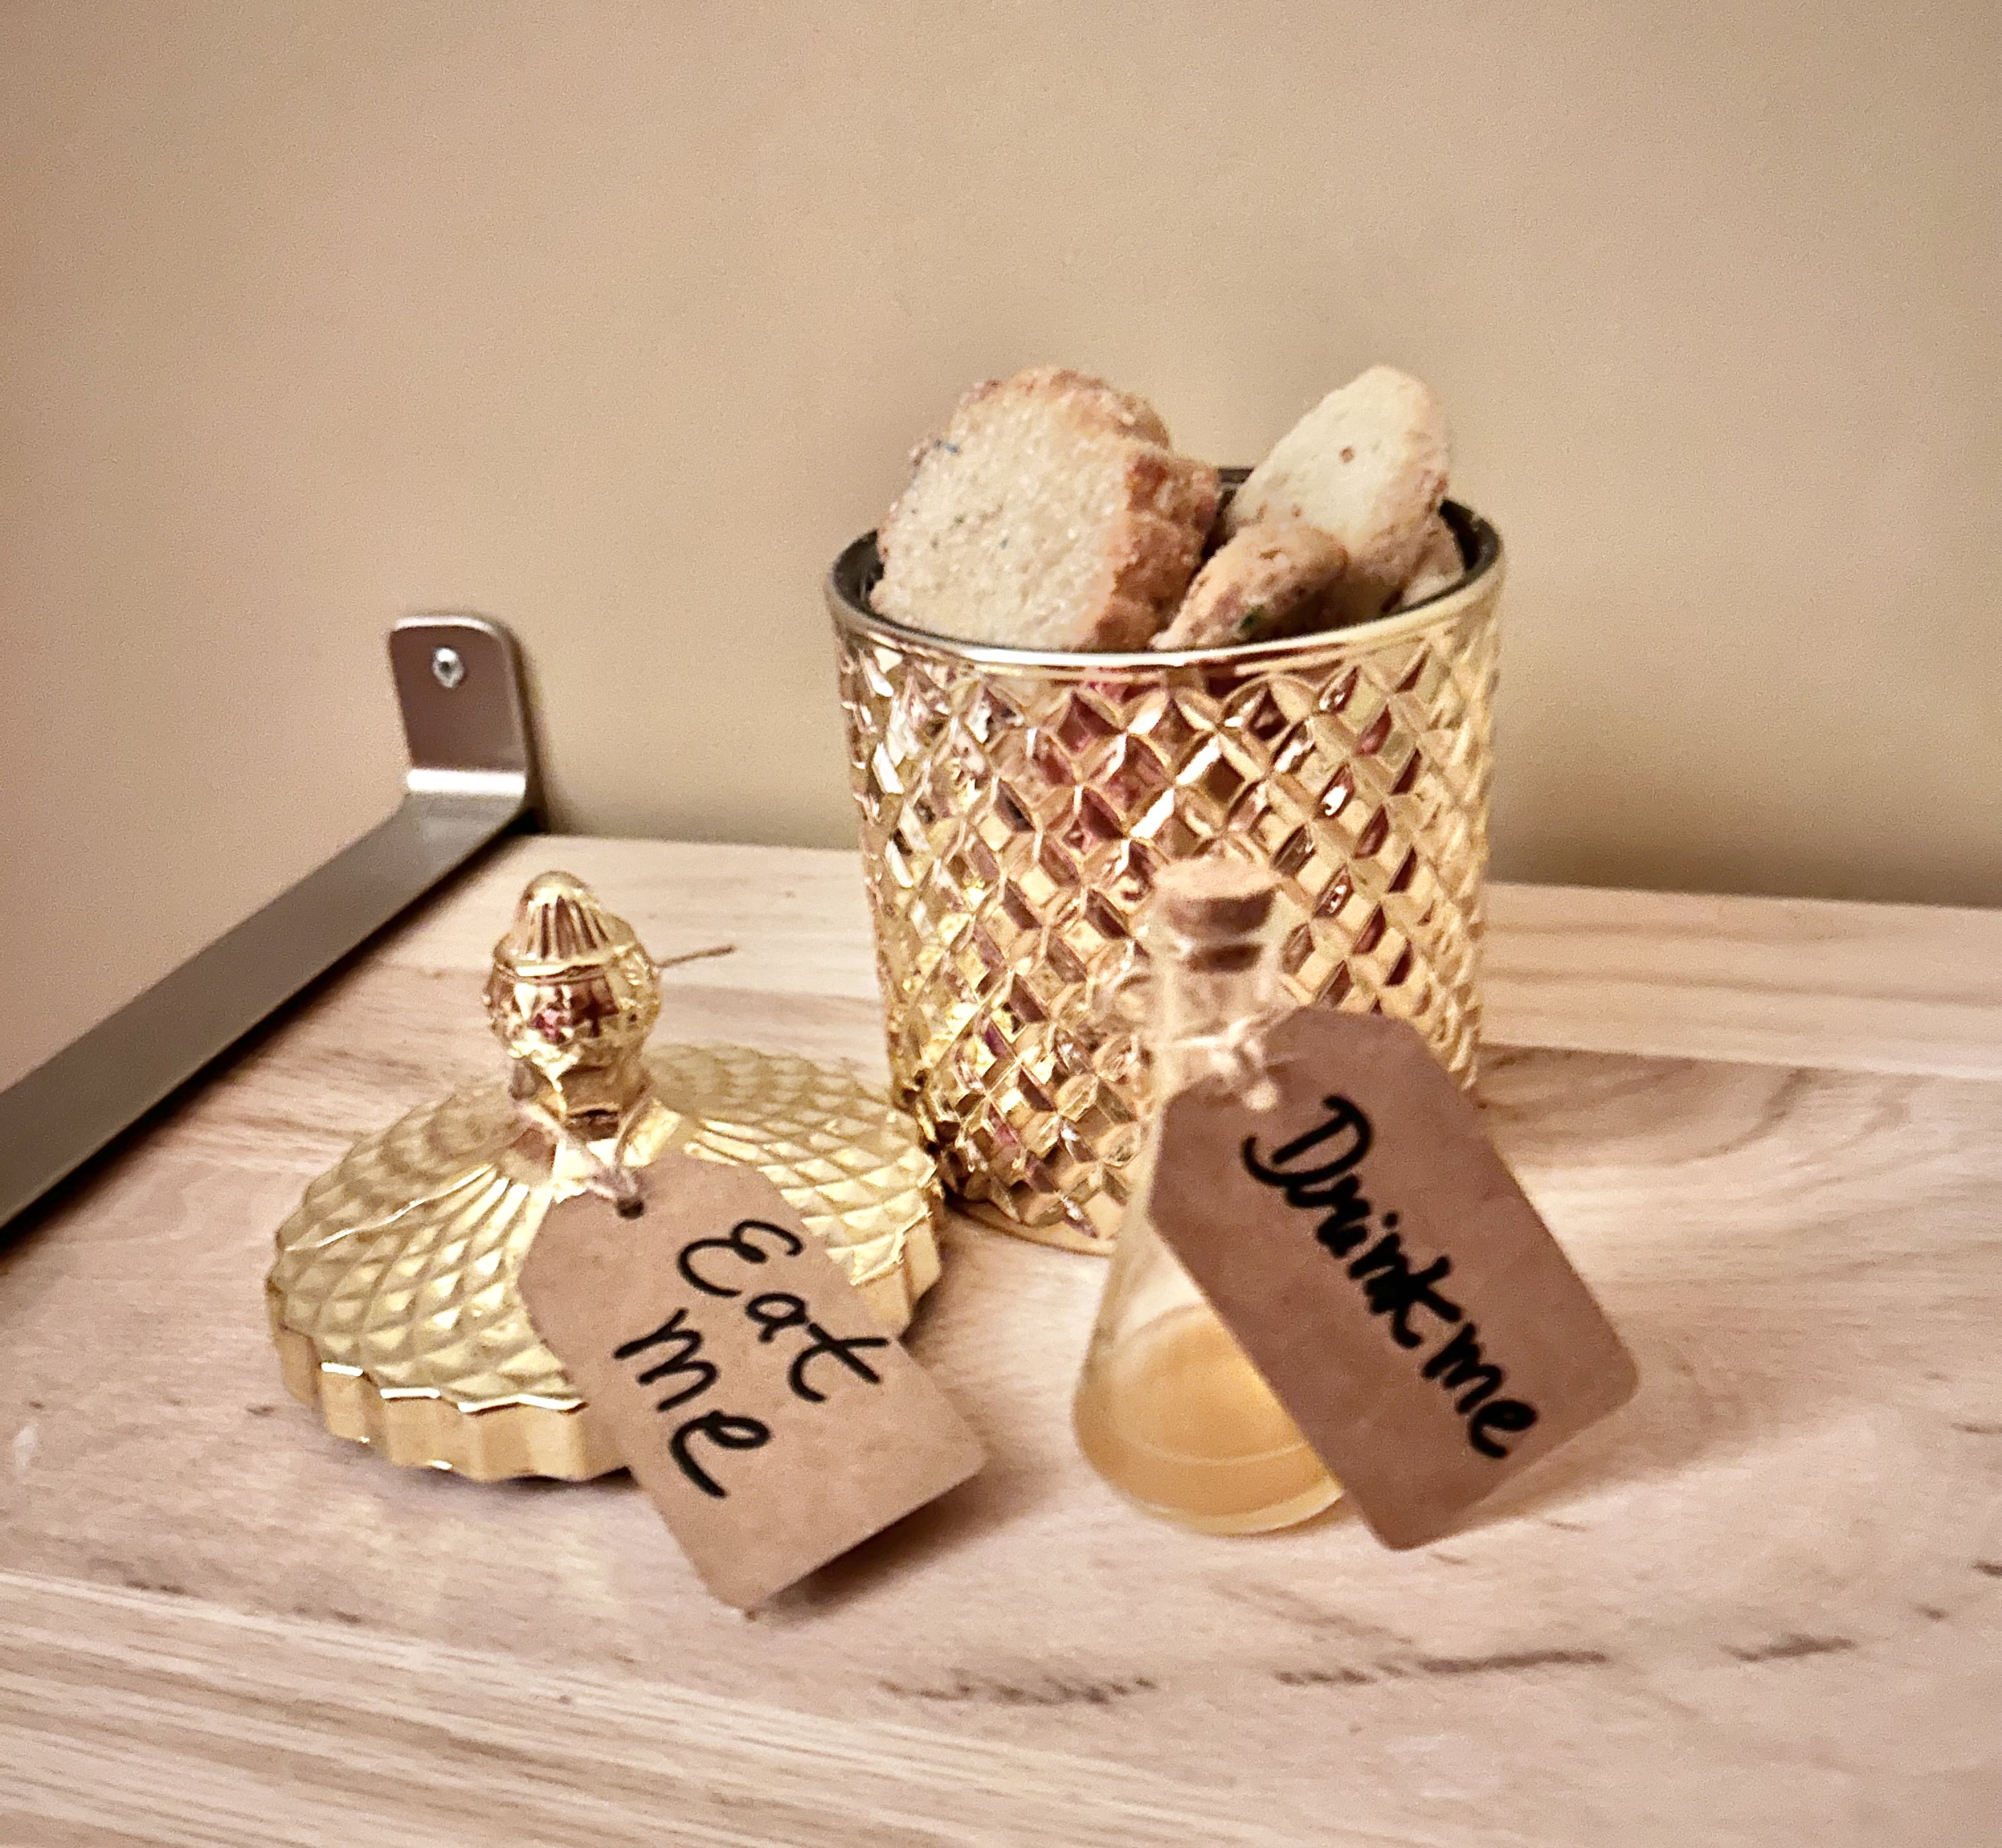
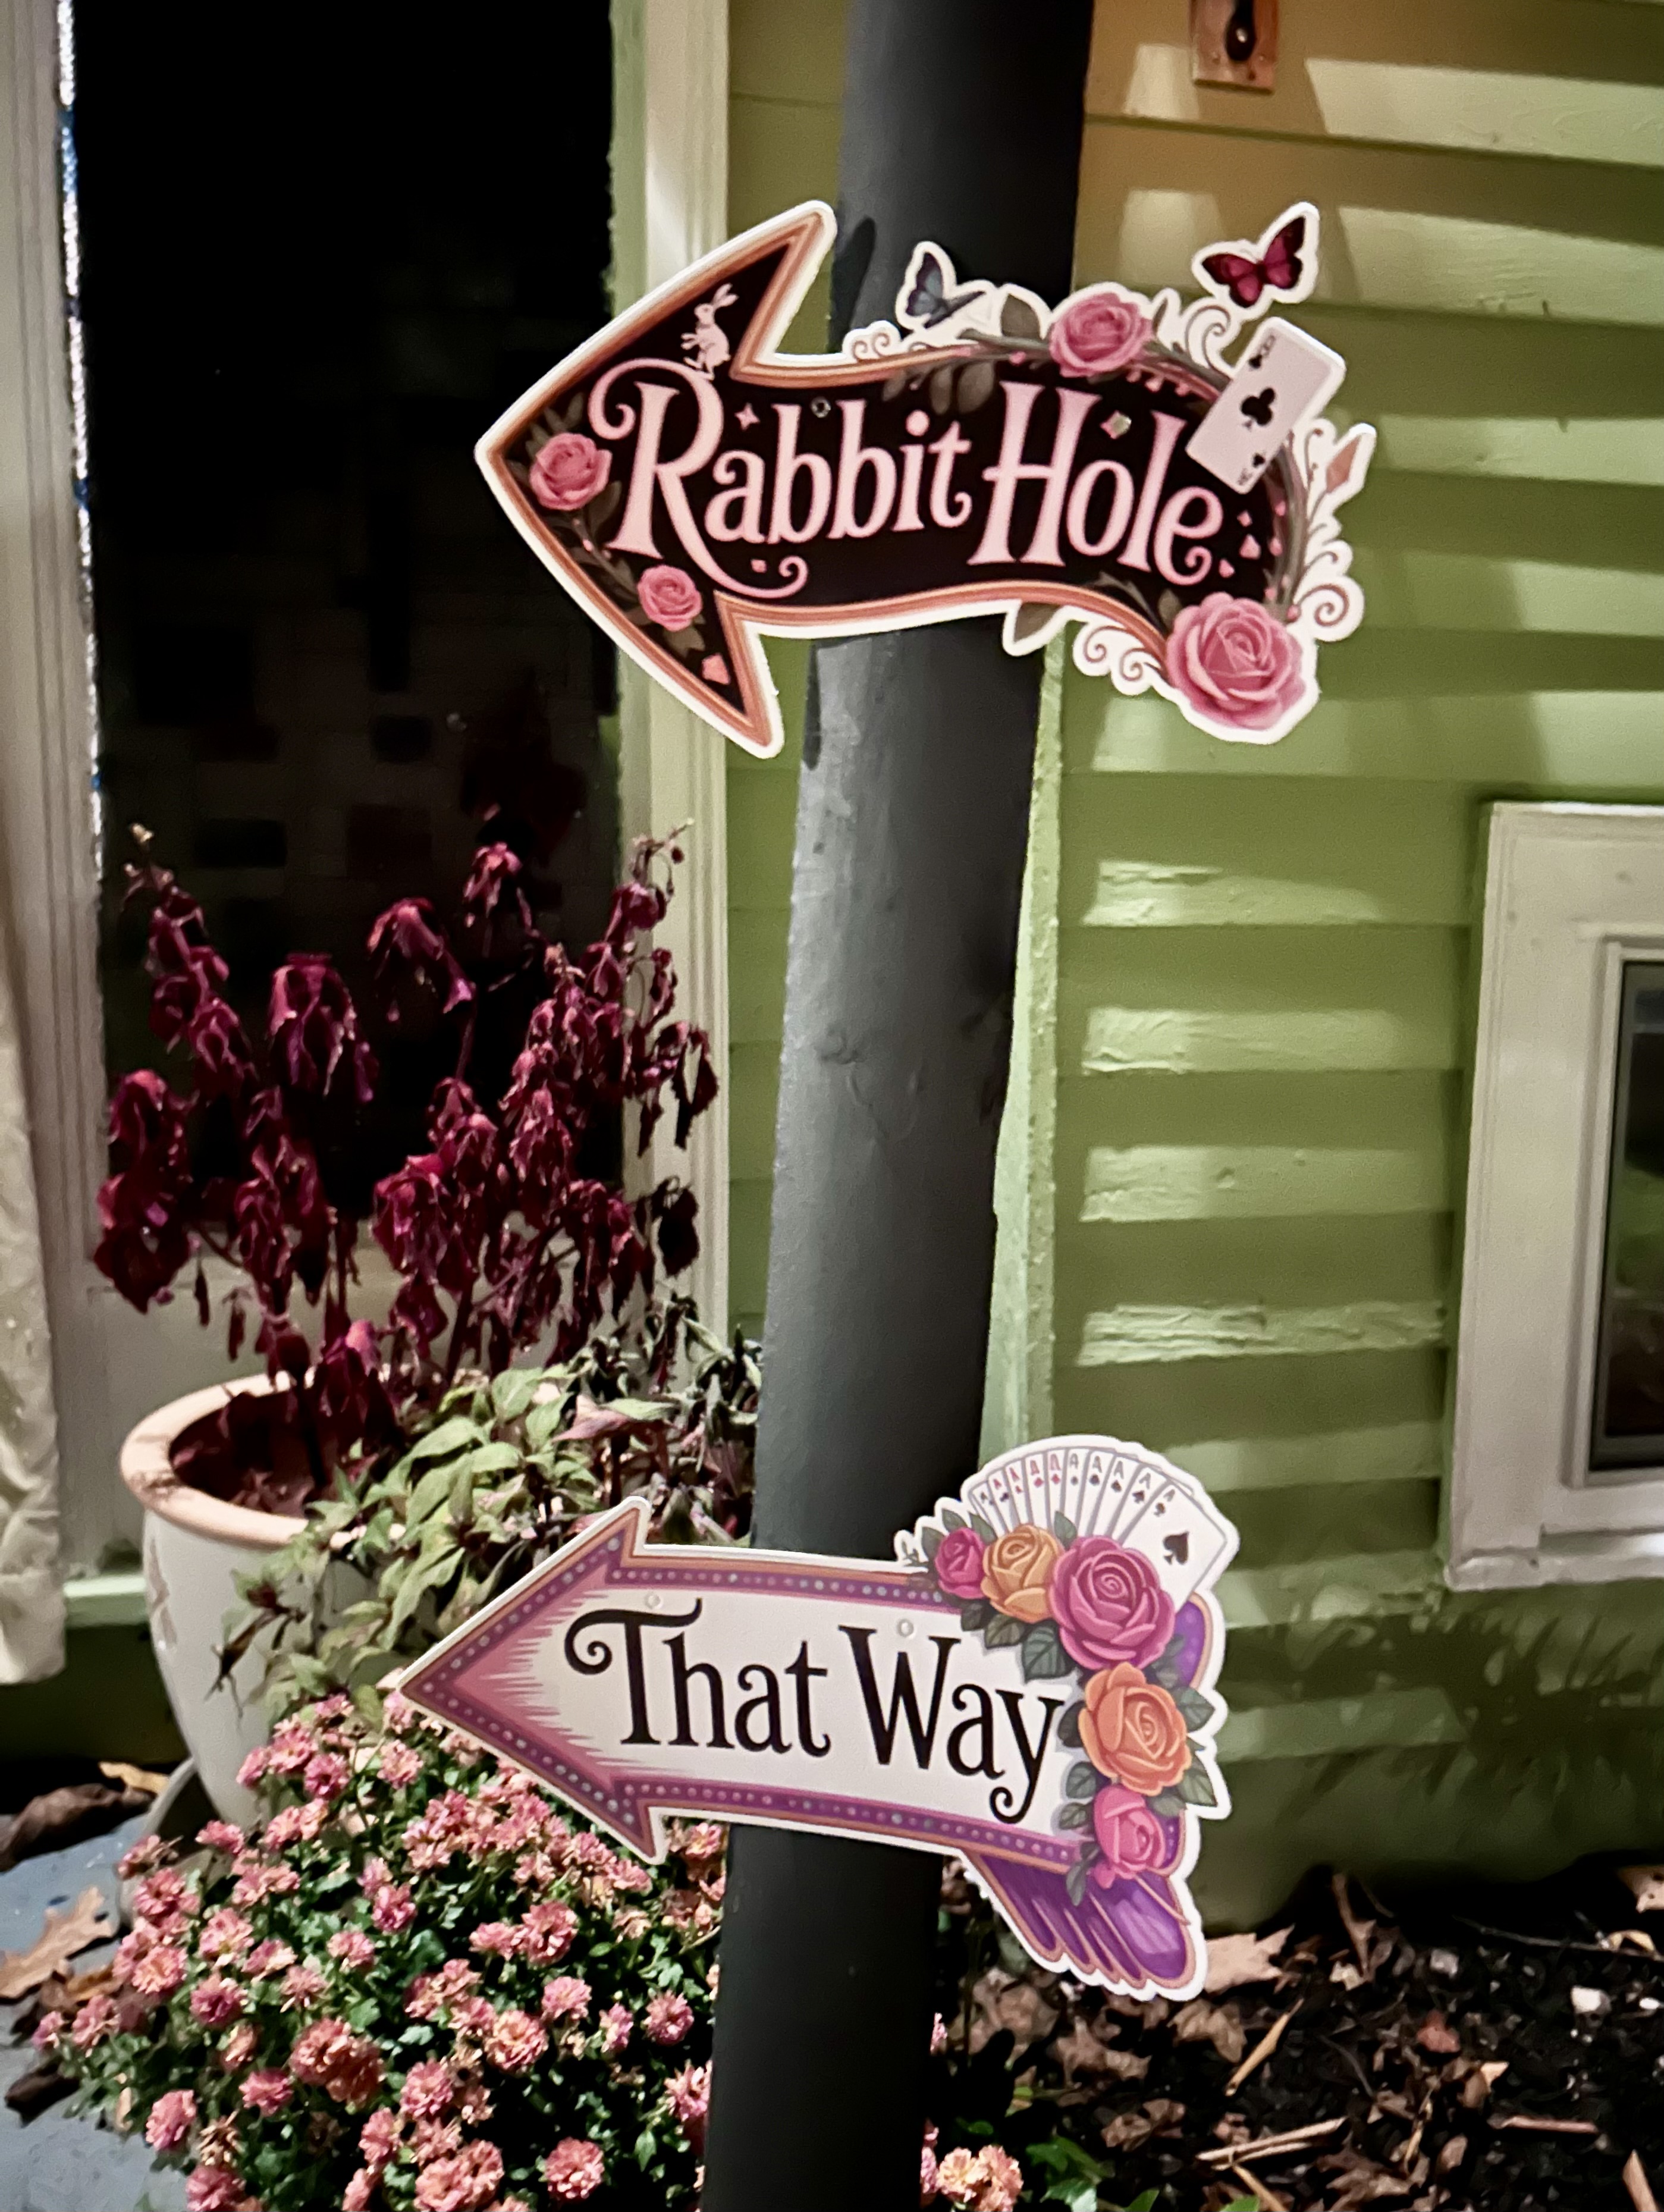
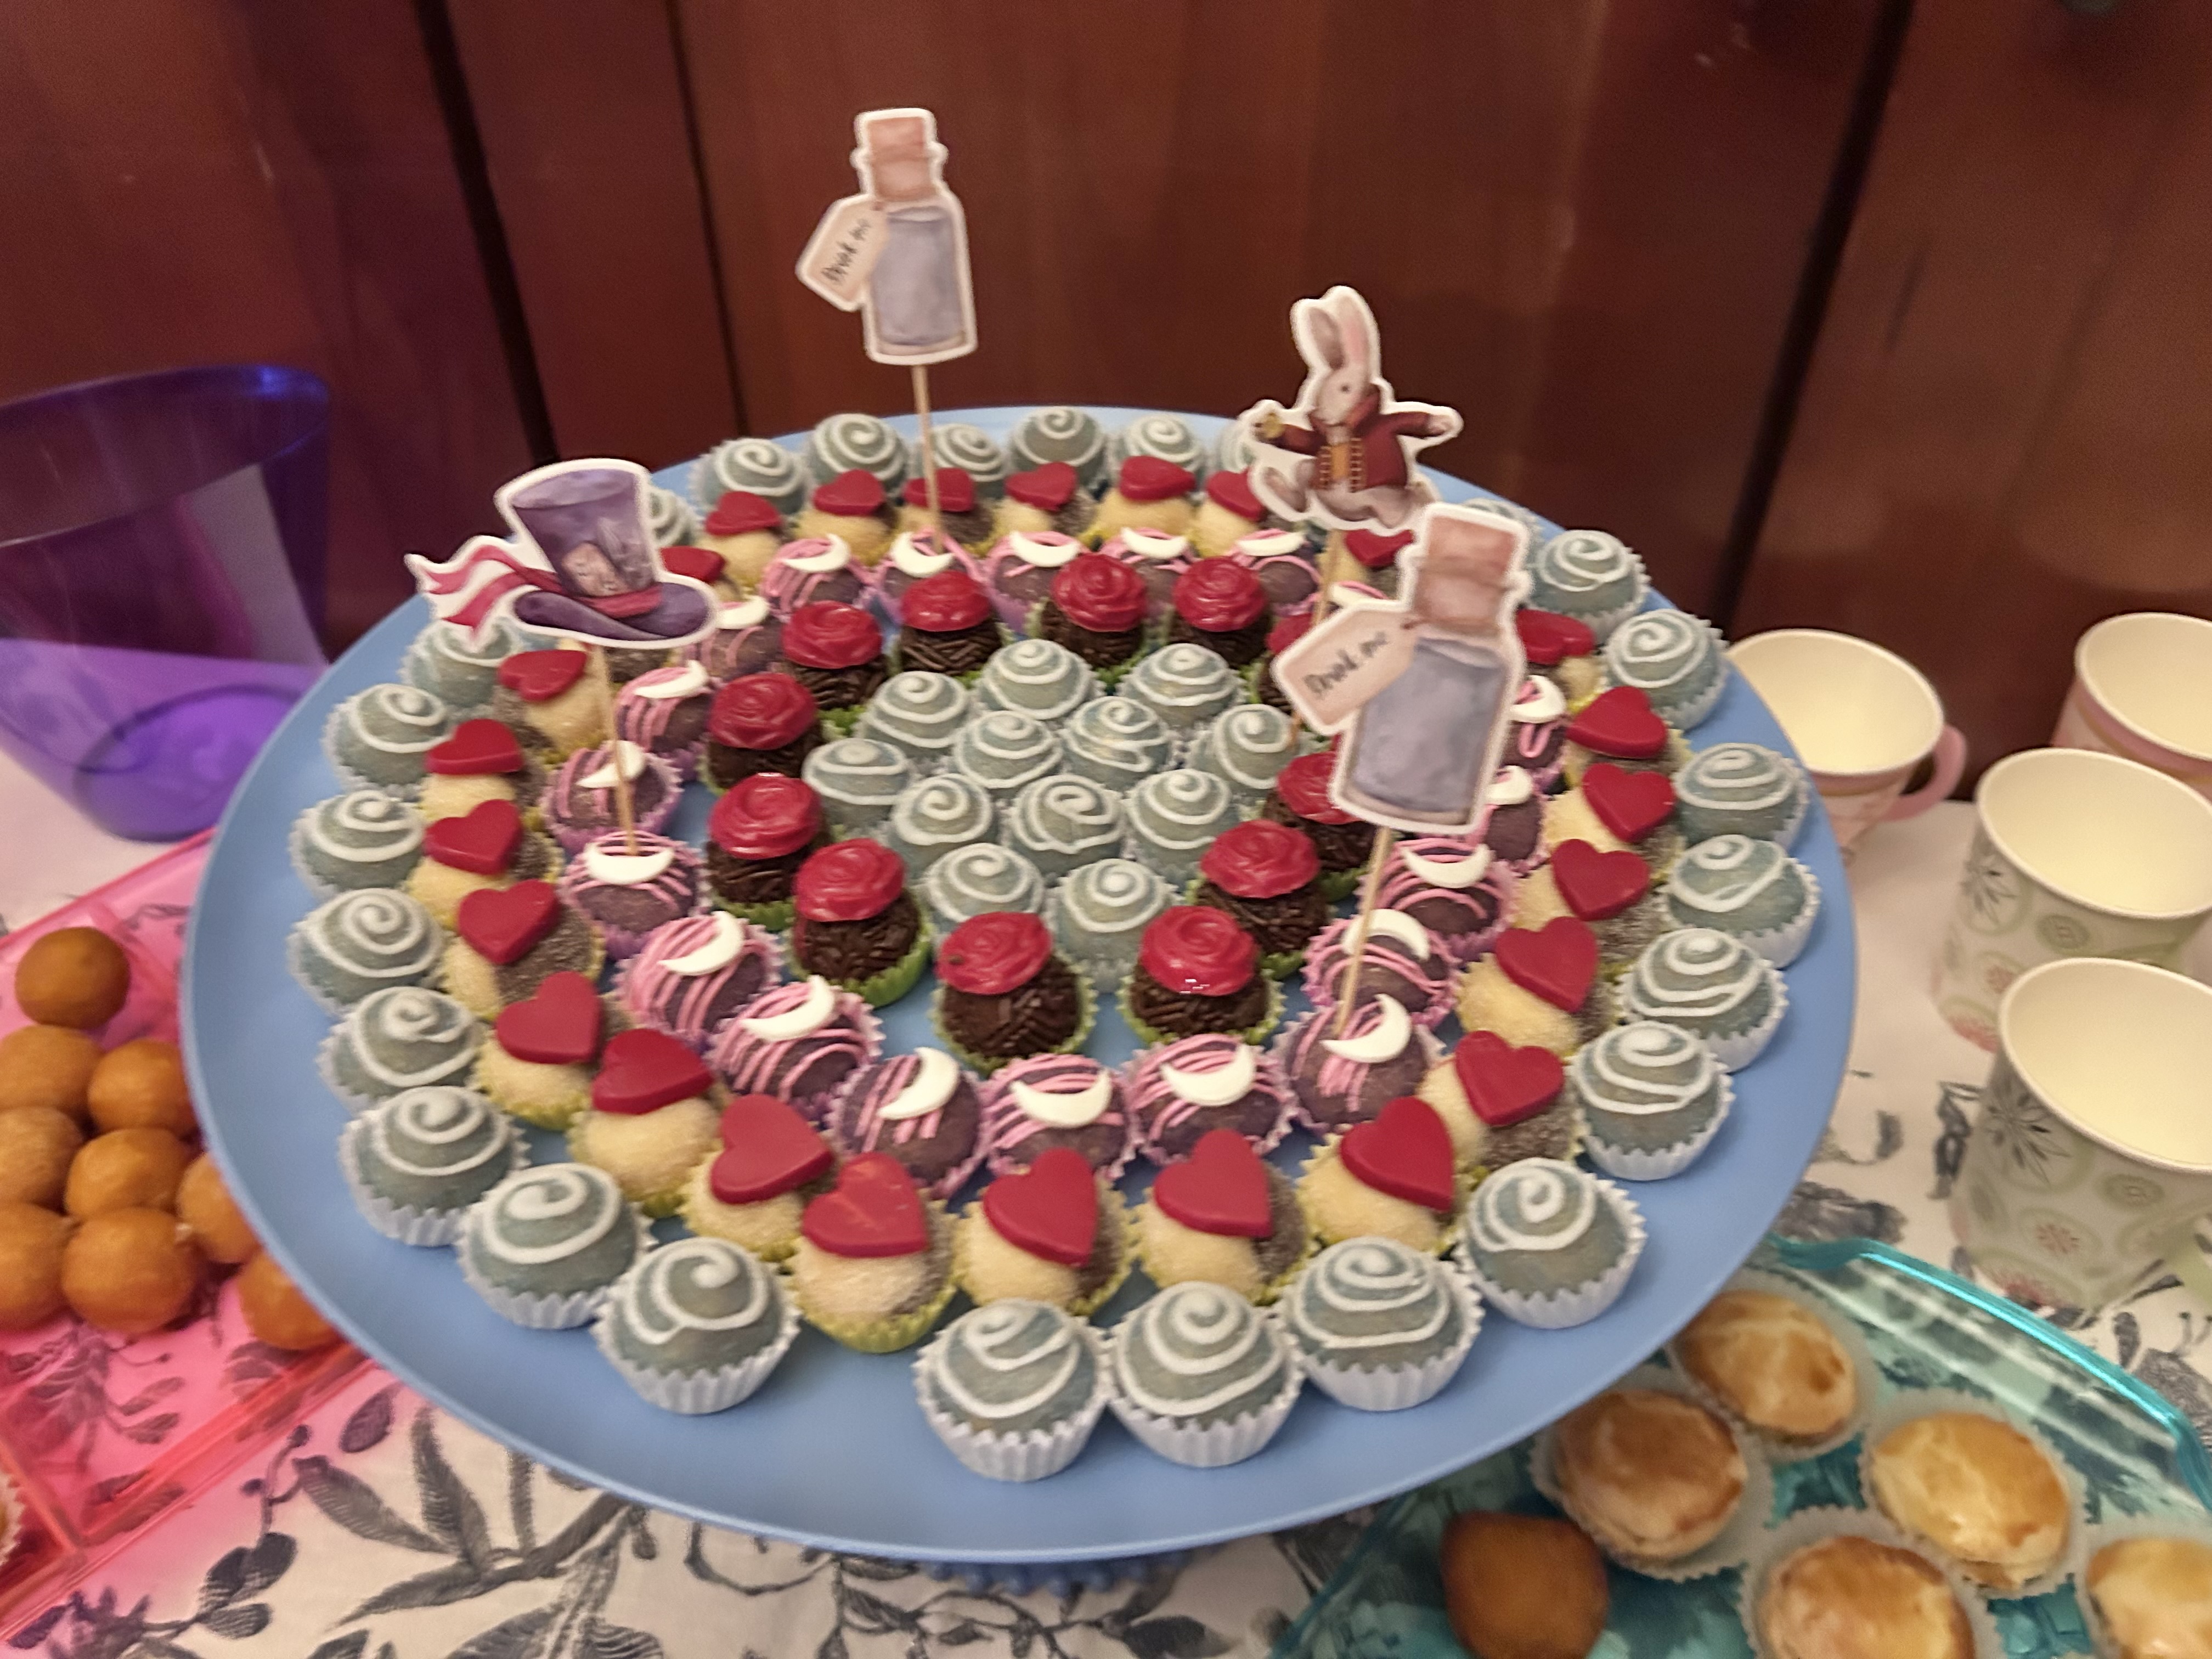
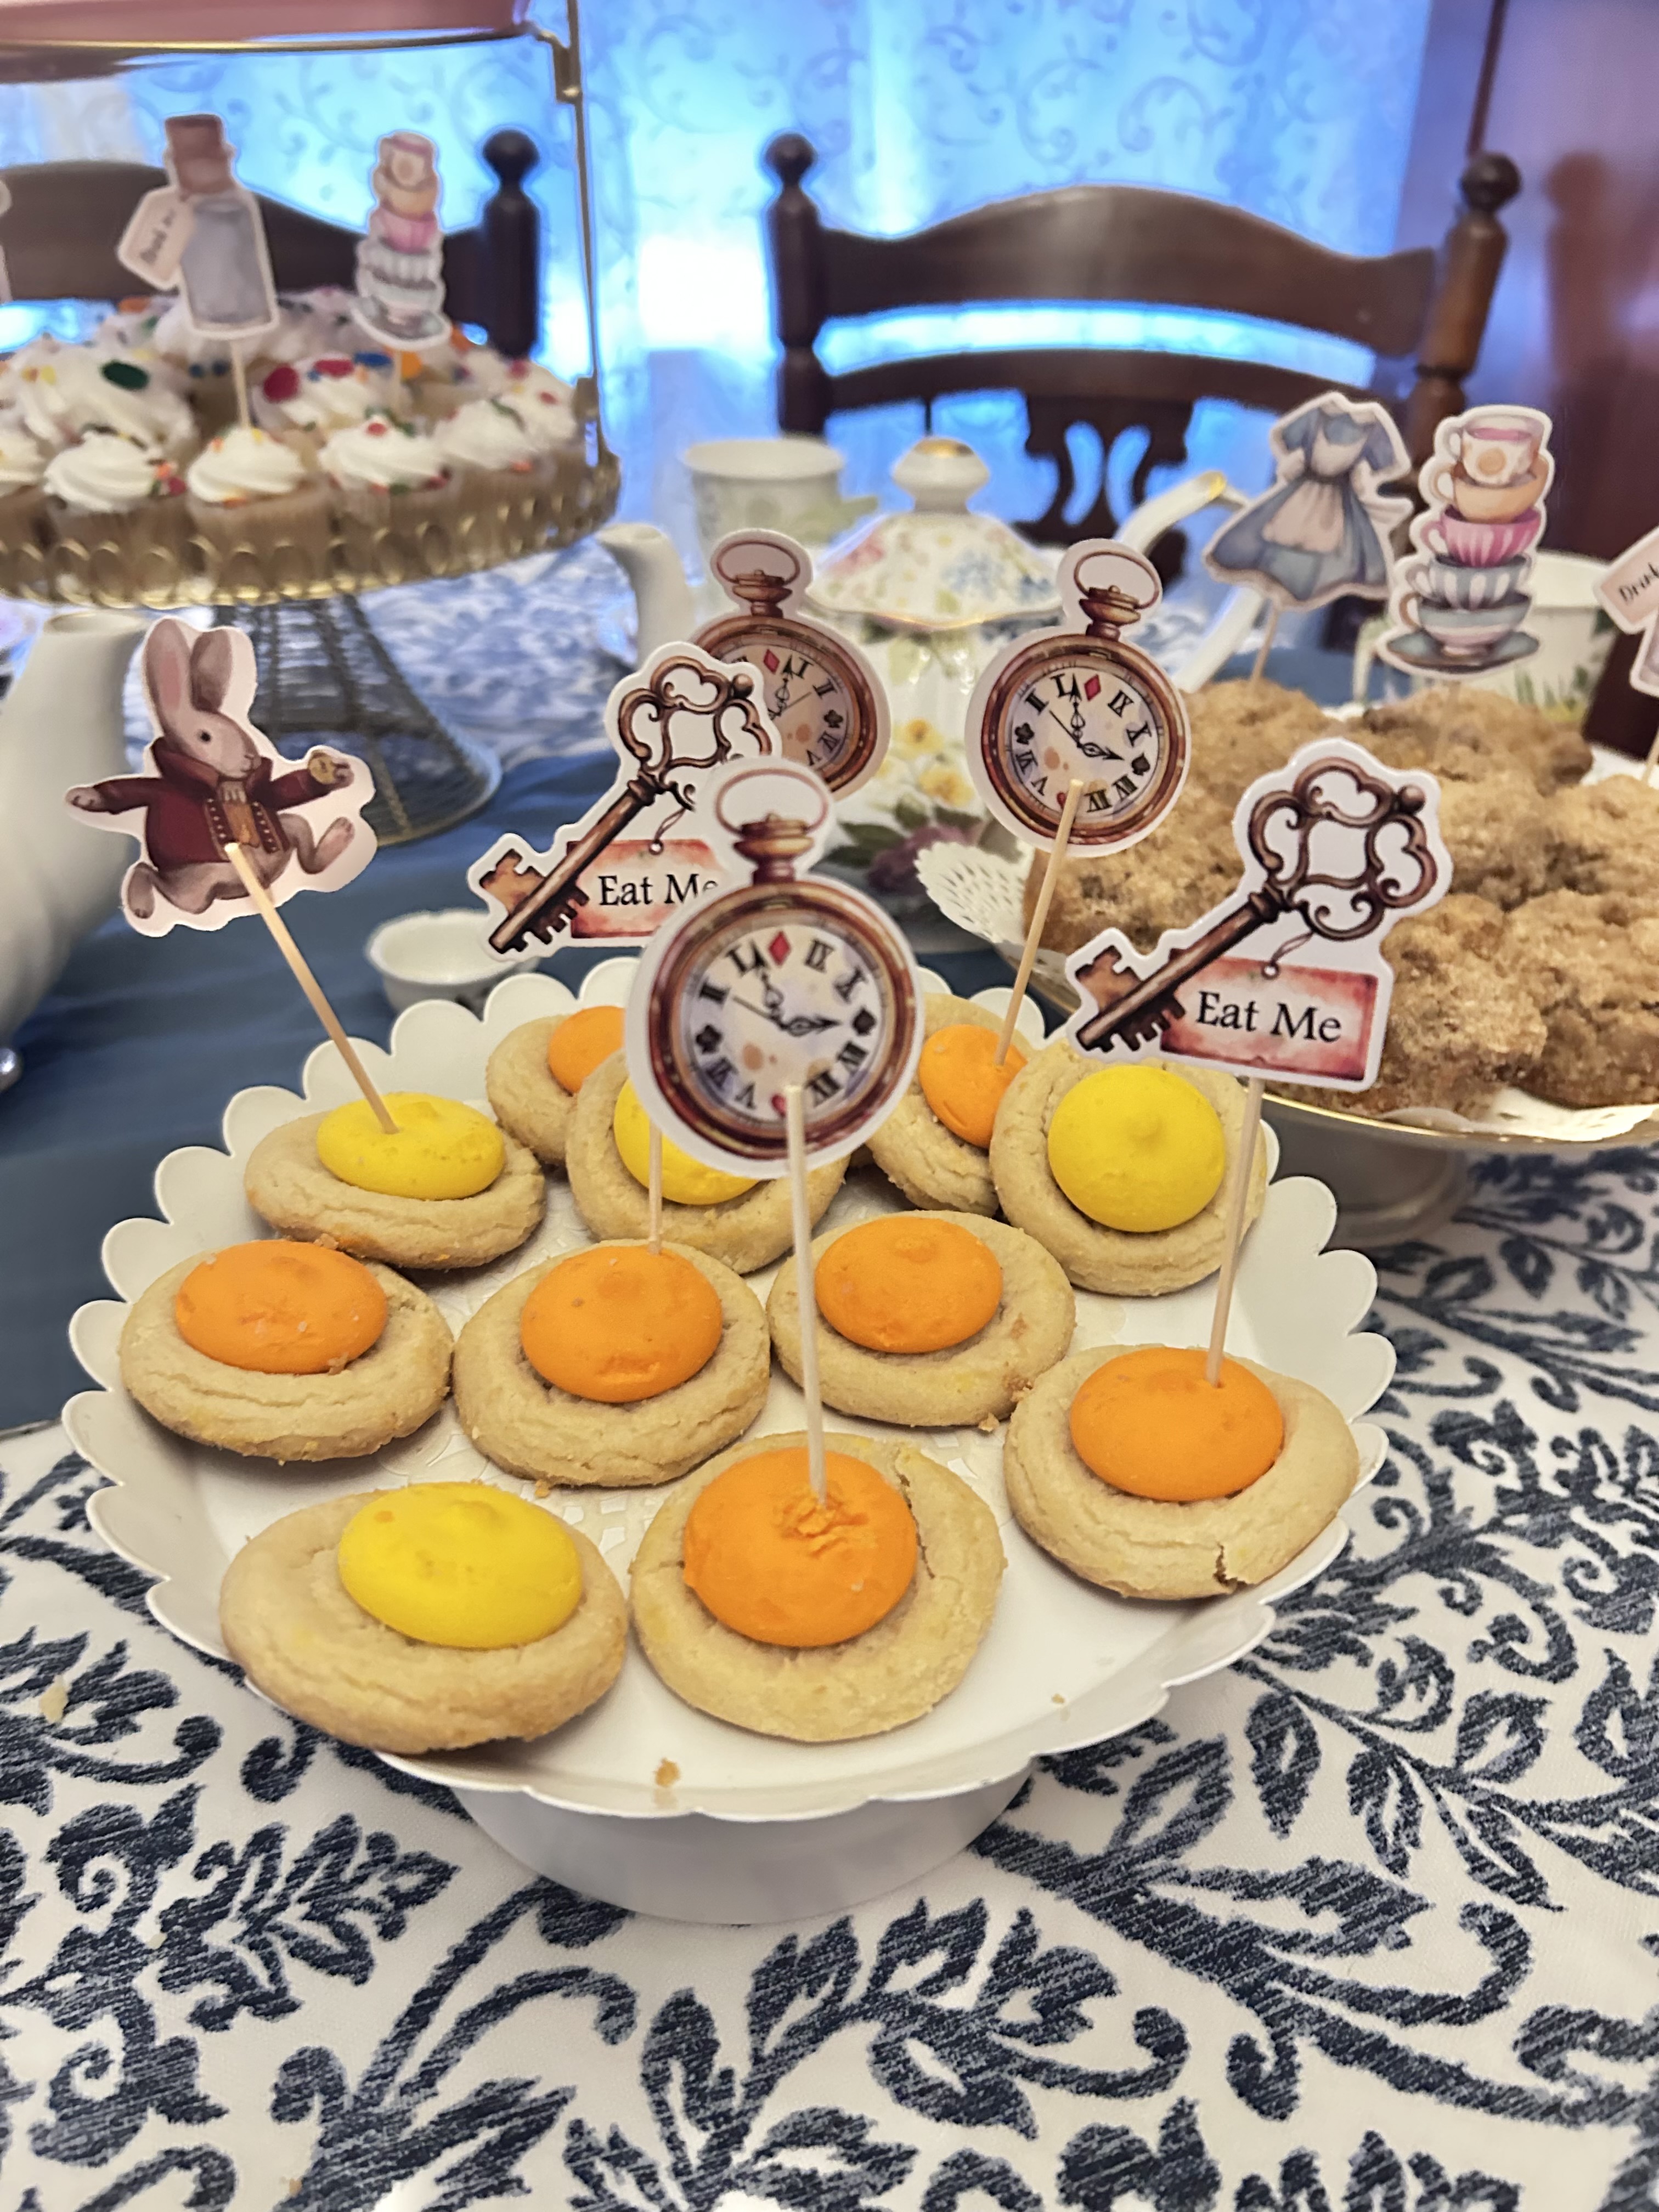
    Last week I had so much fun planning and throwing an Alice In Wonderland themed Halloween party.

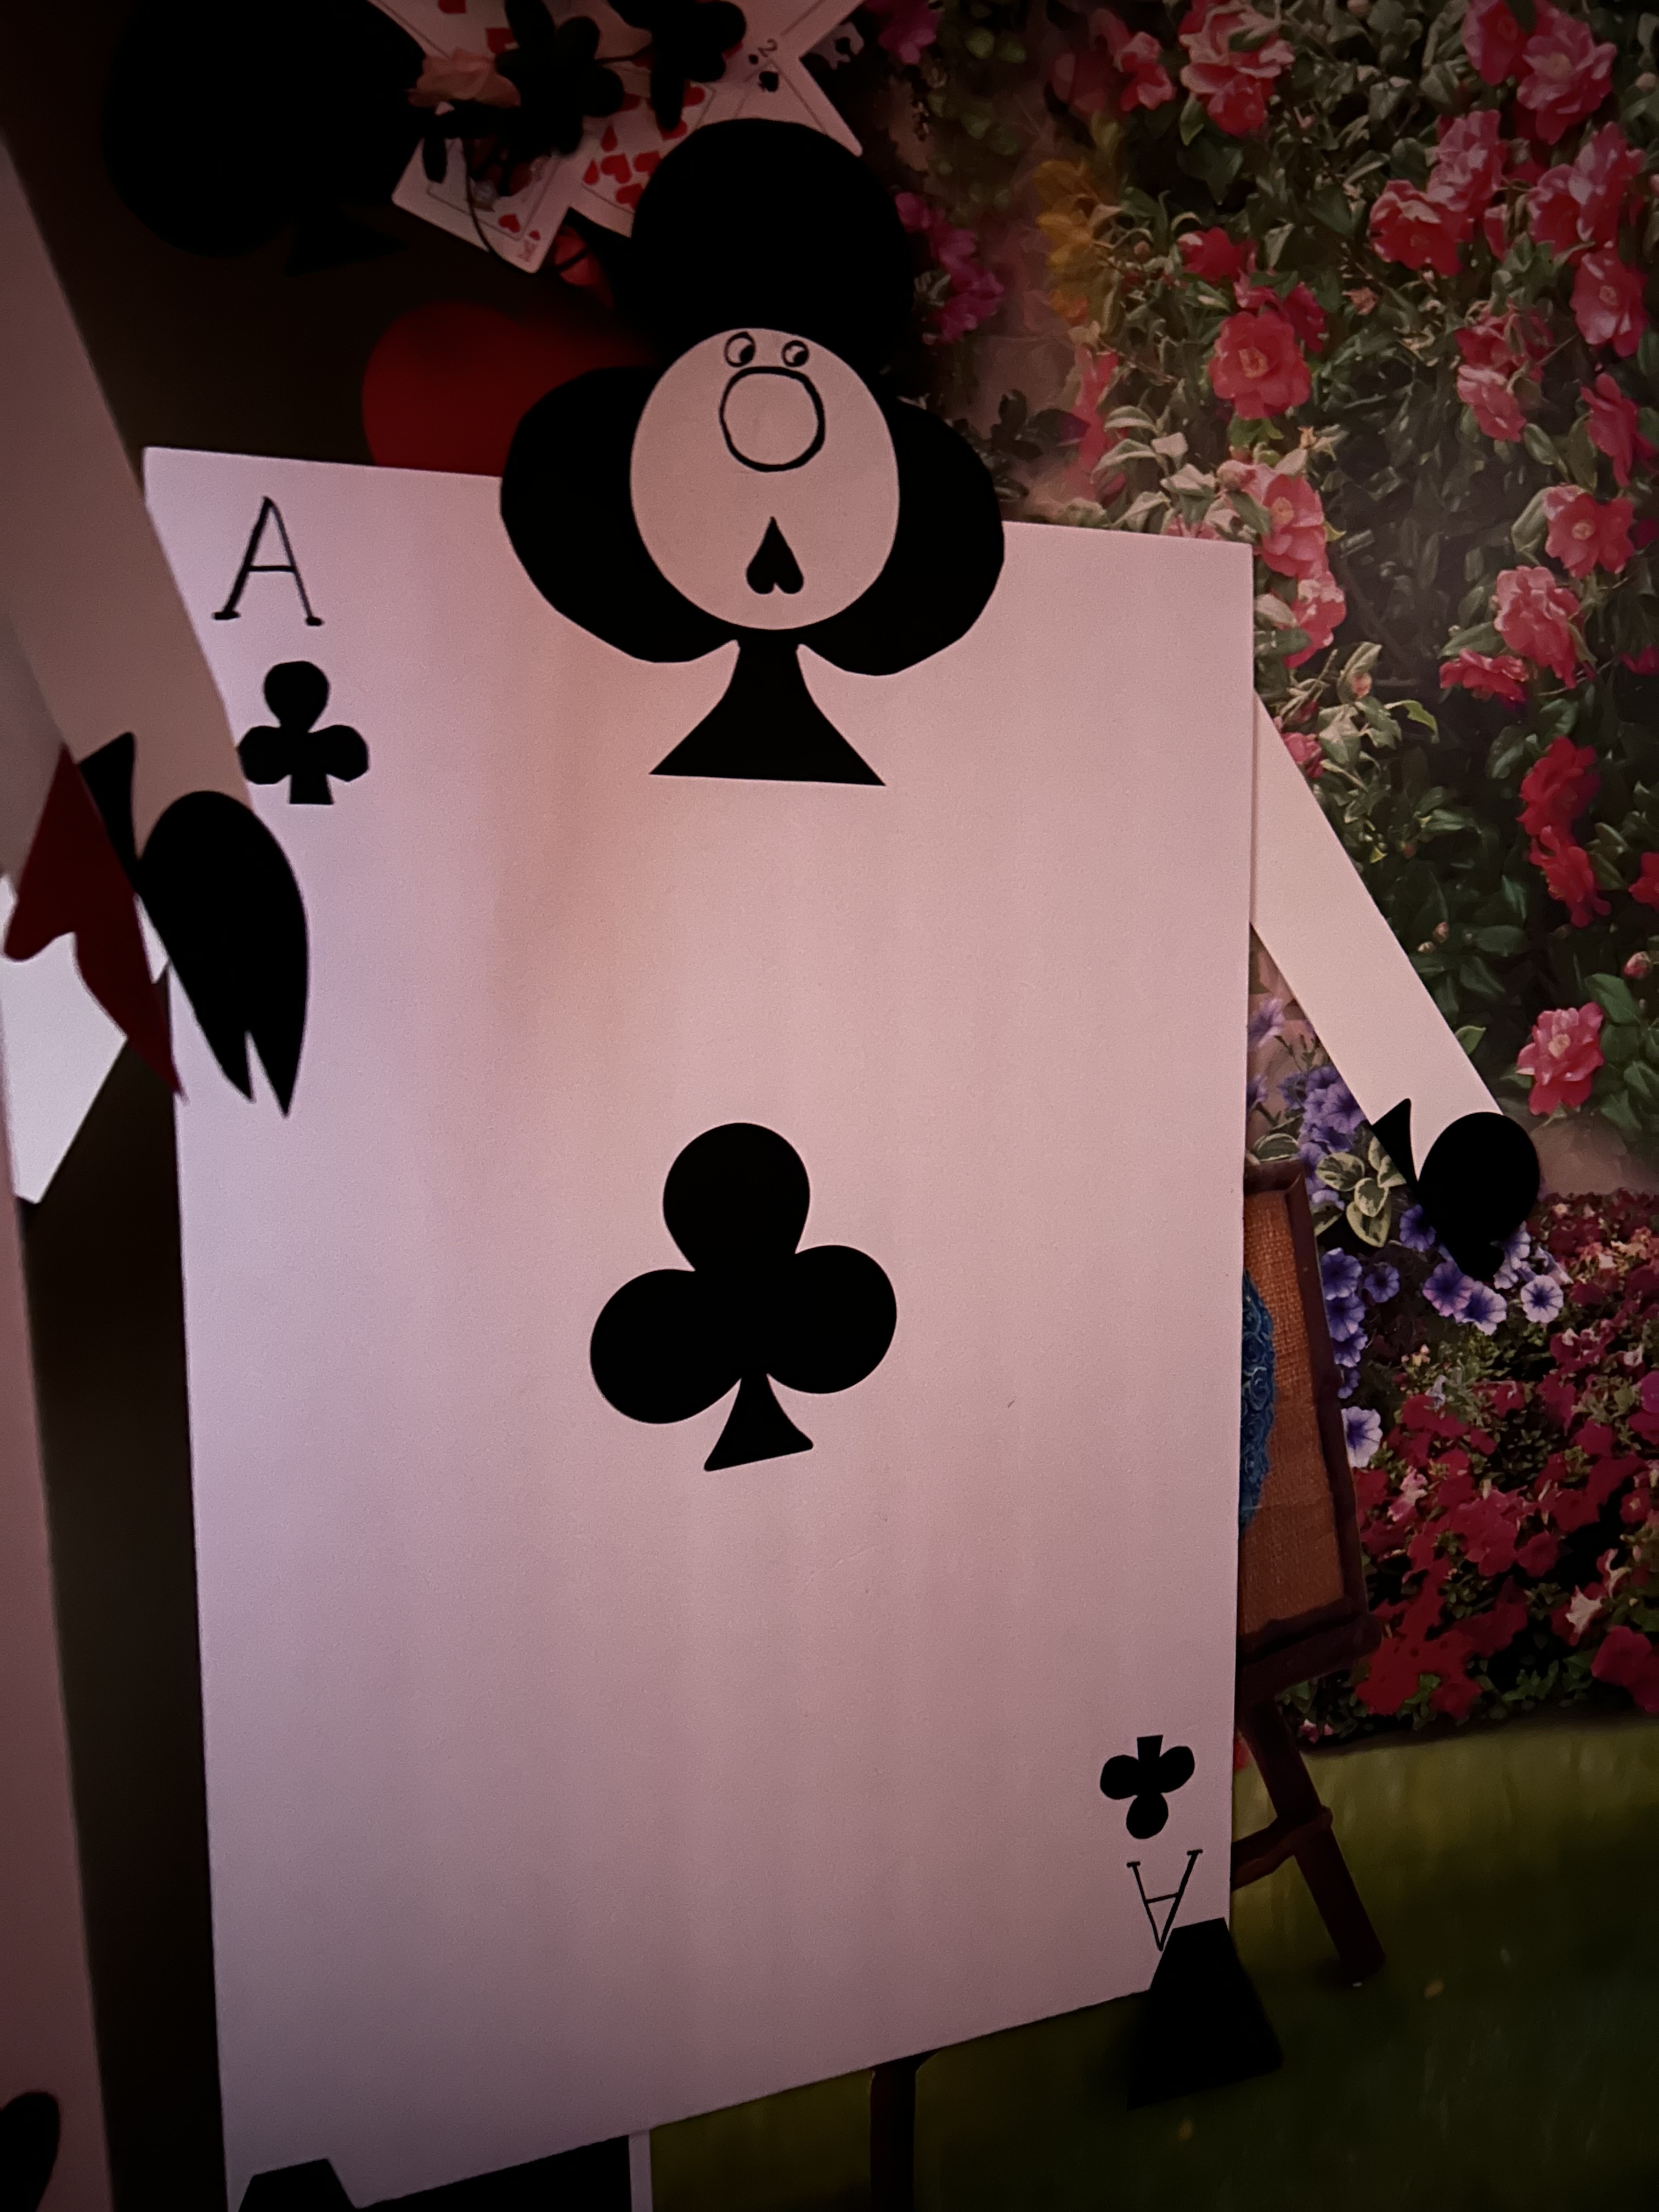
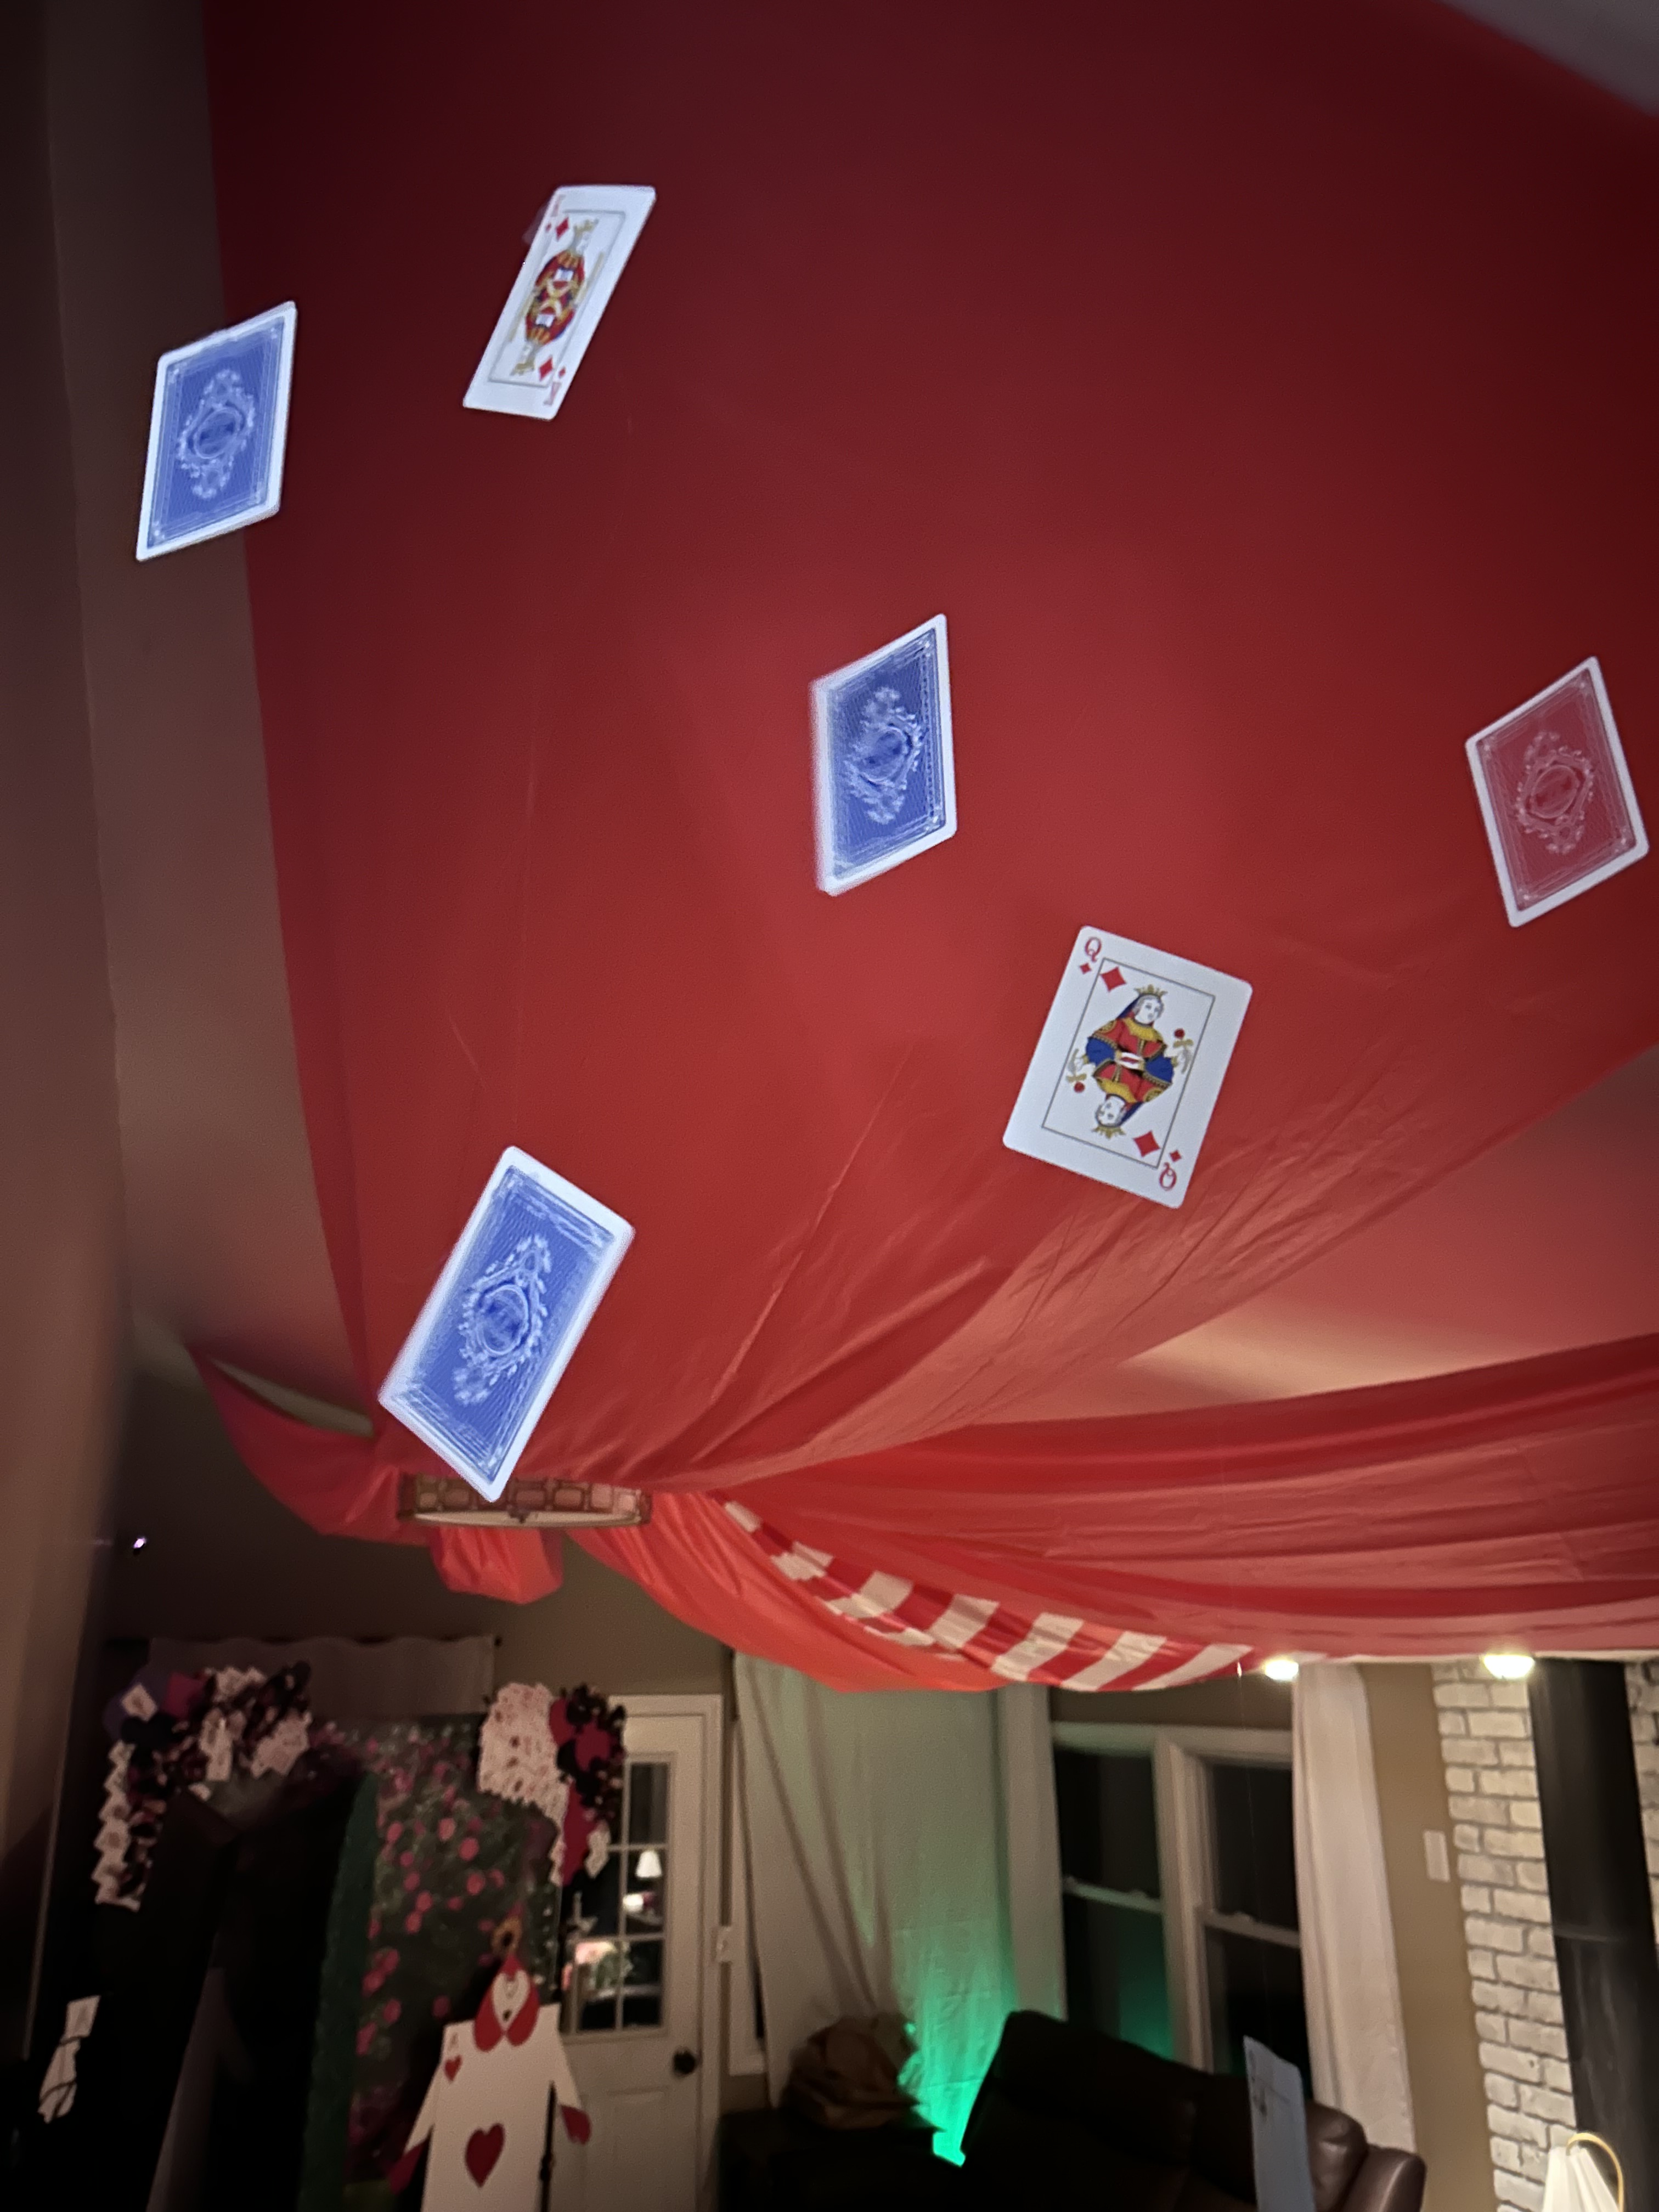
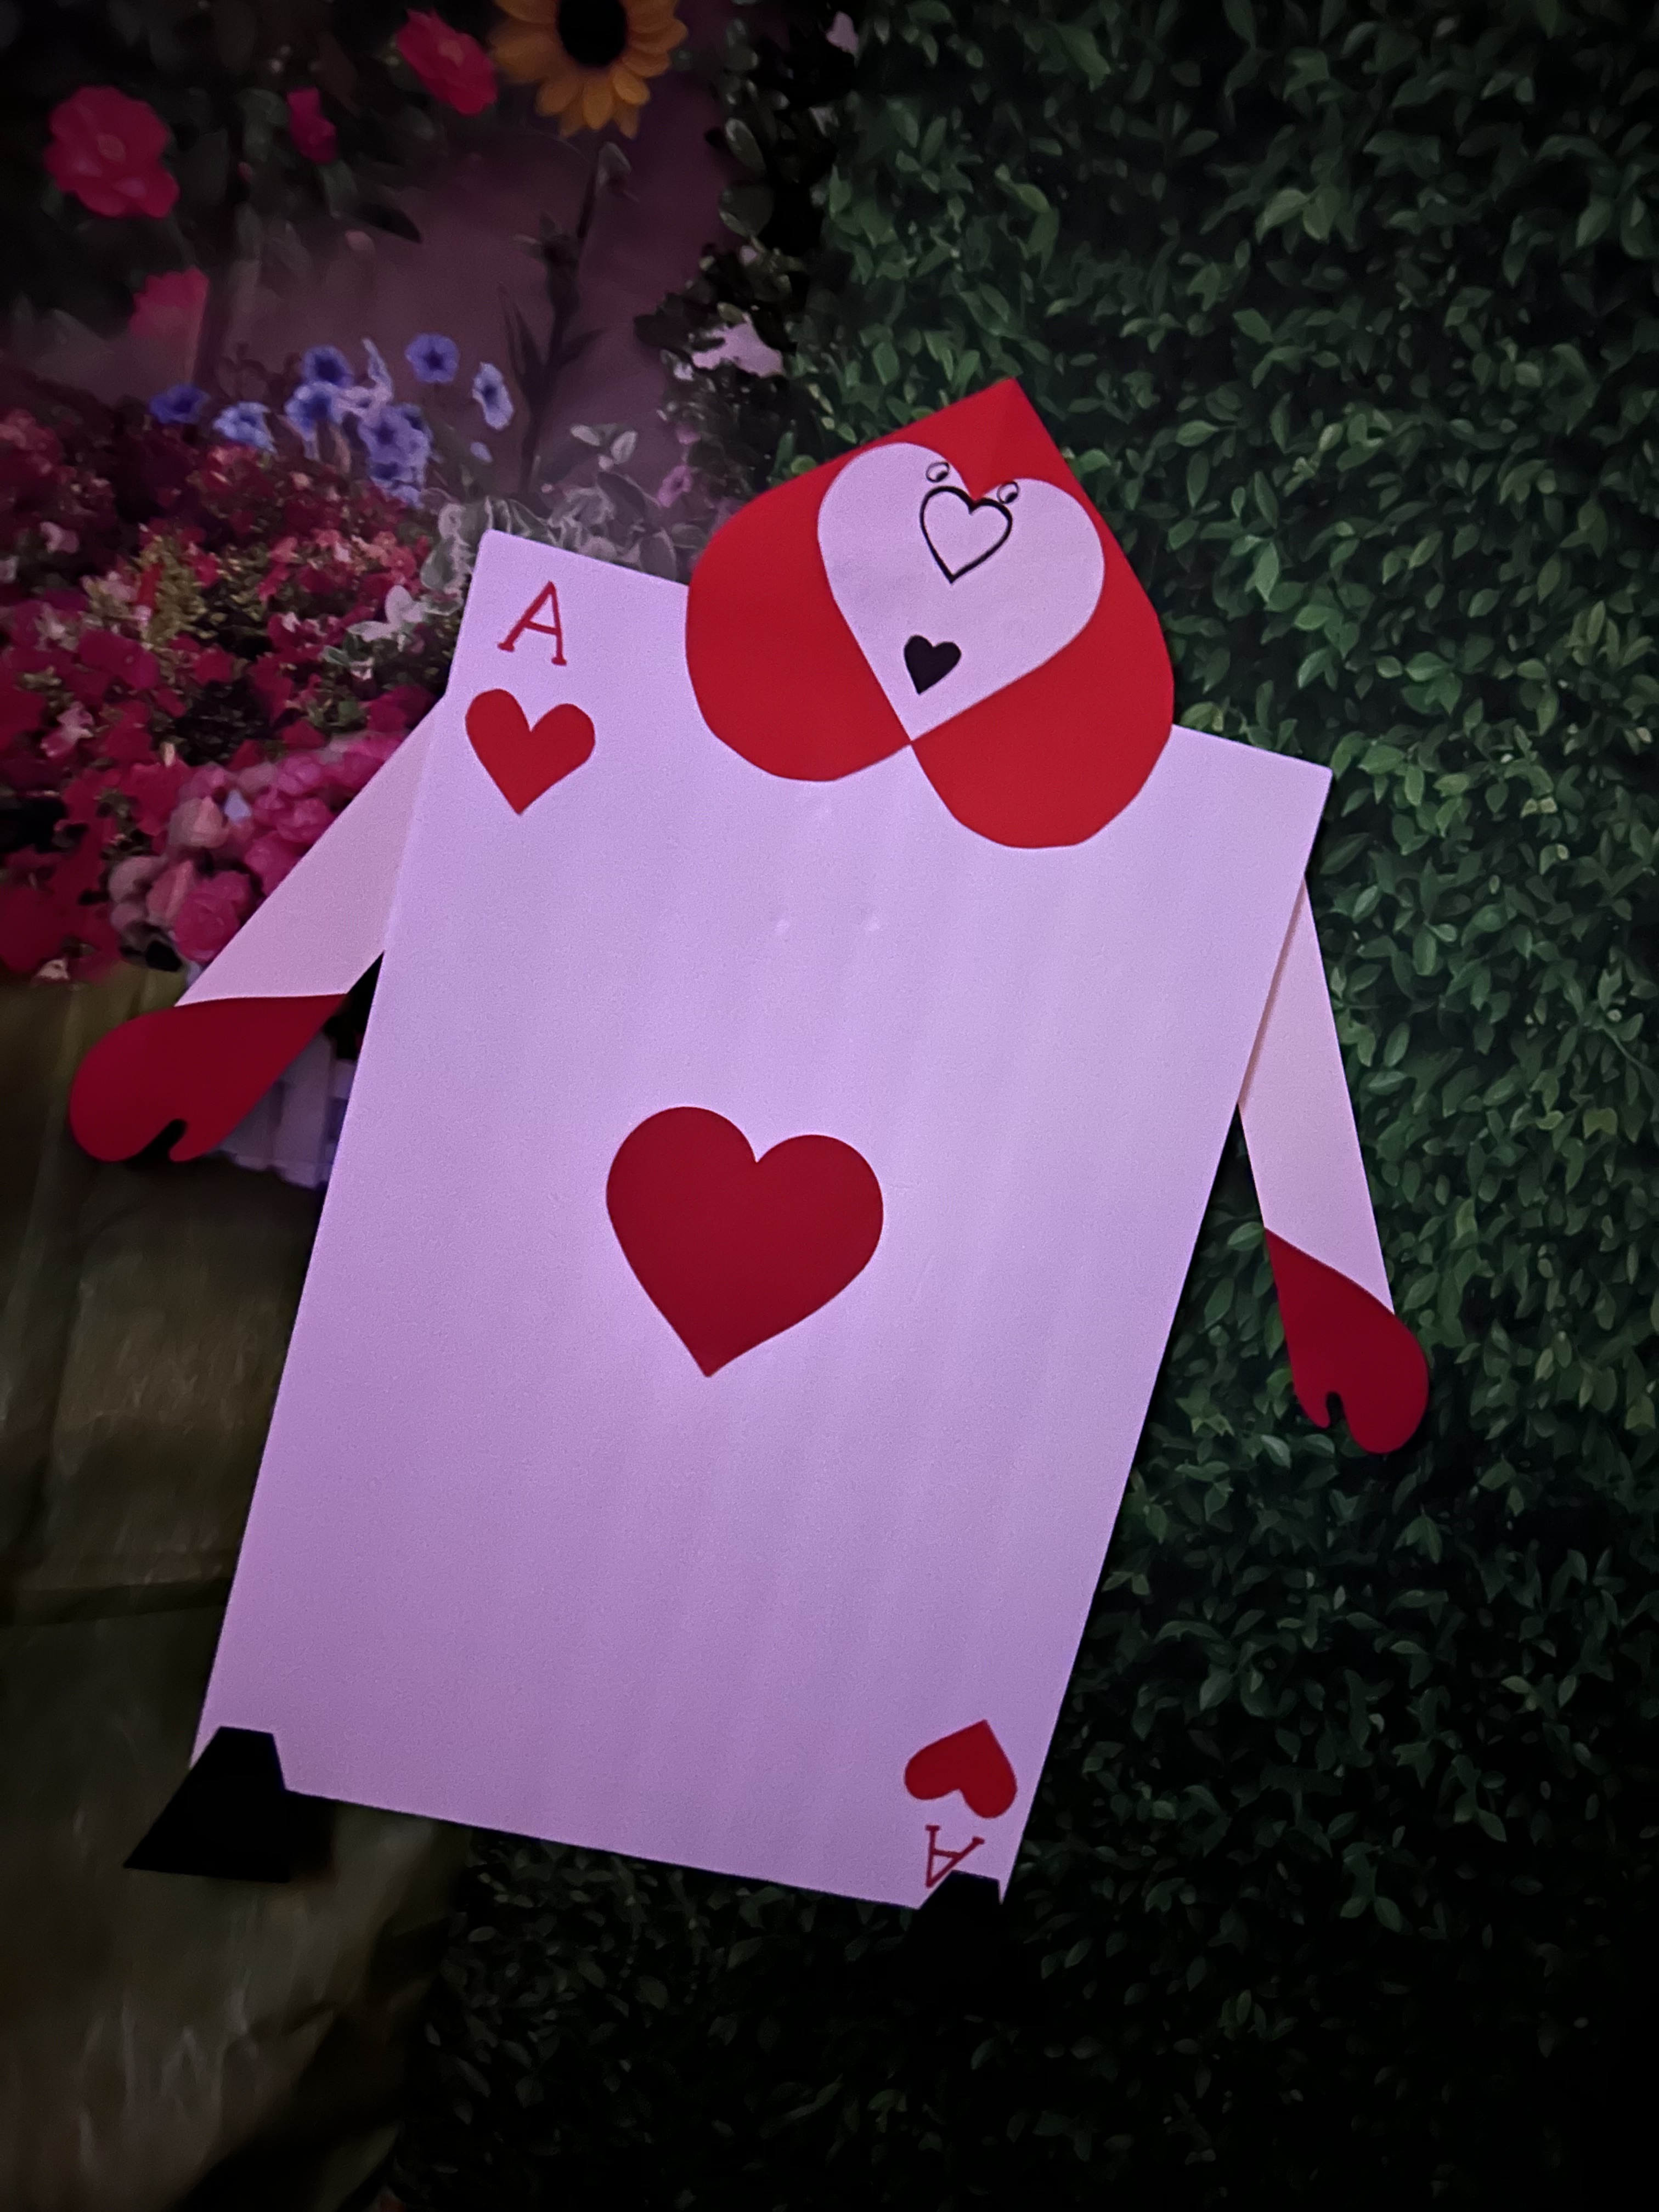
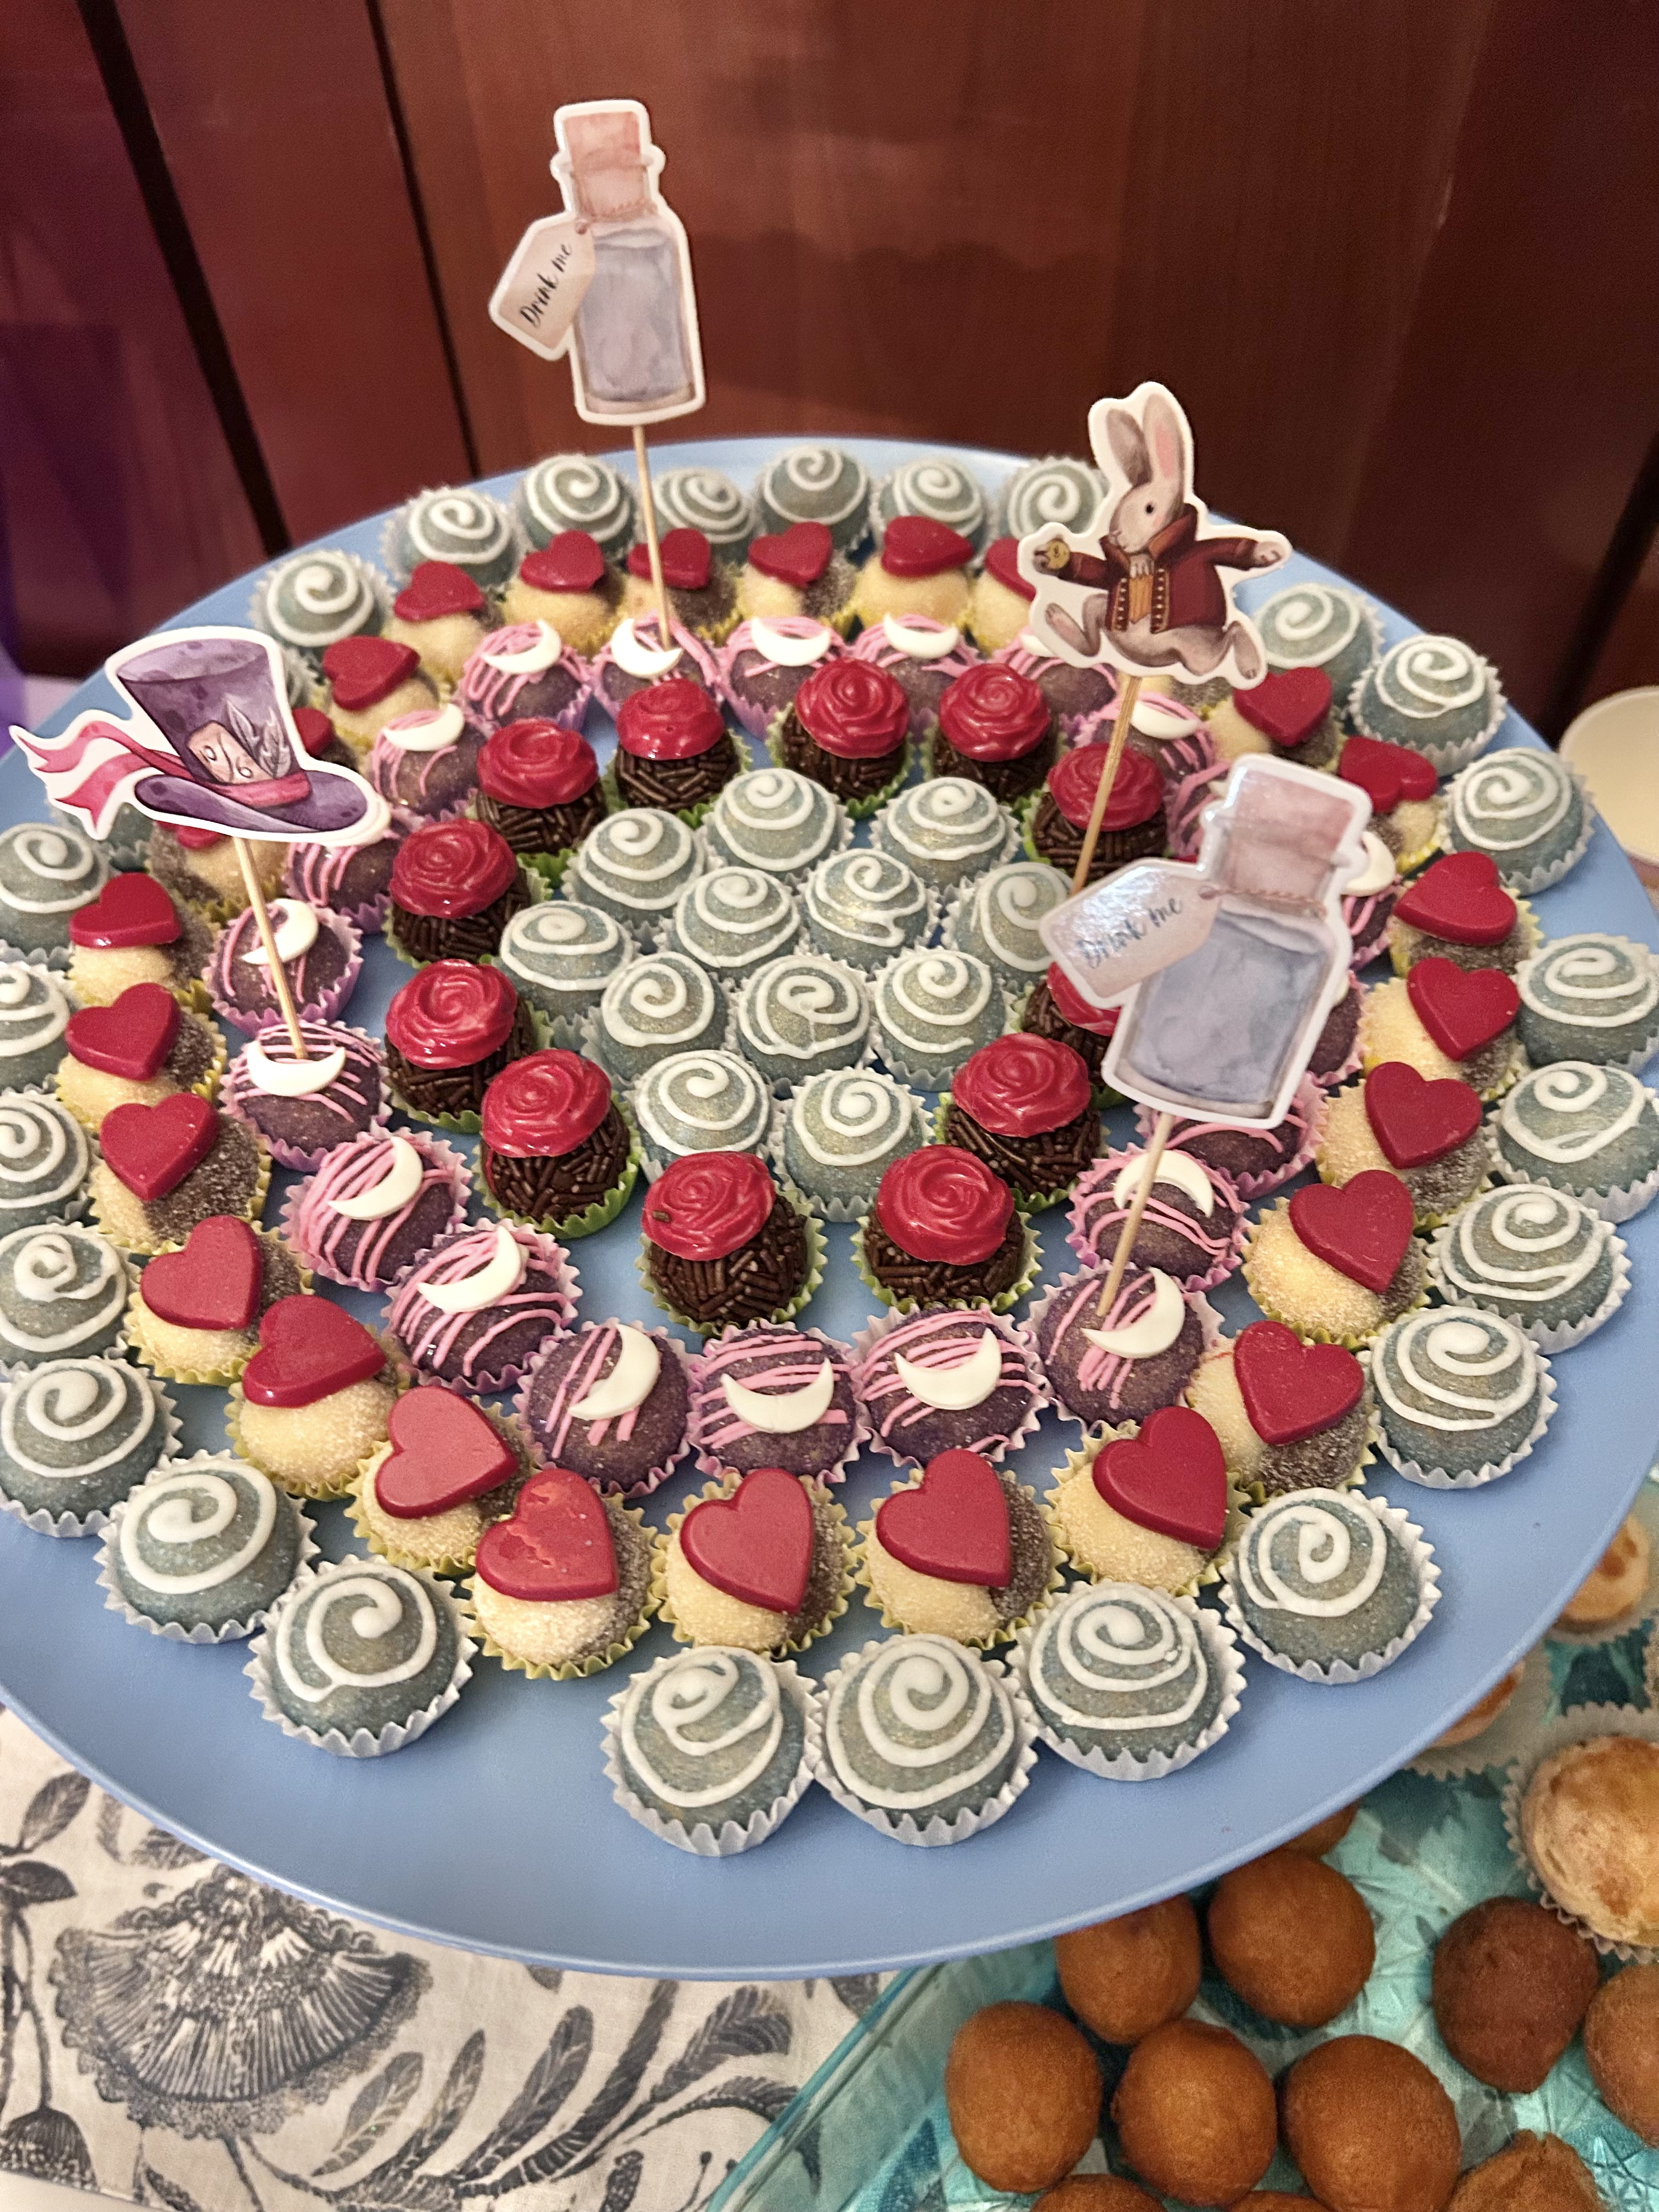
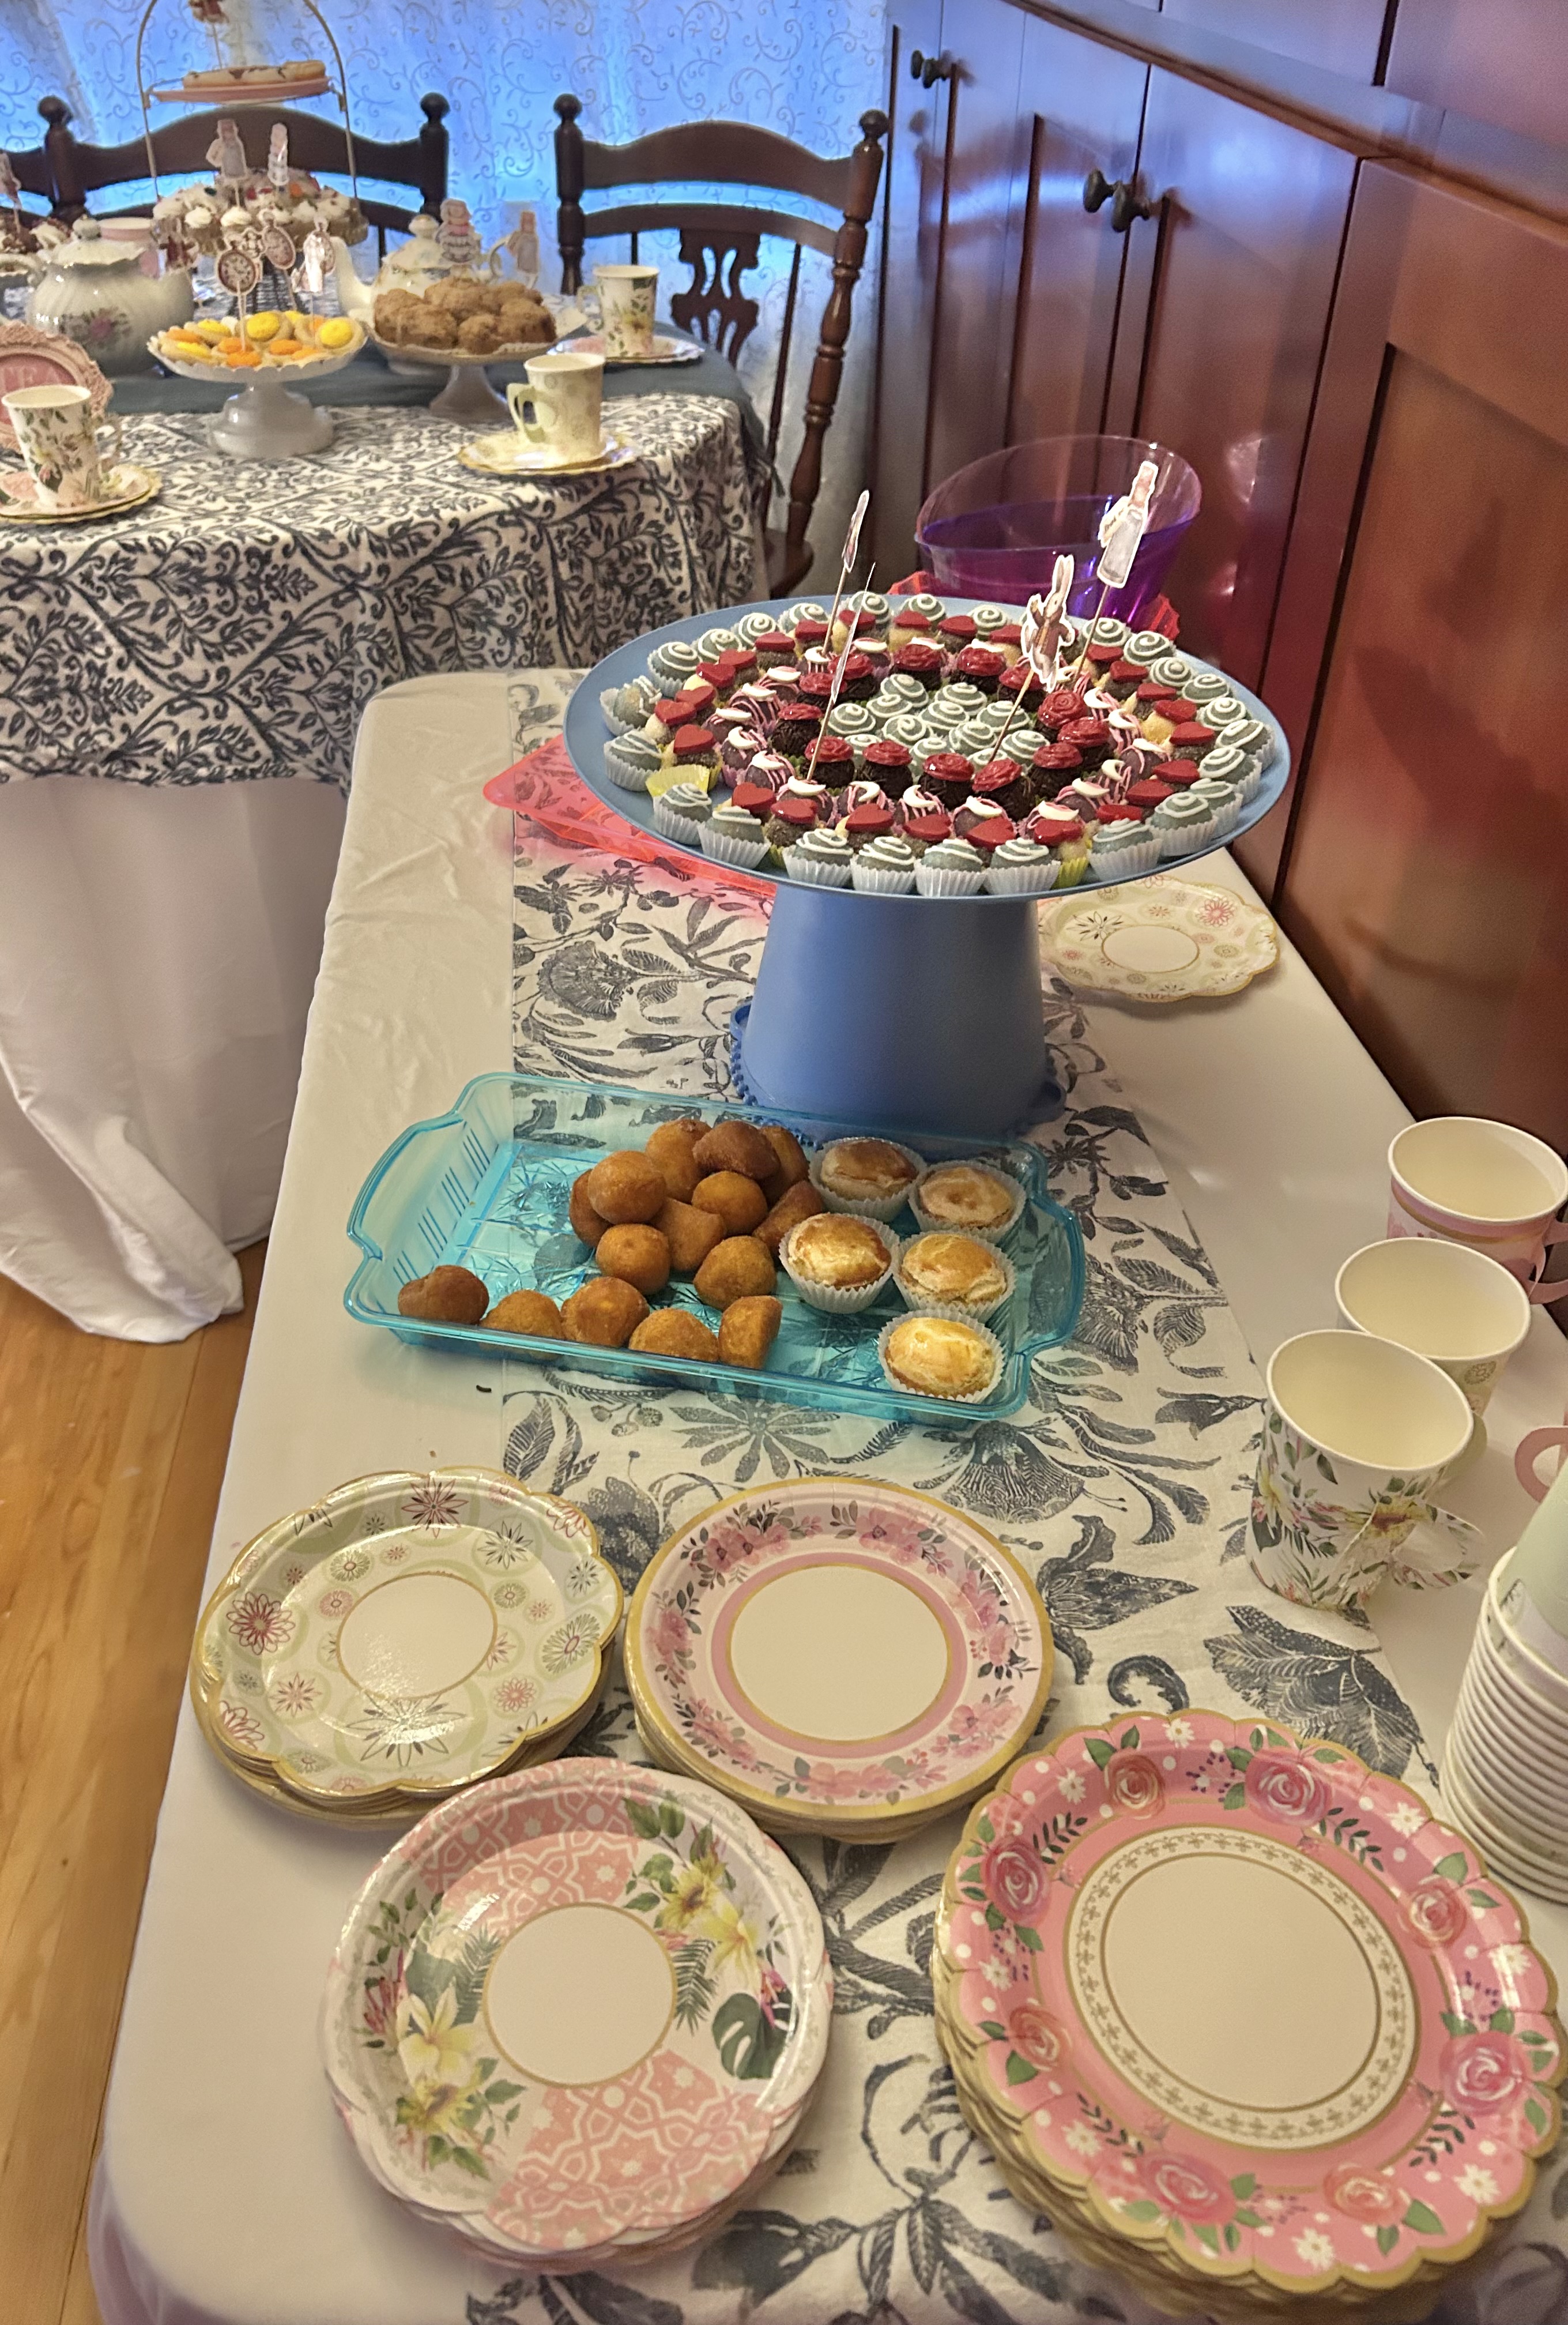
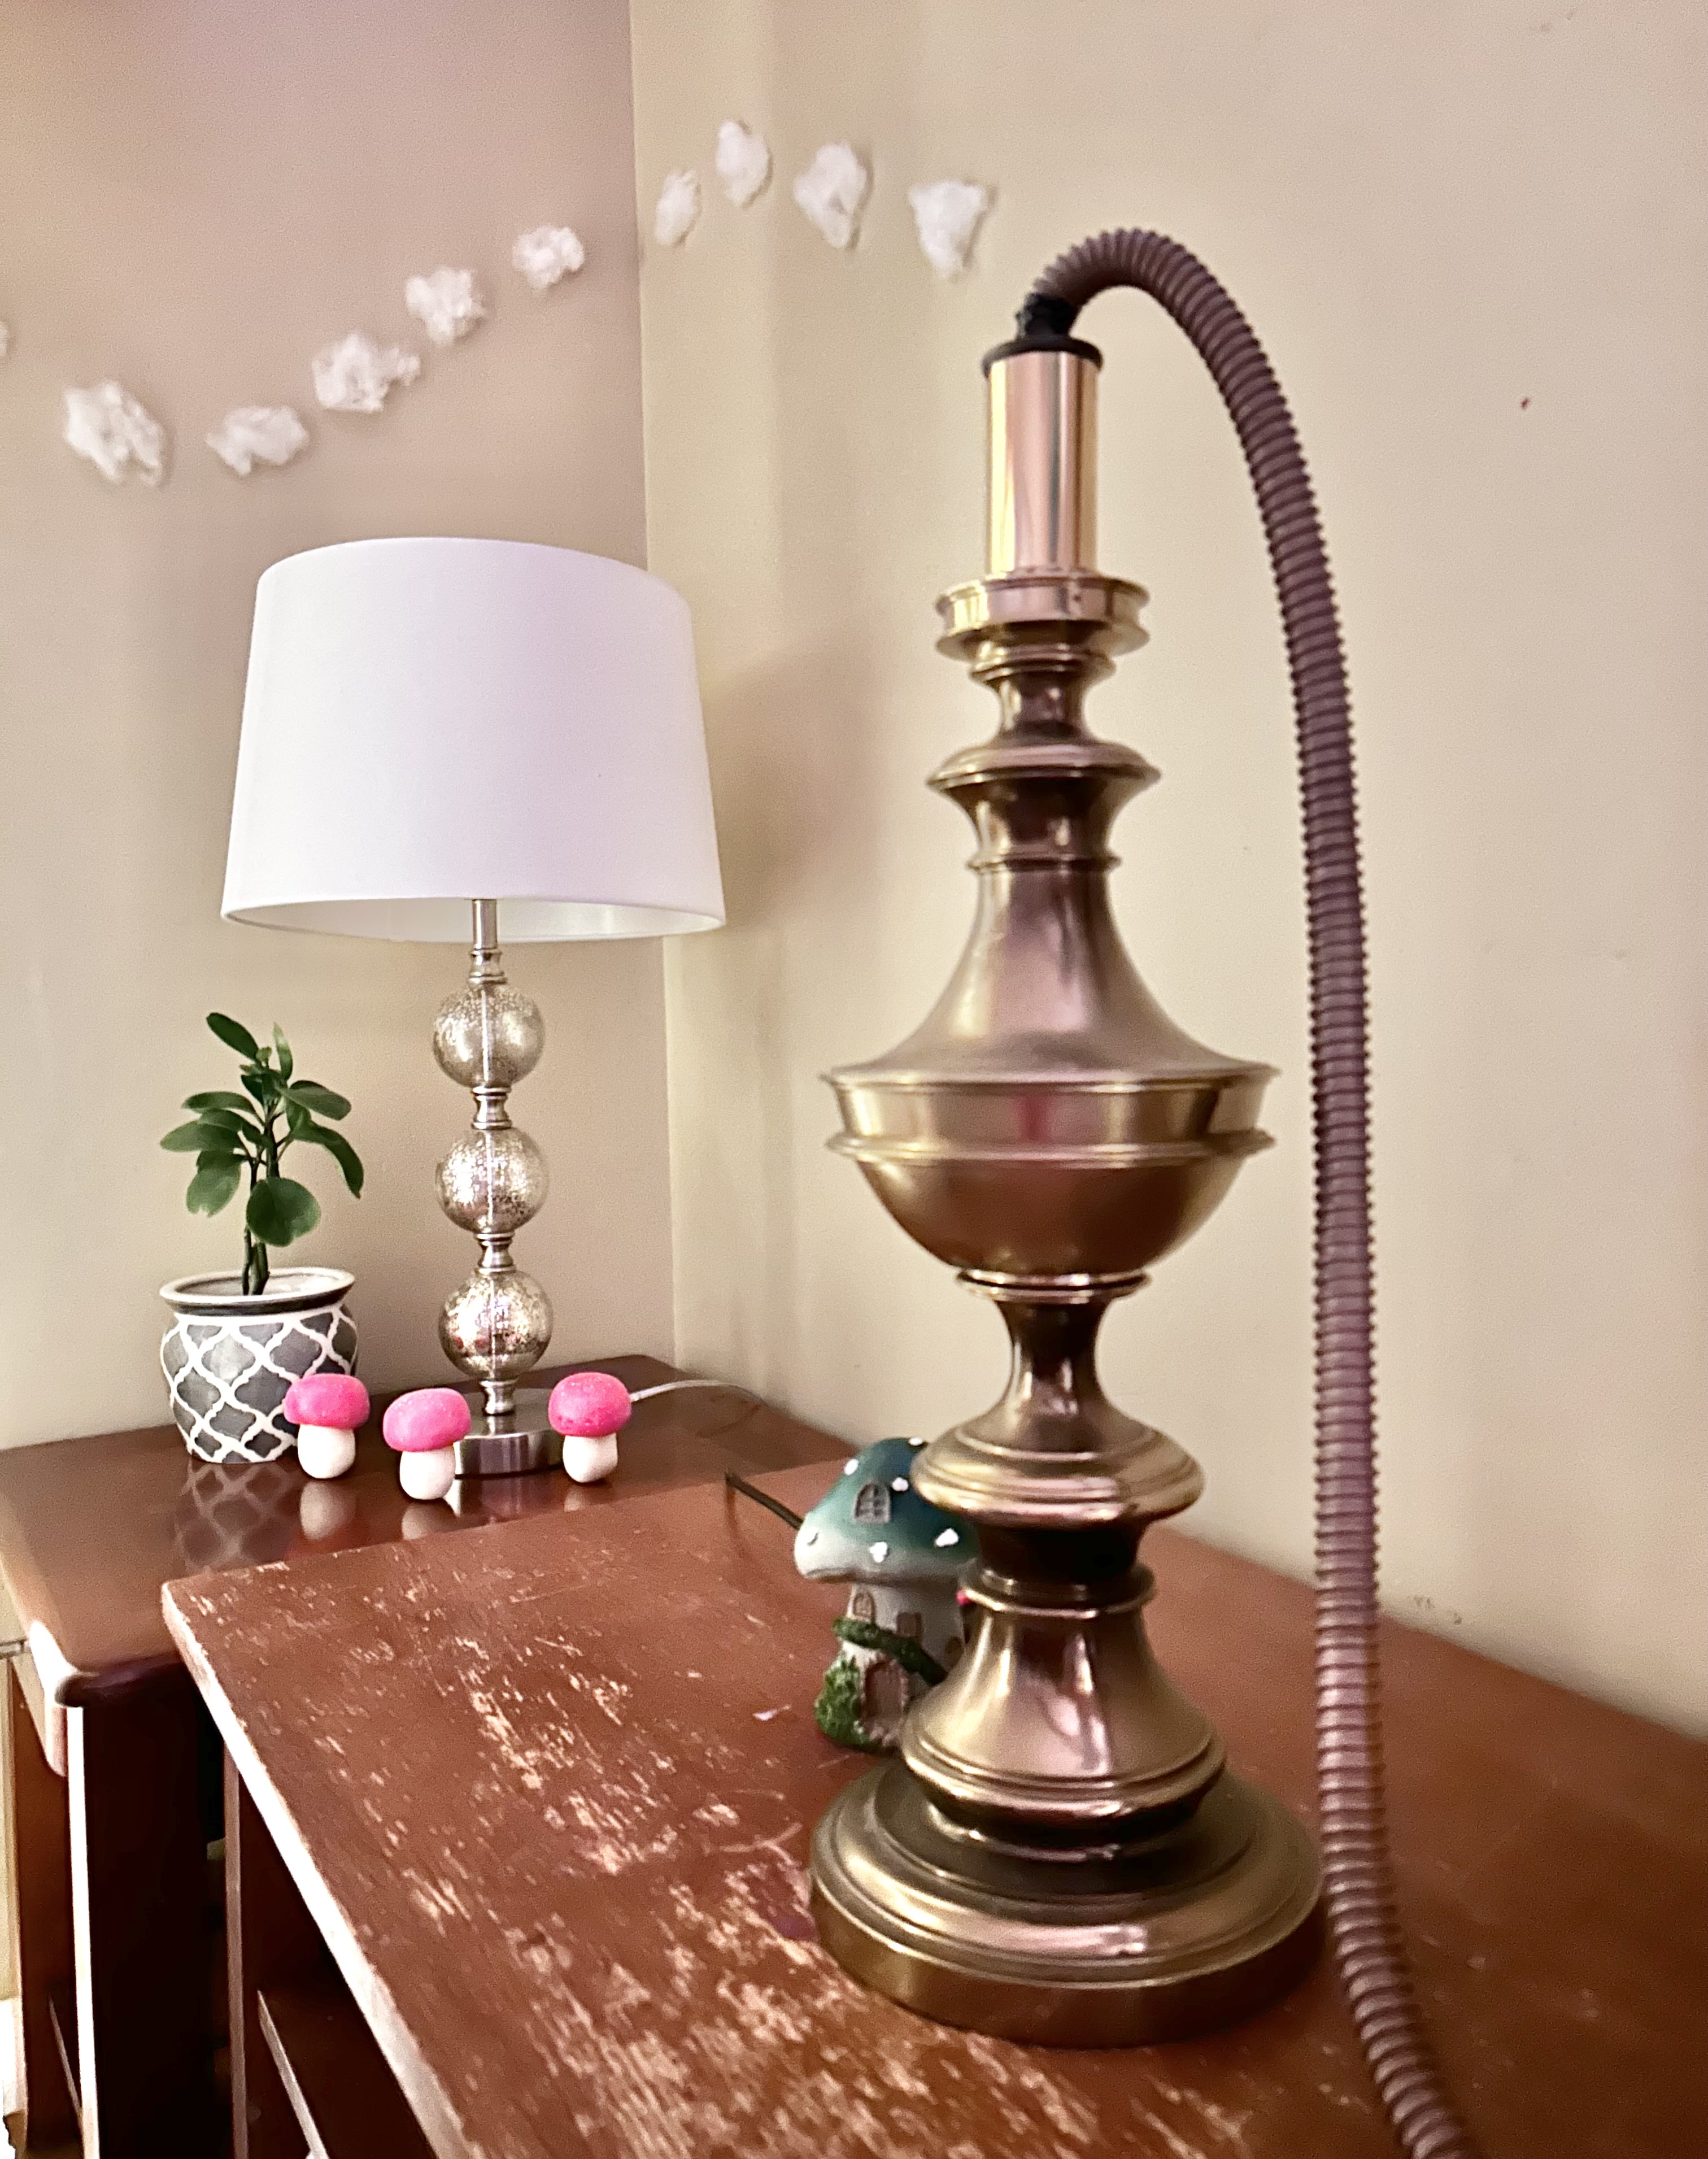
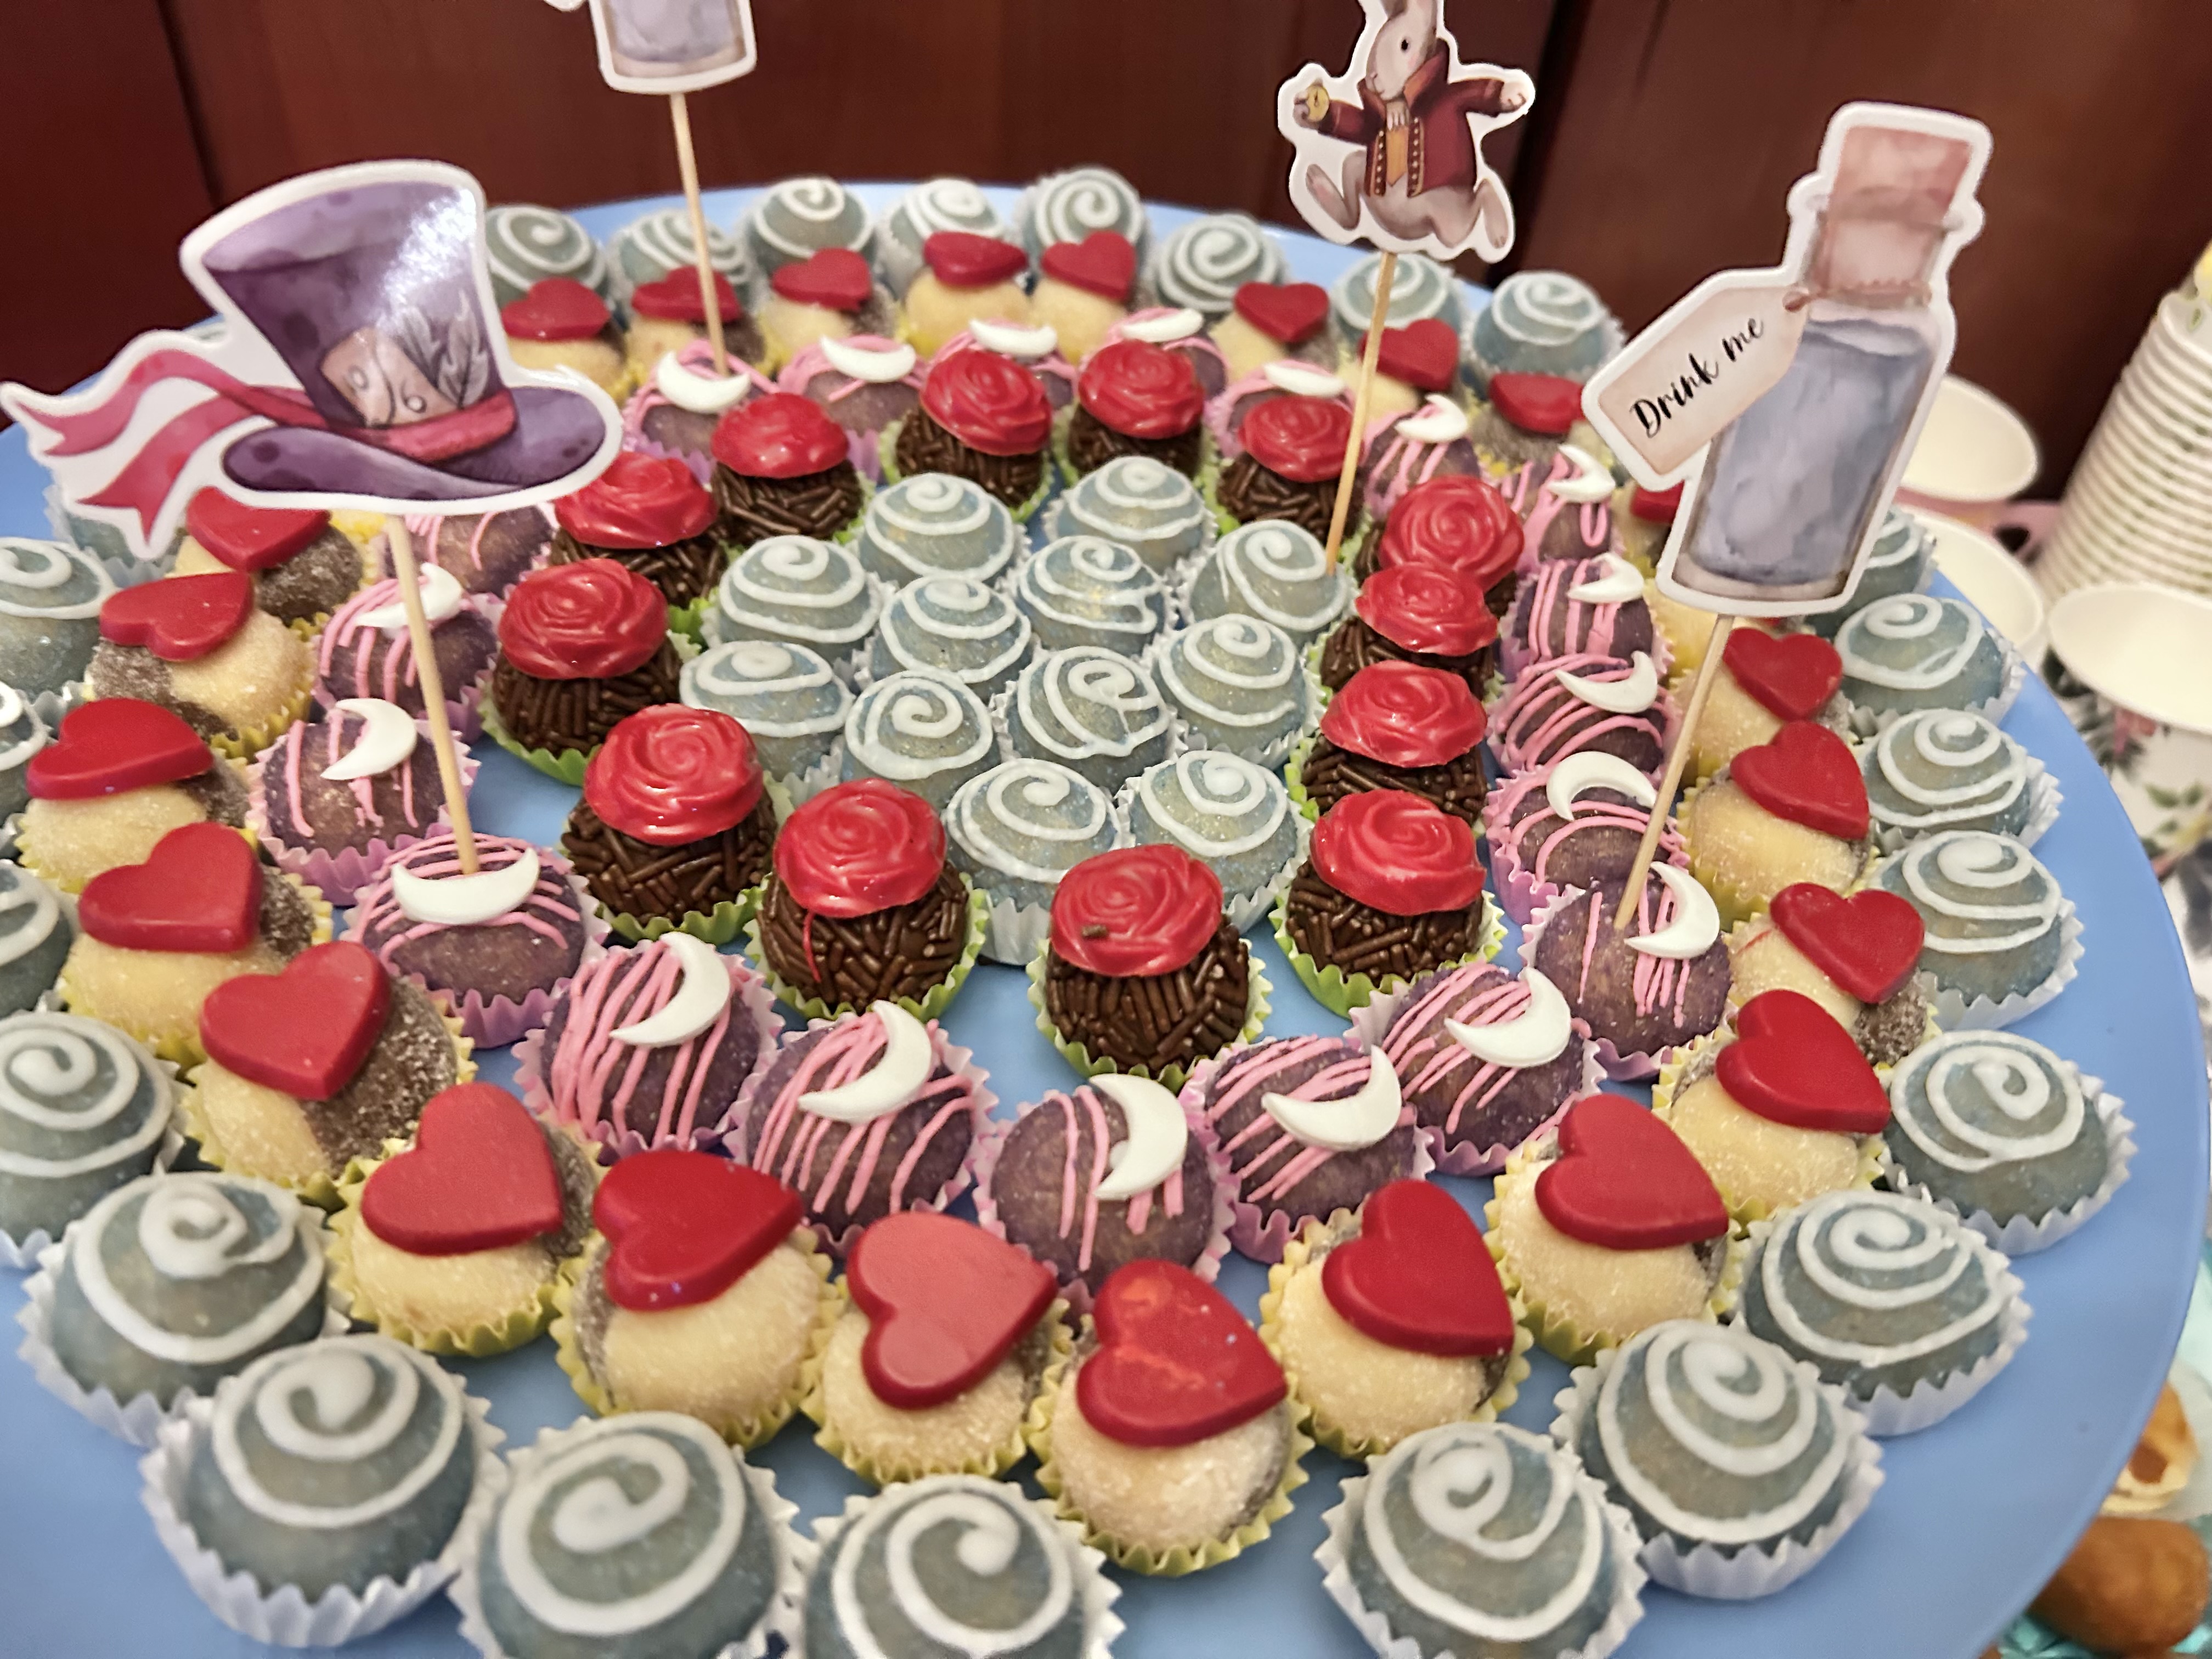
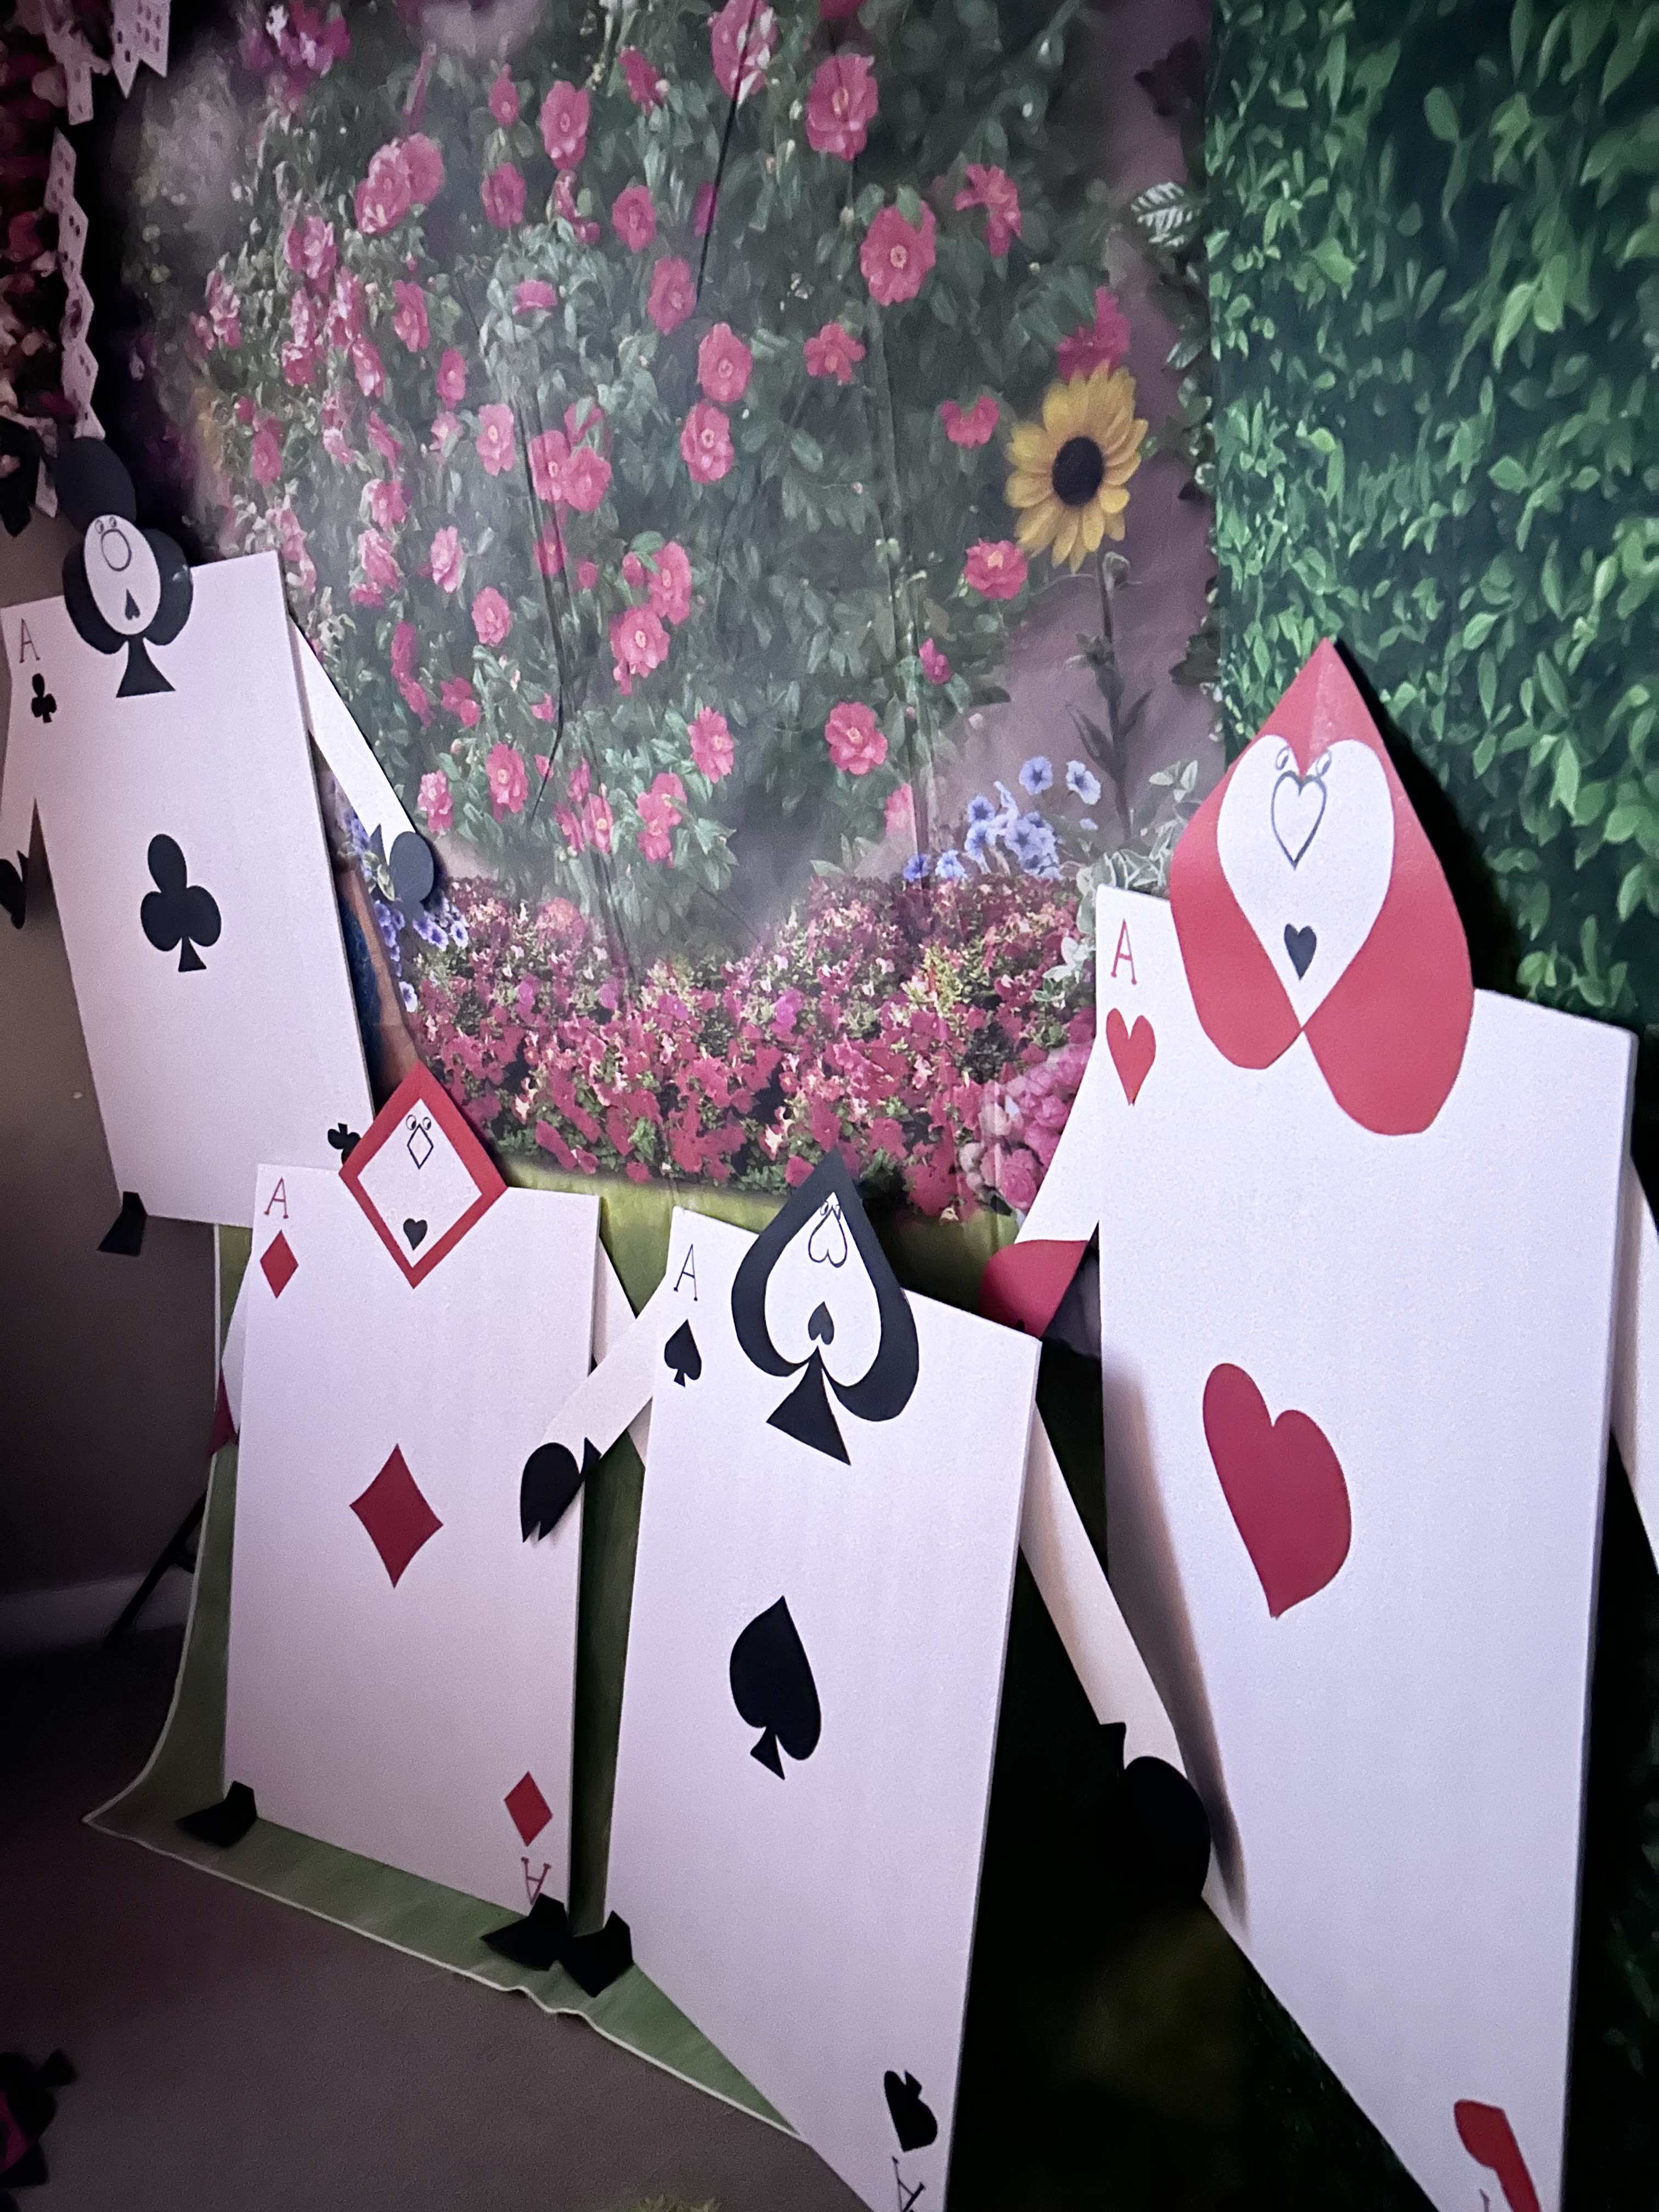
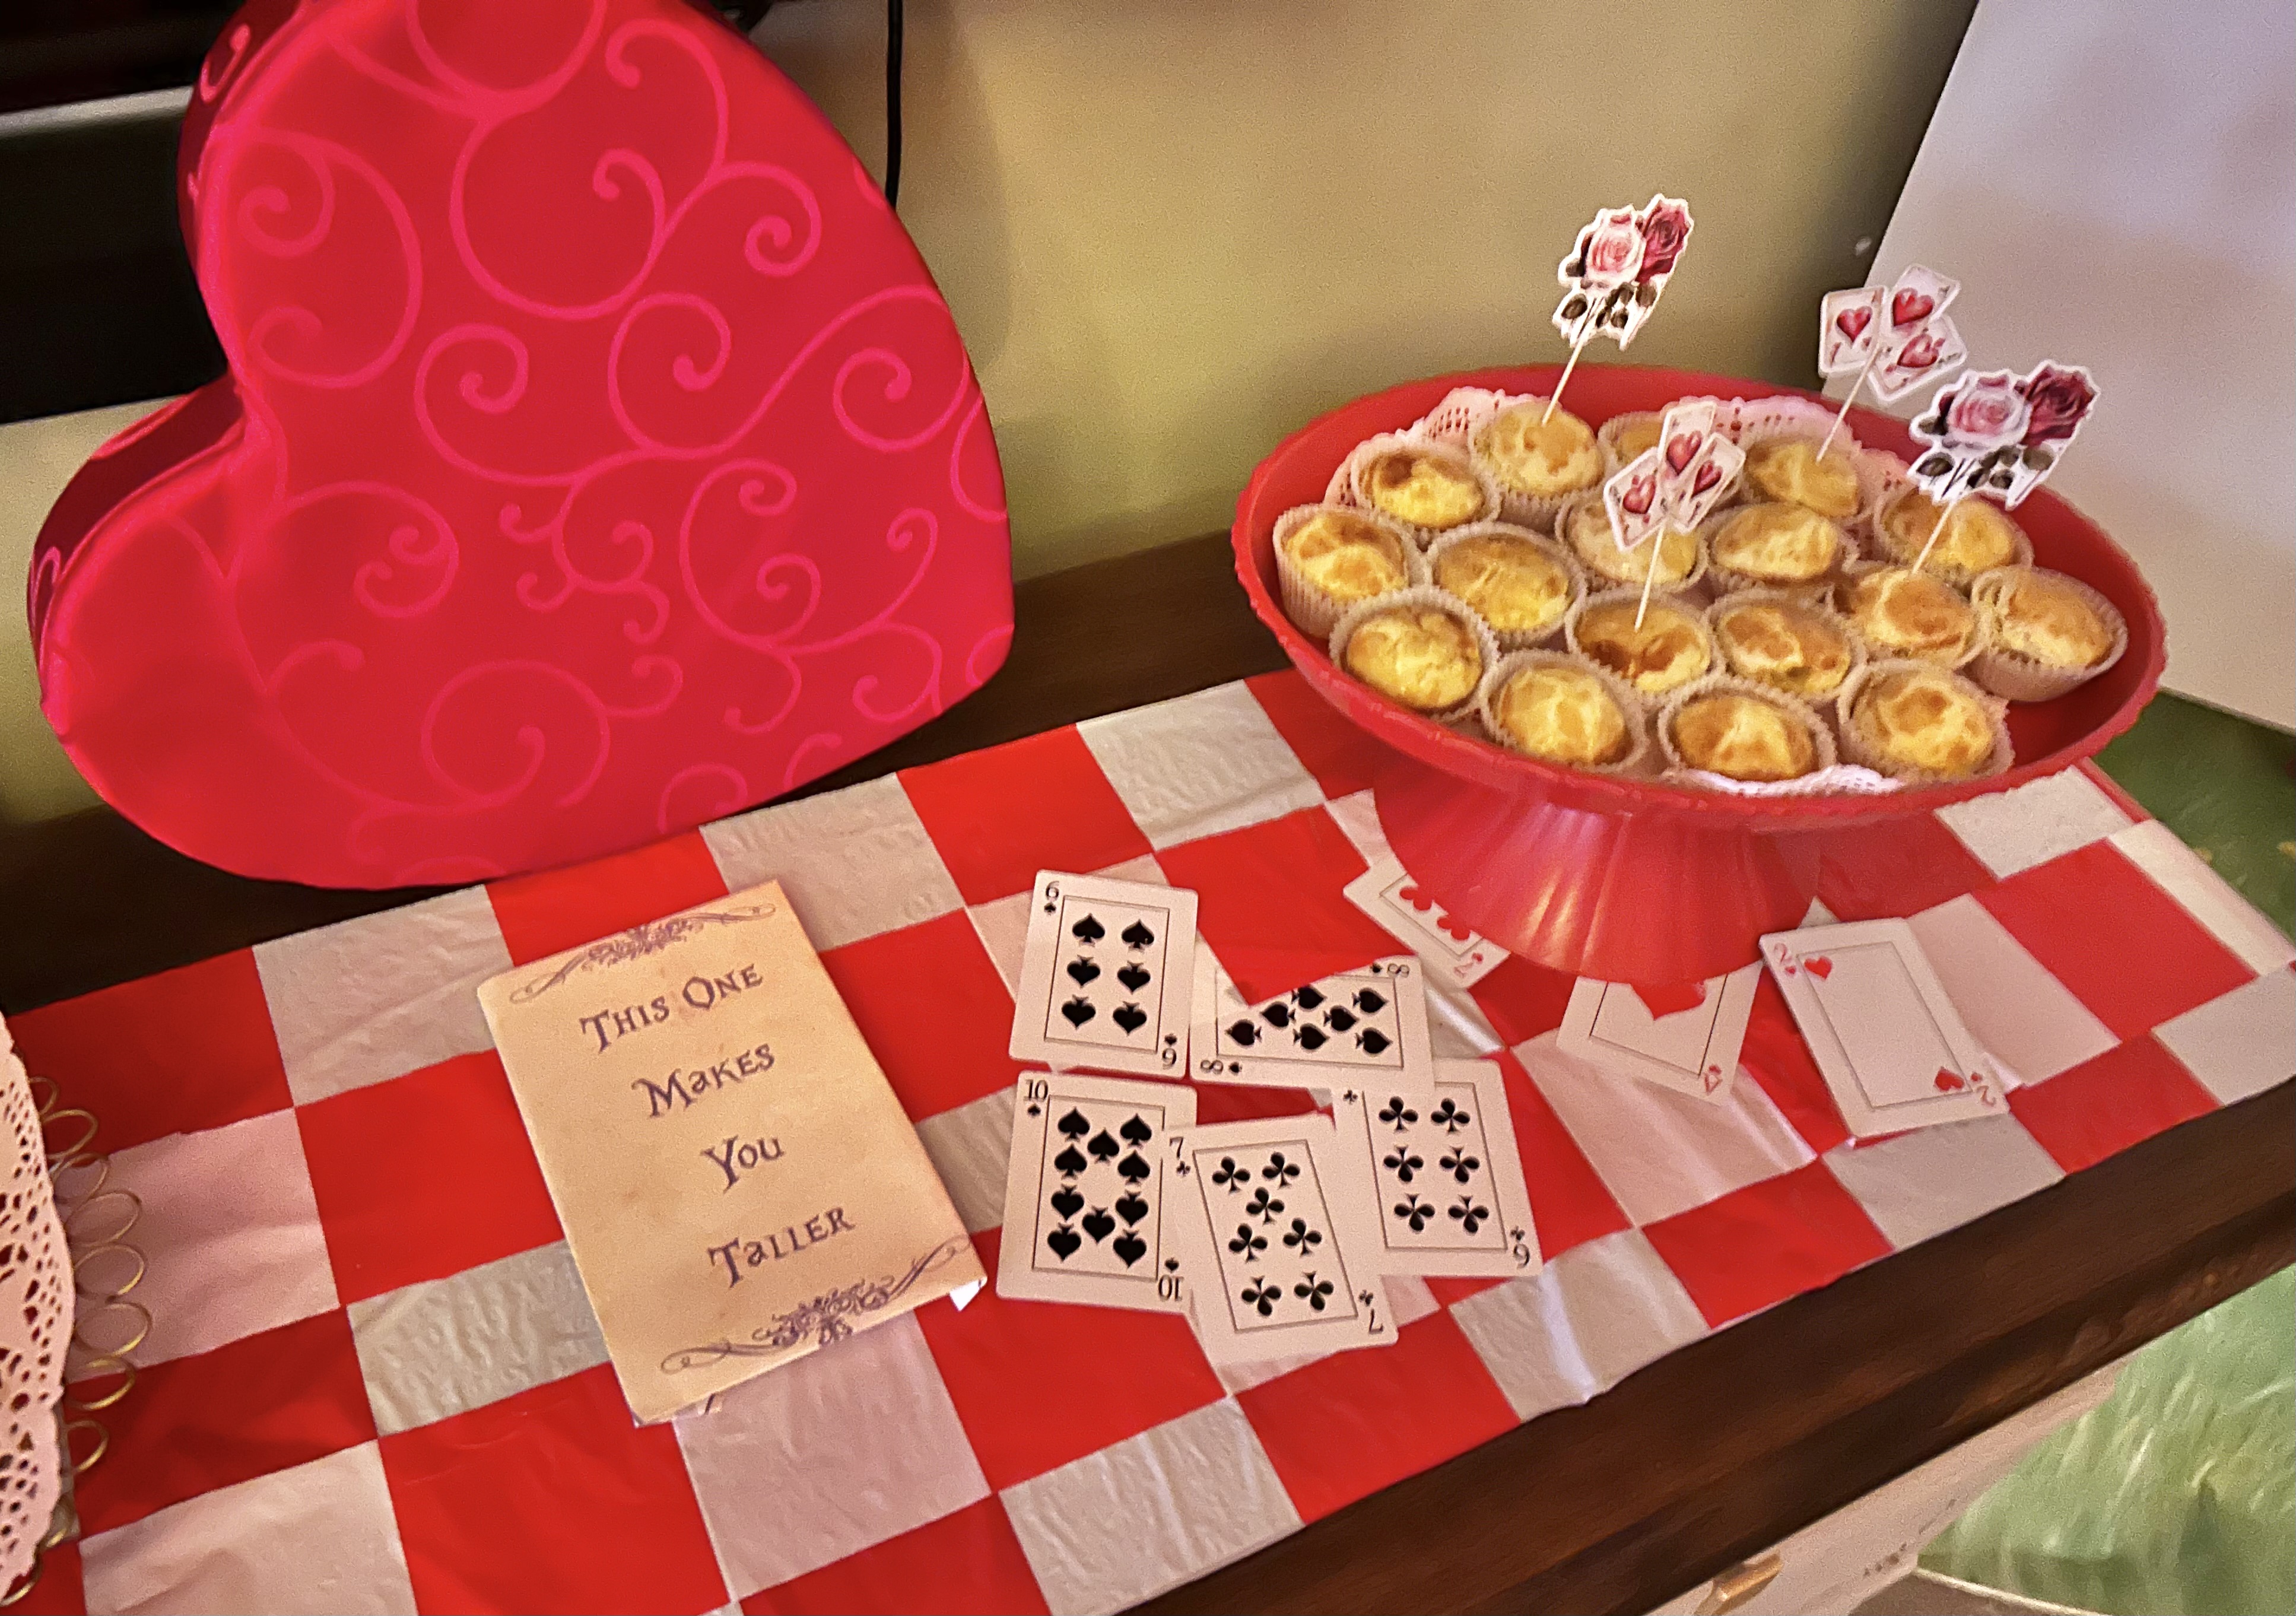
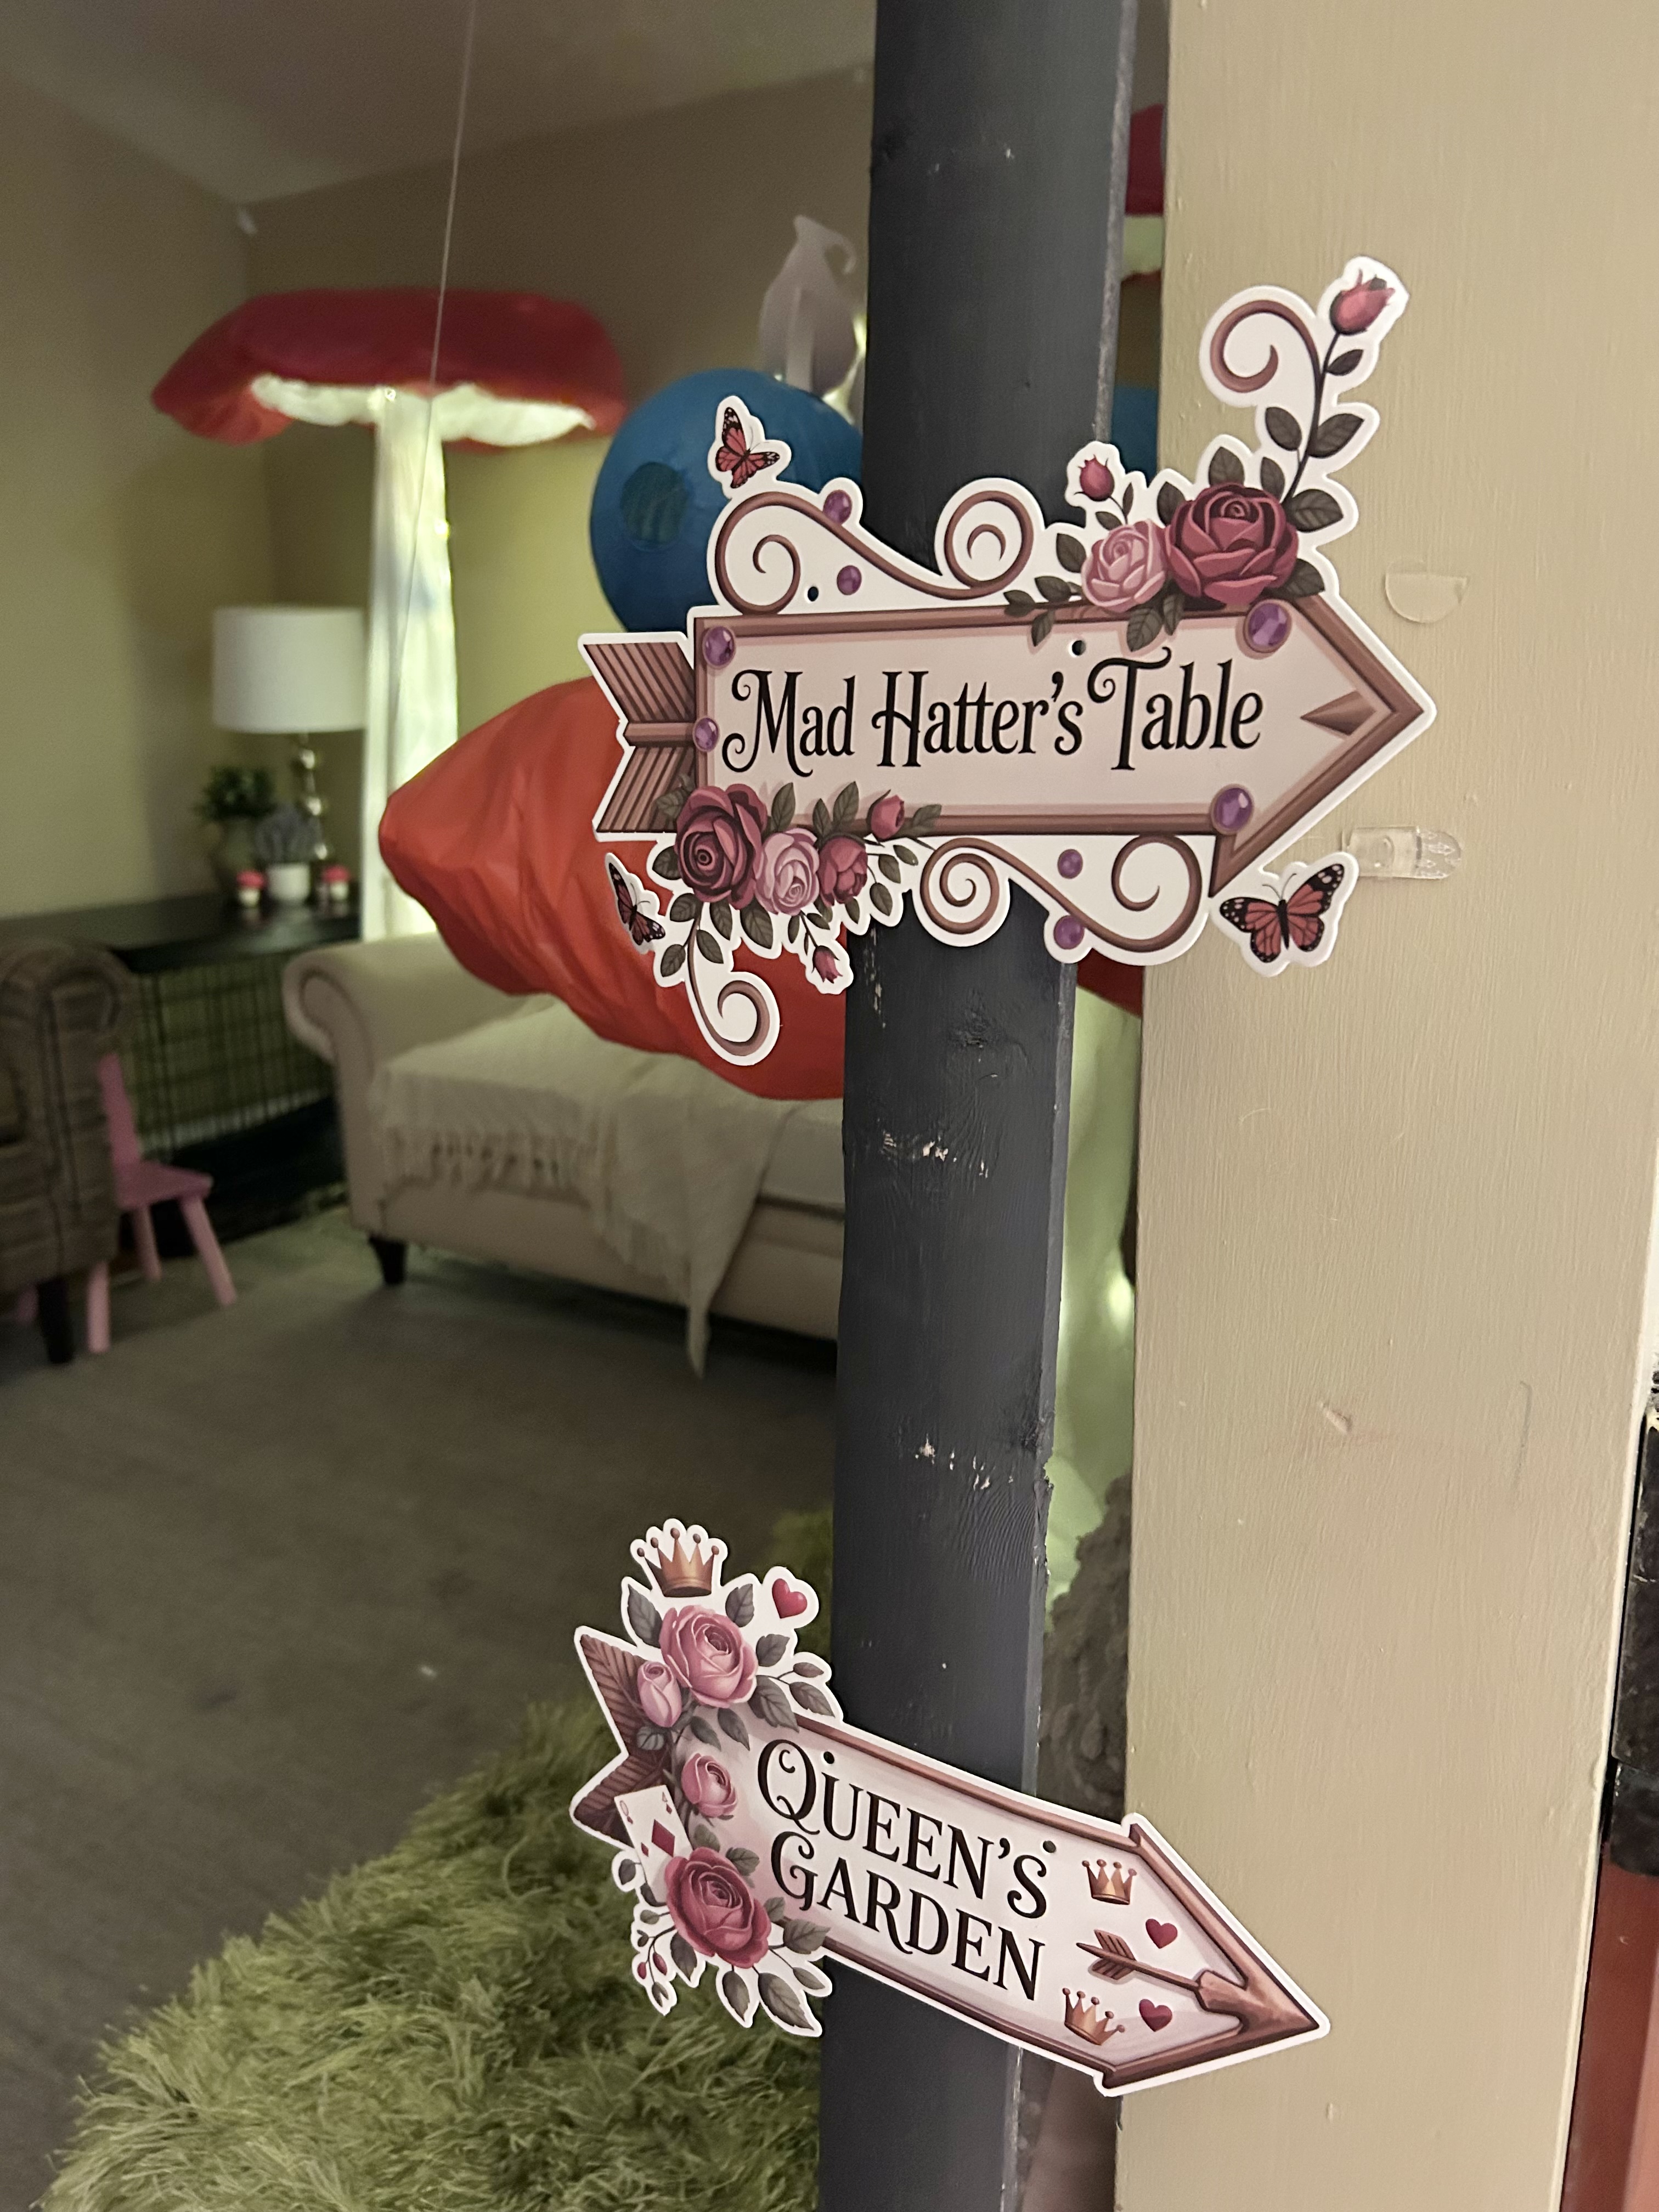
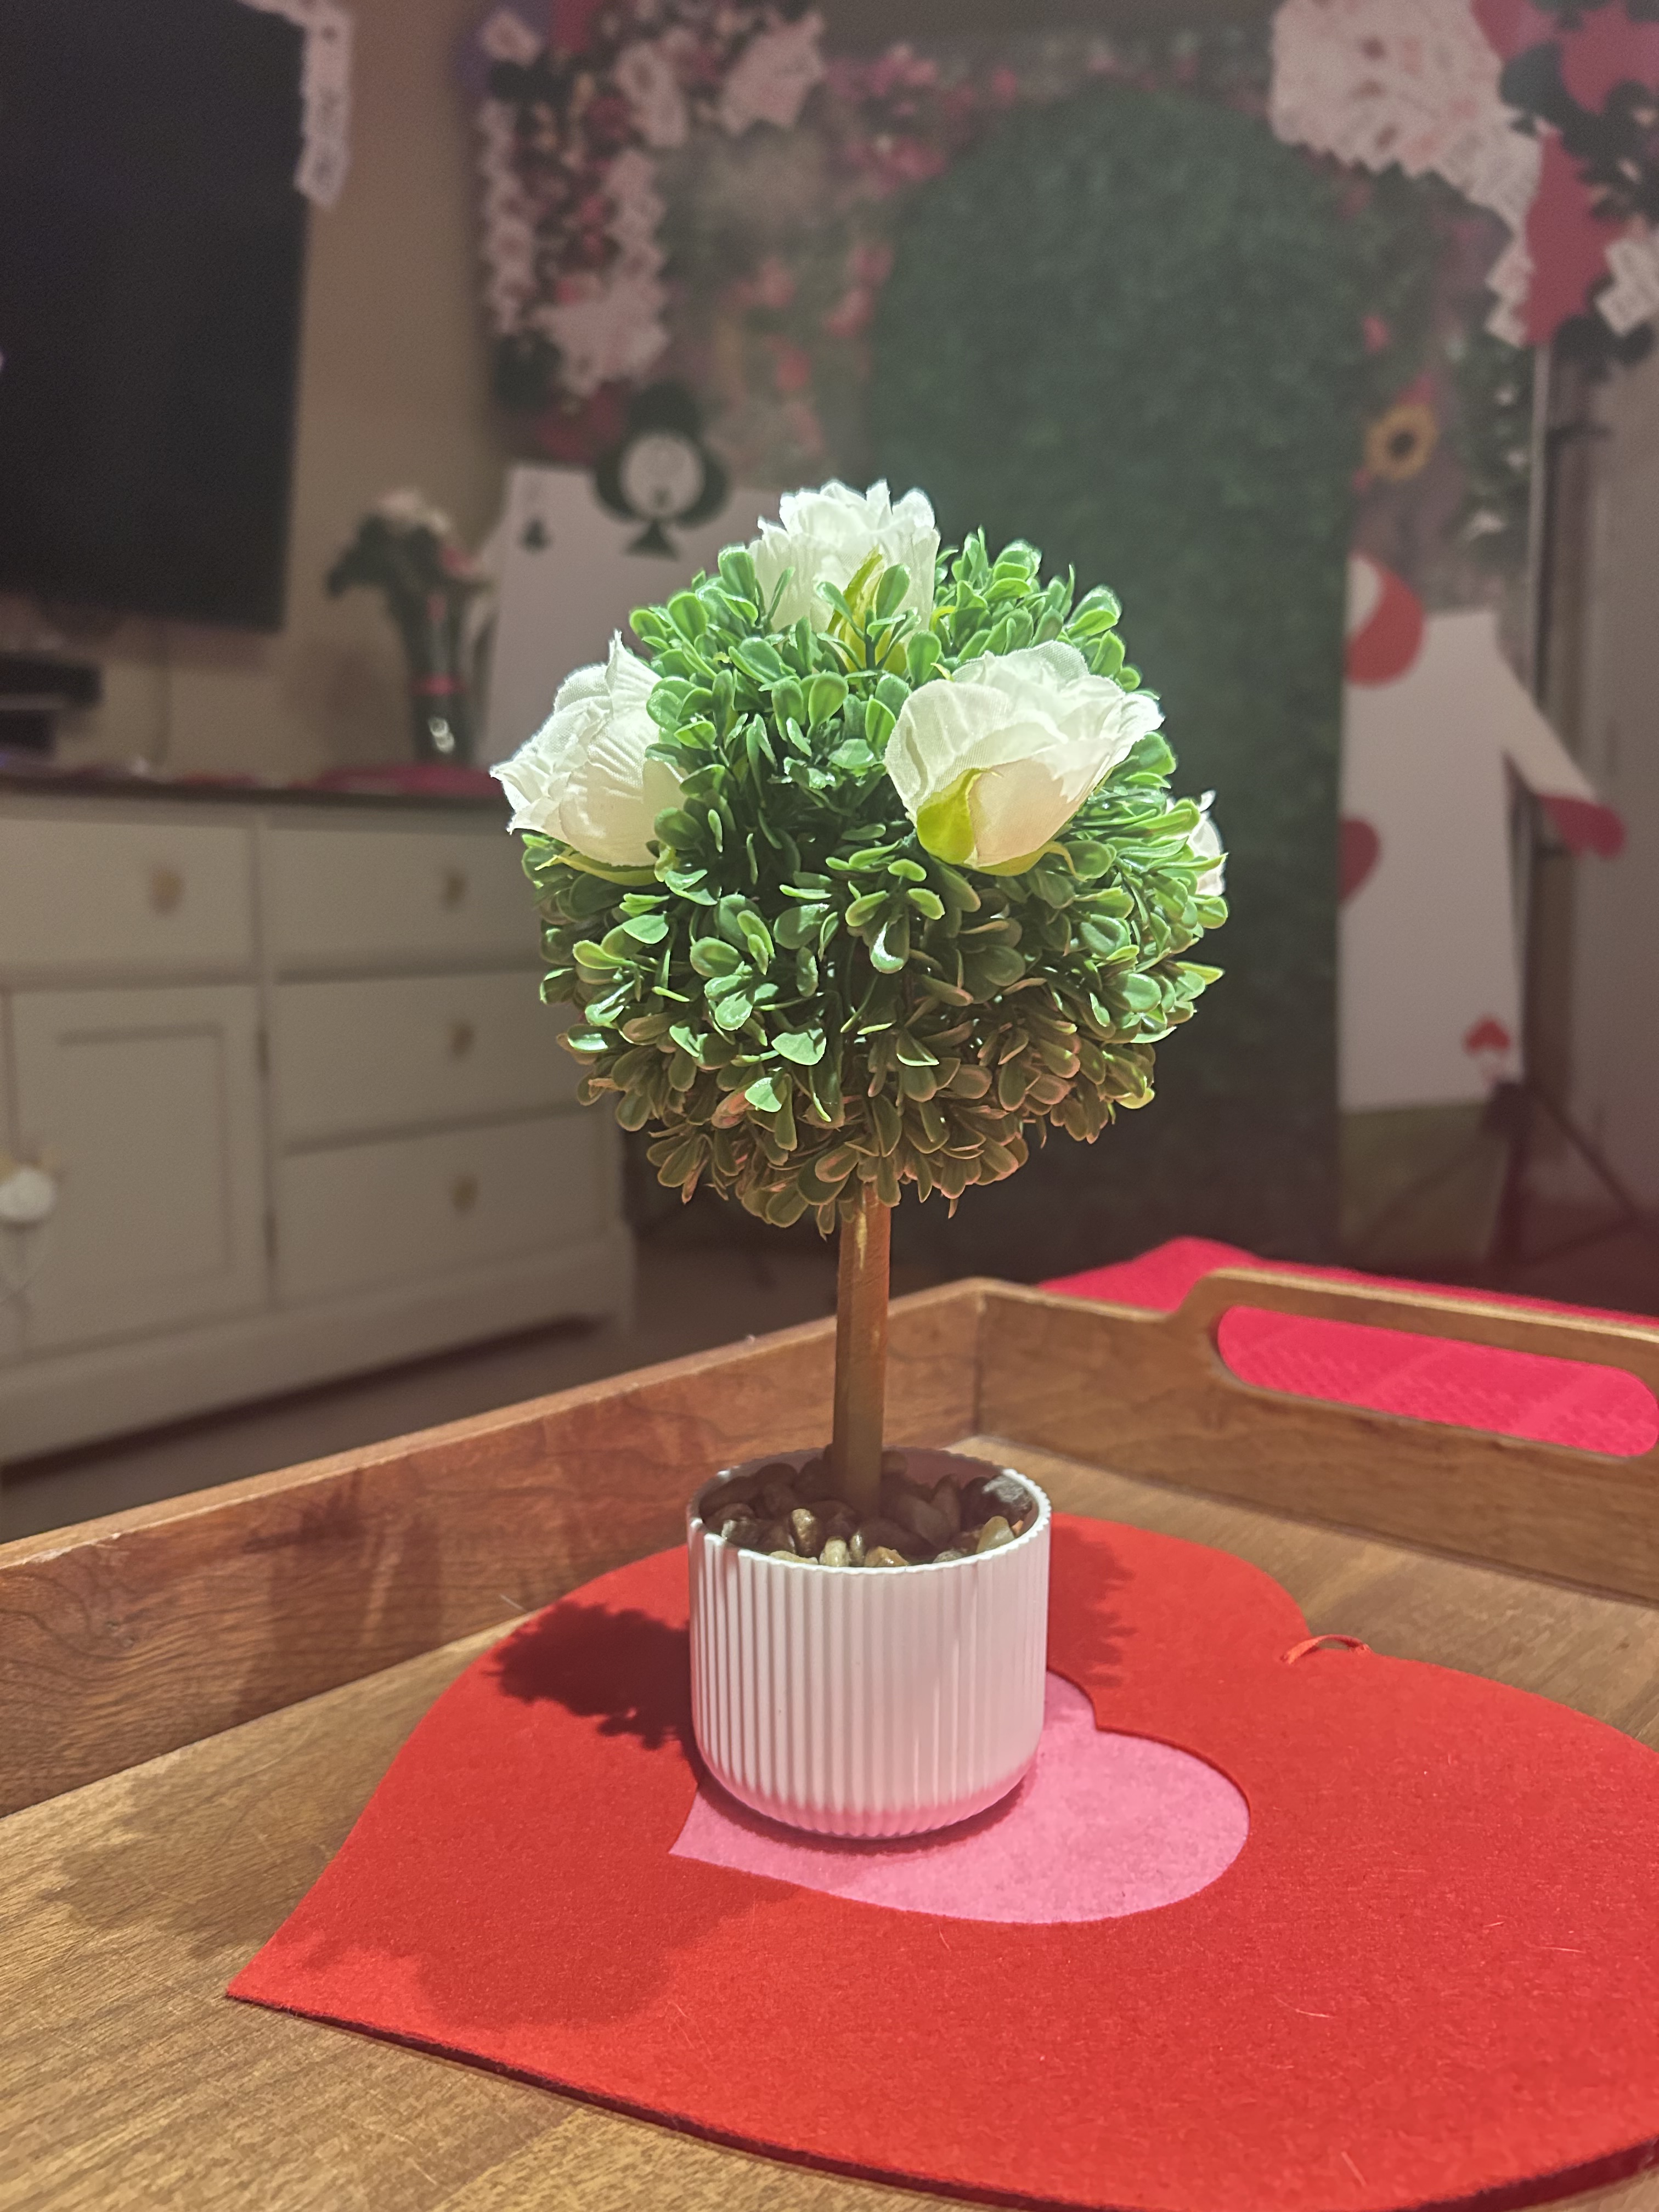
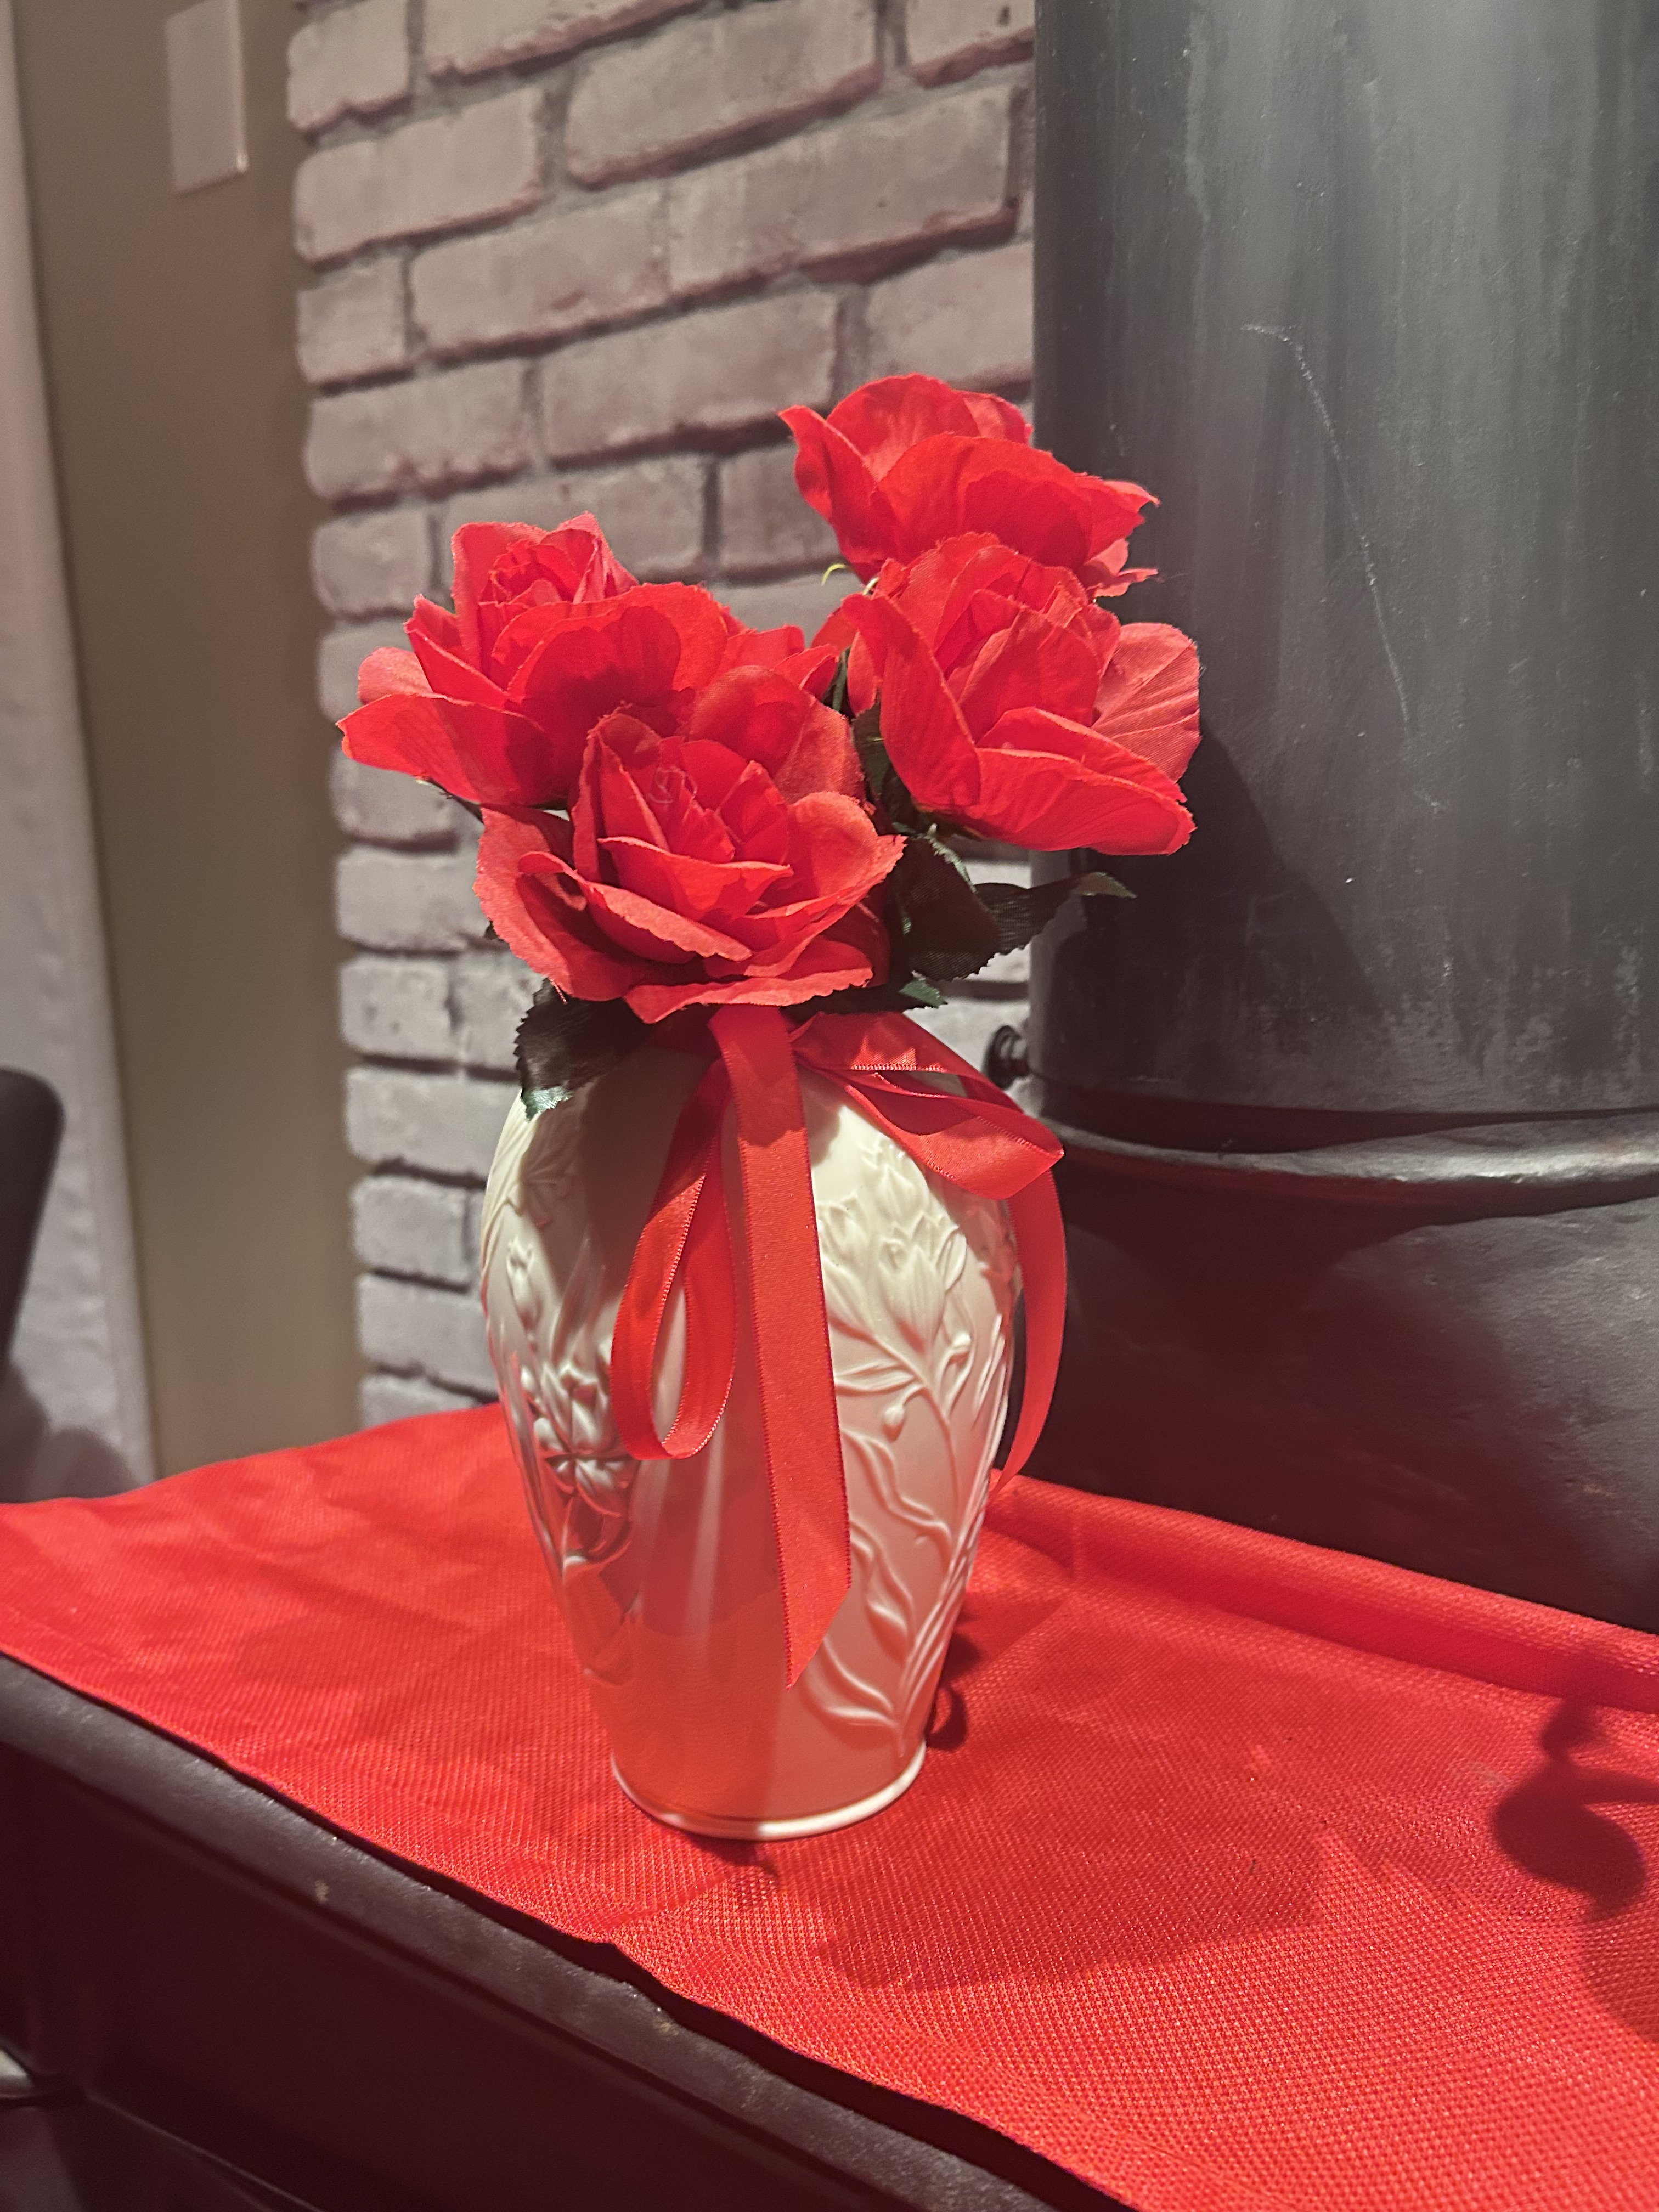
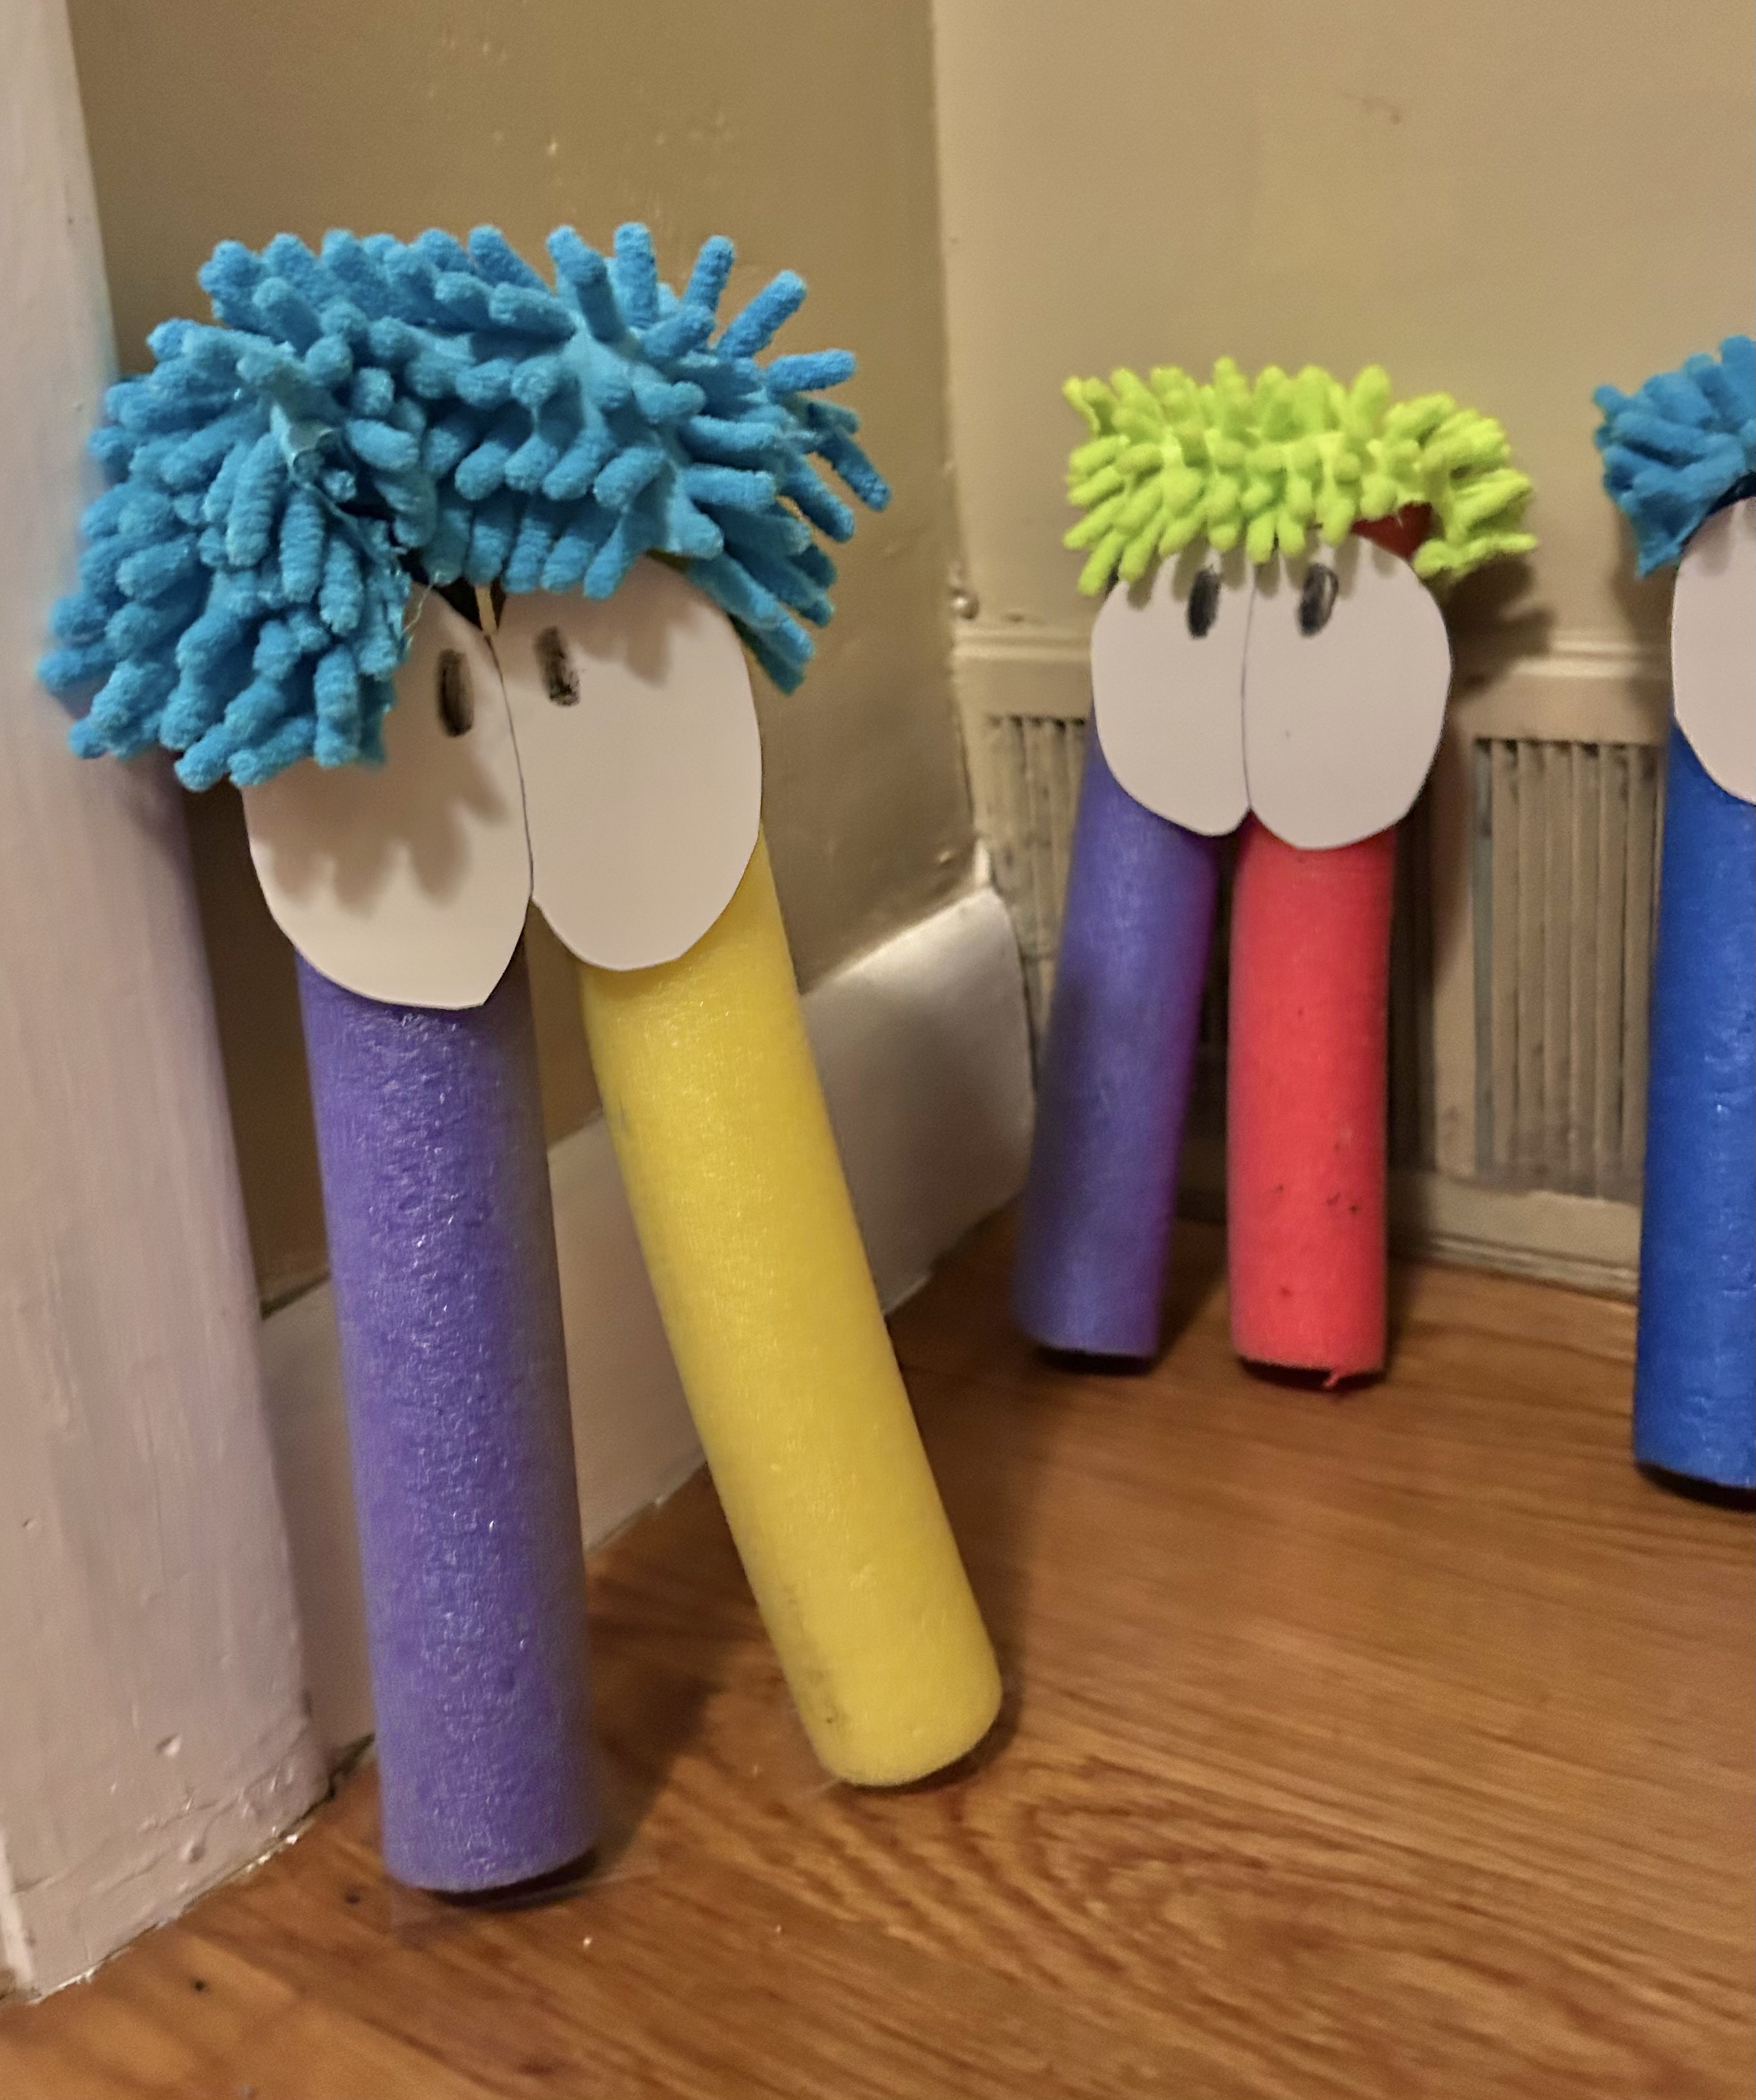
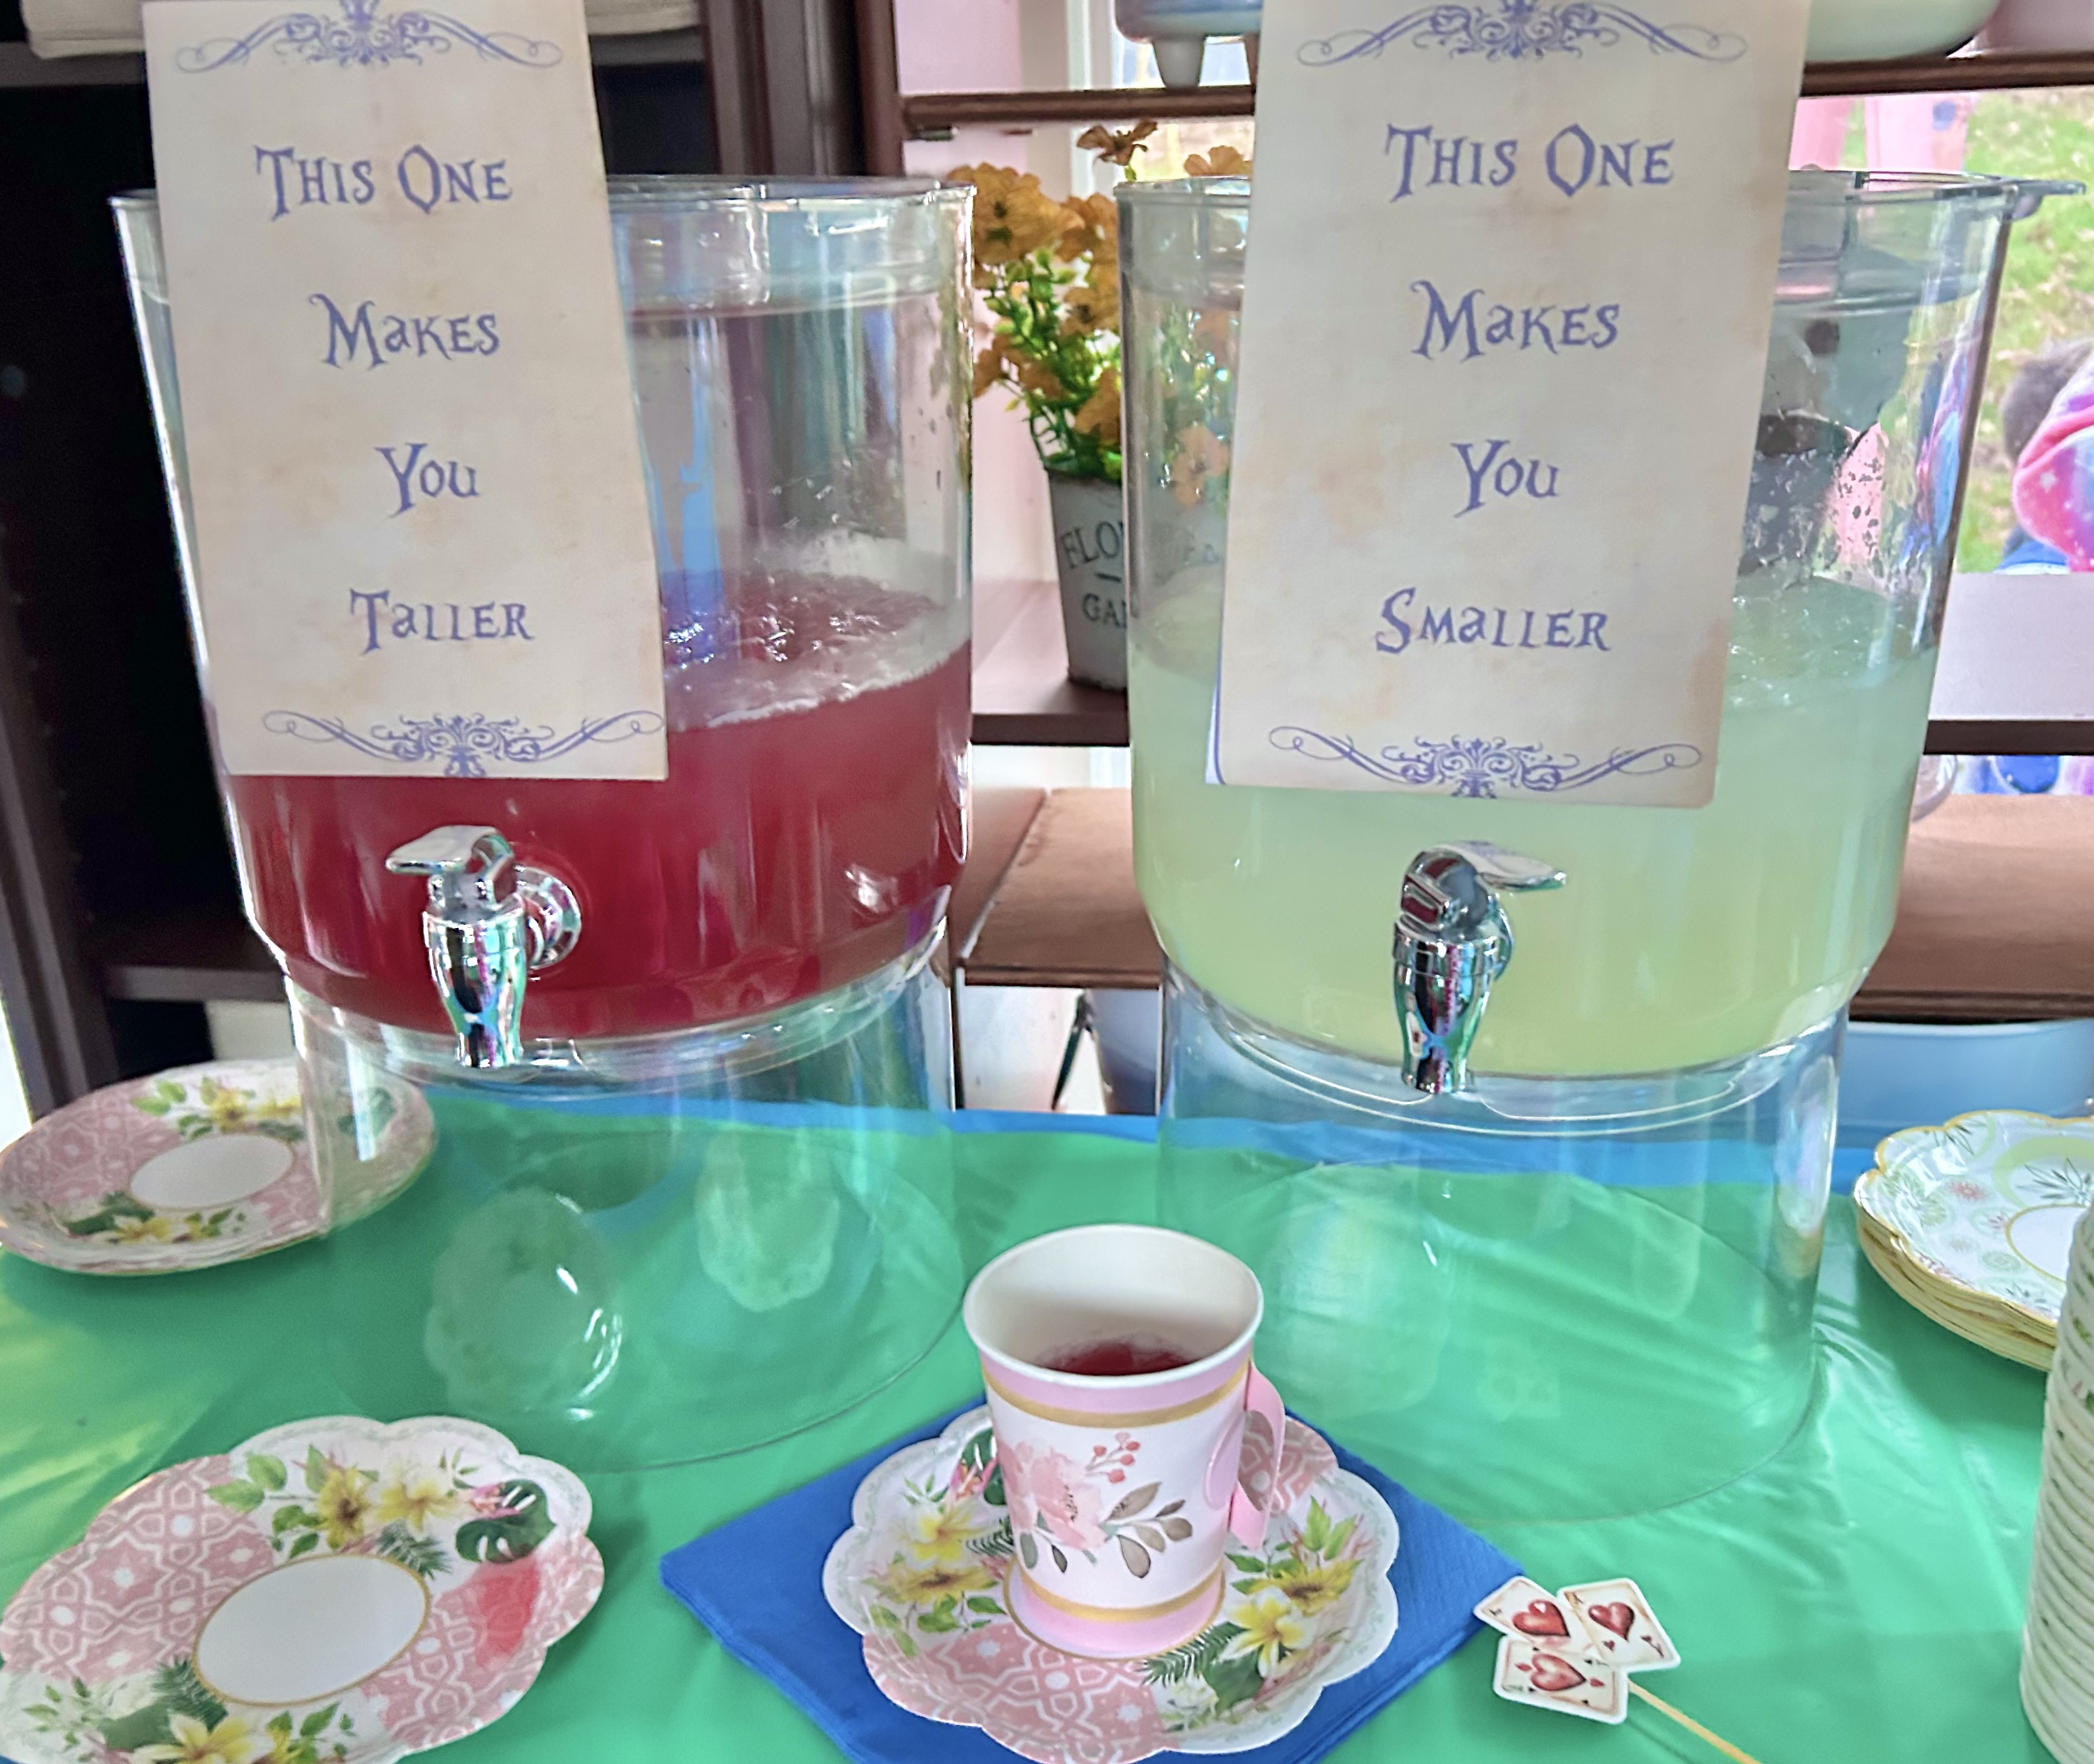
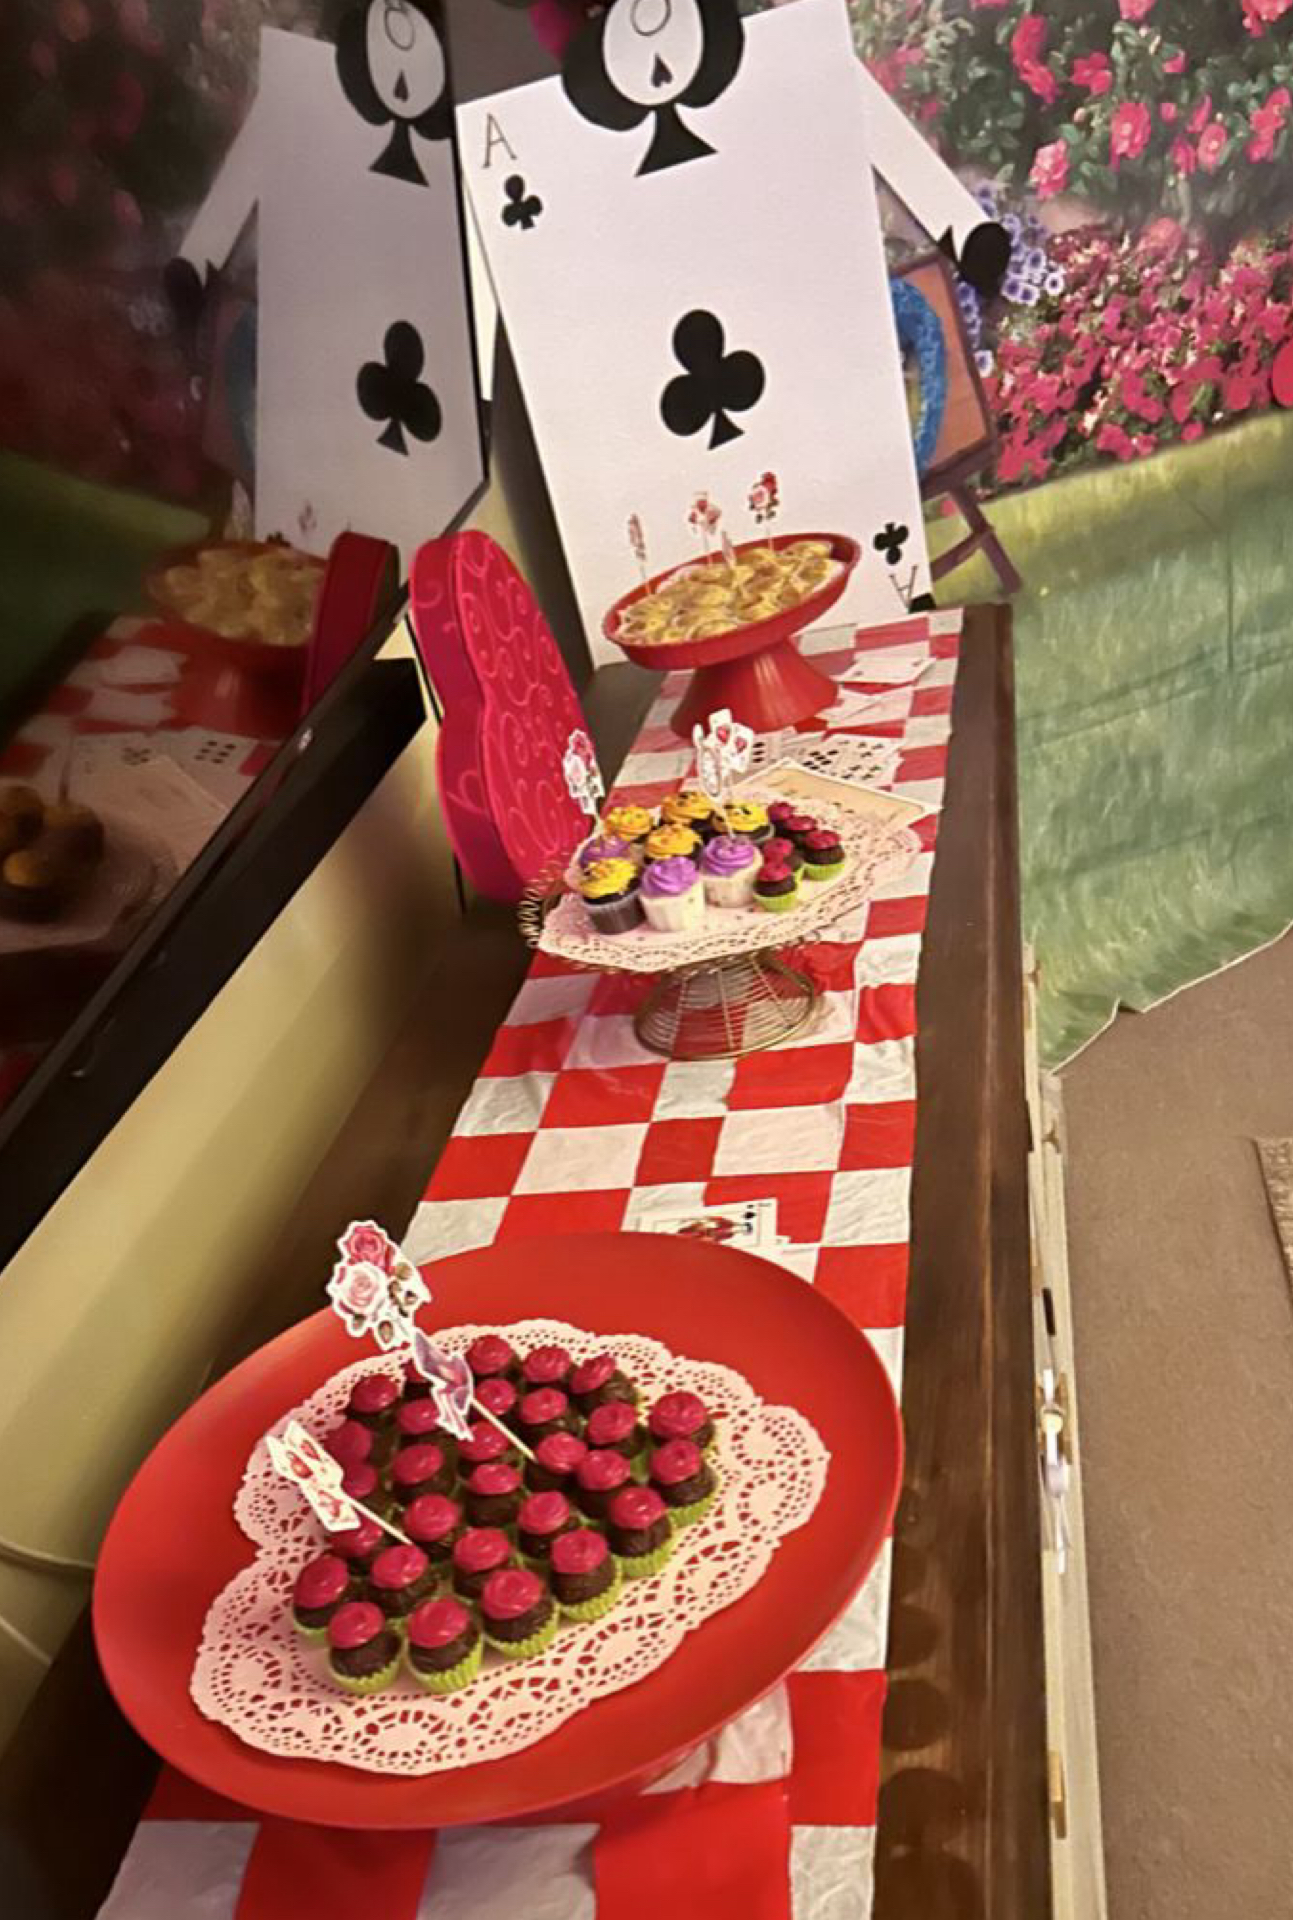
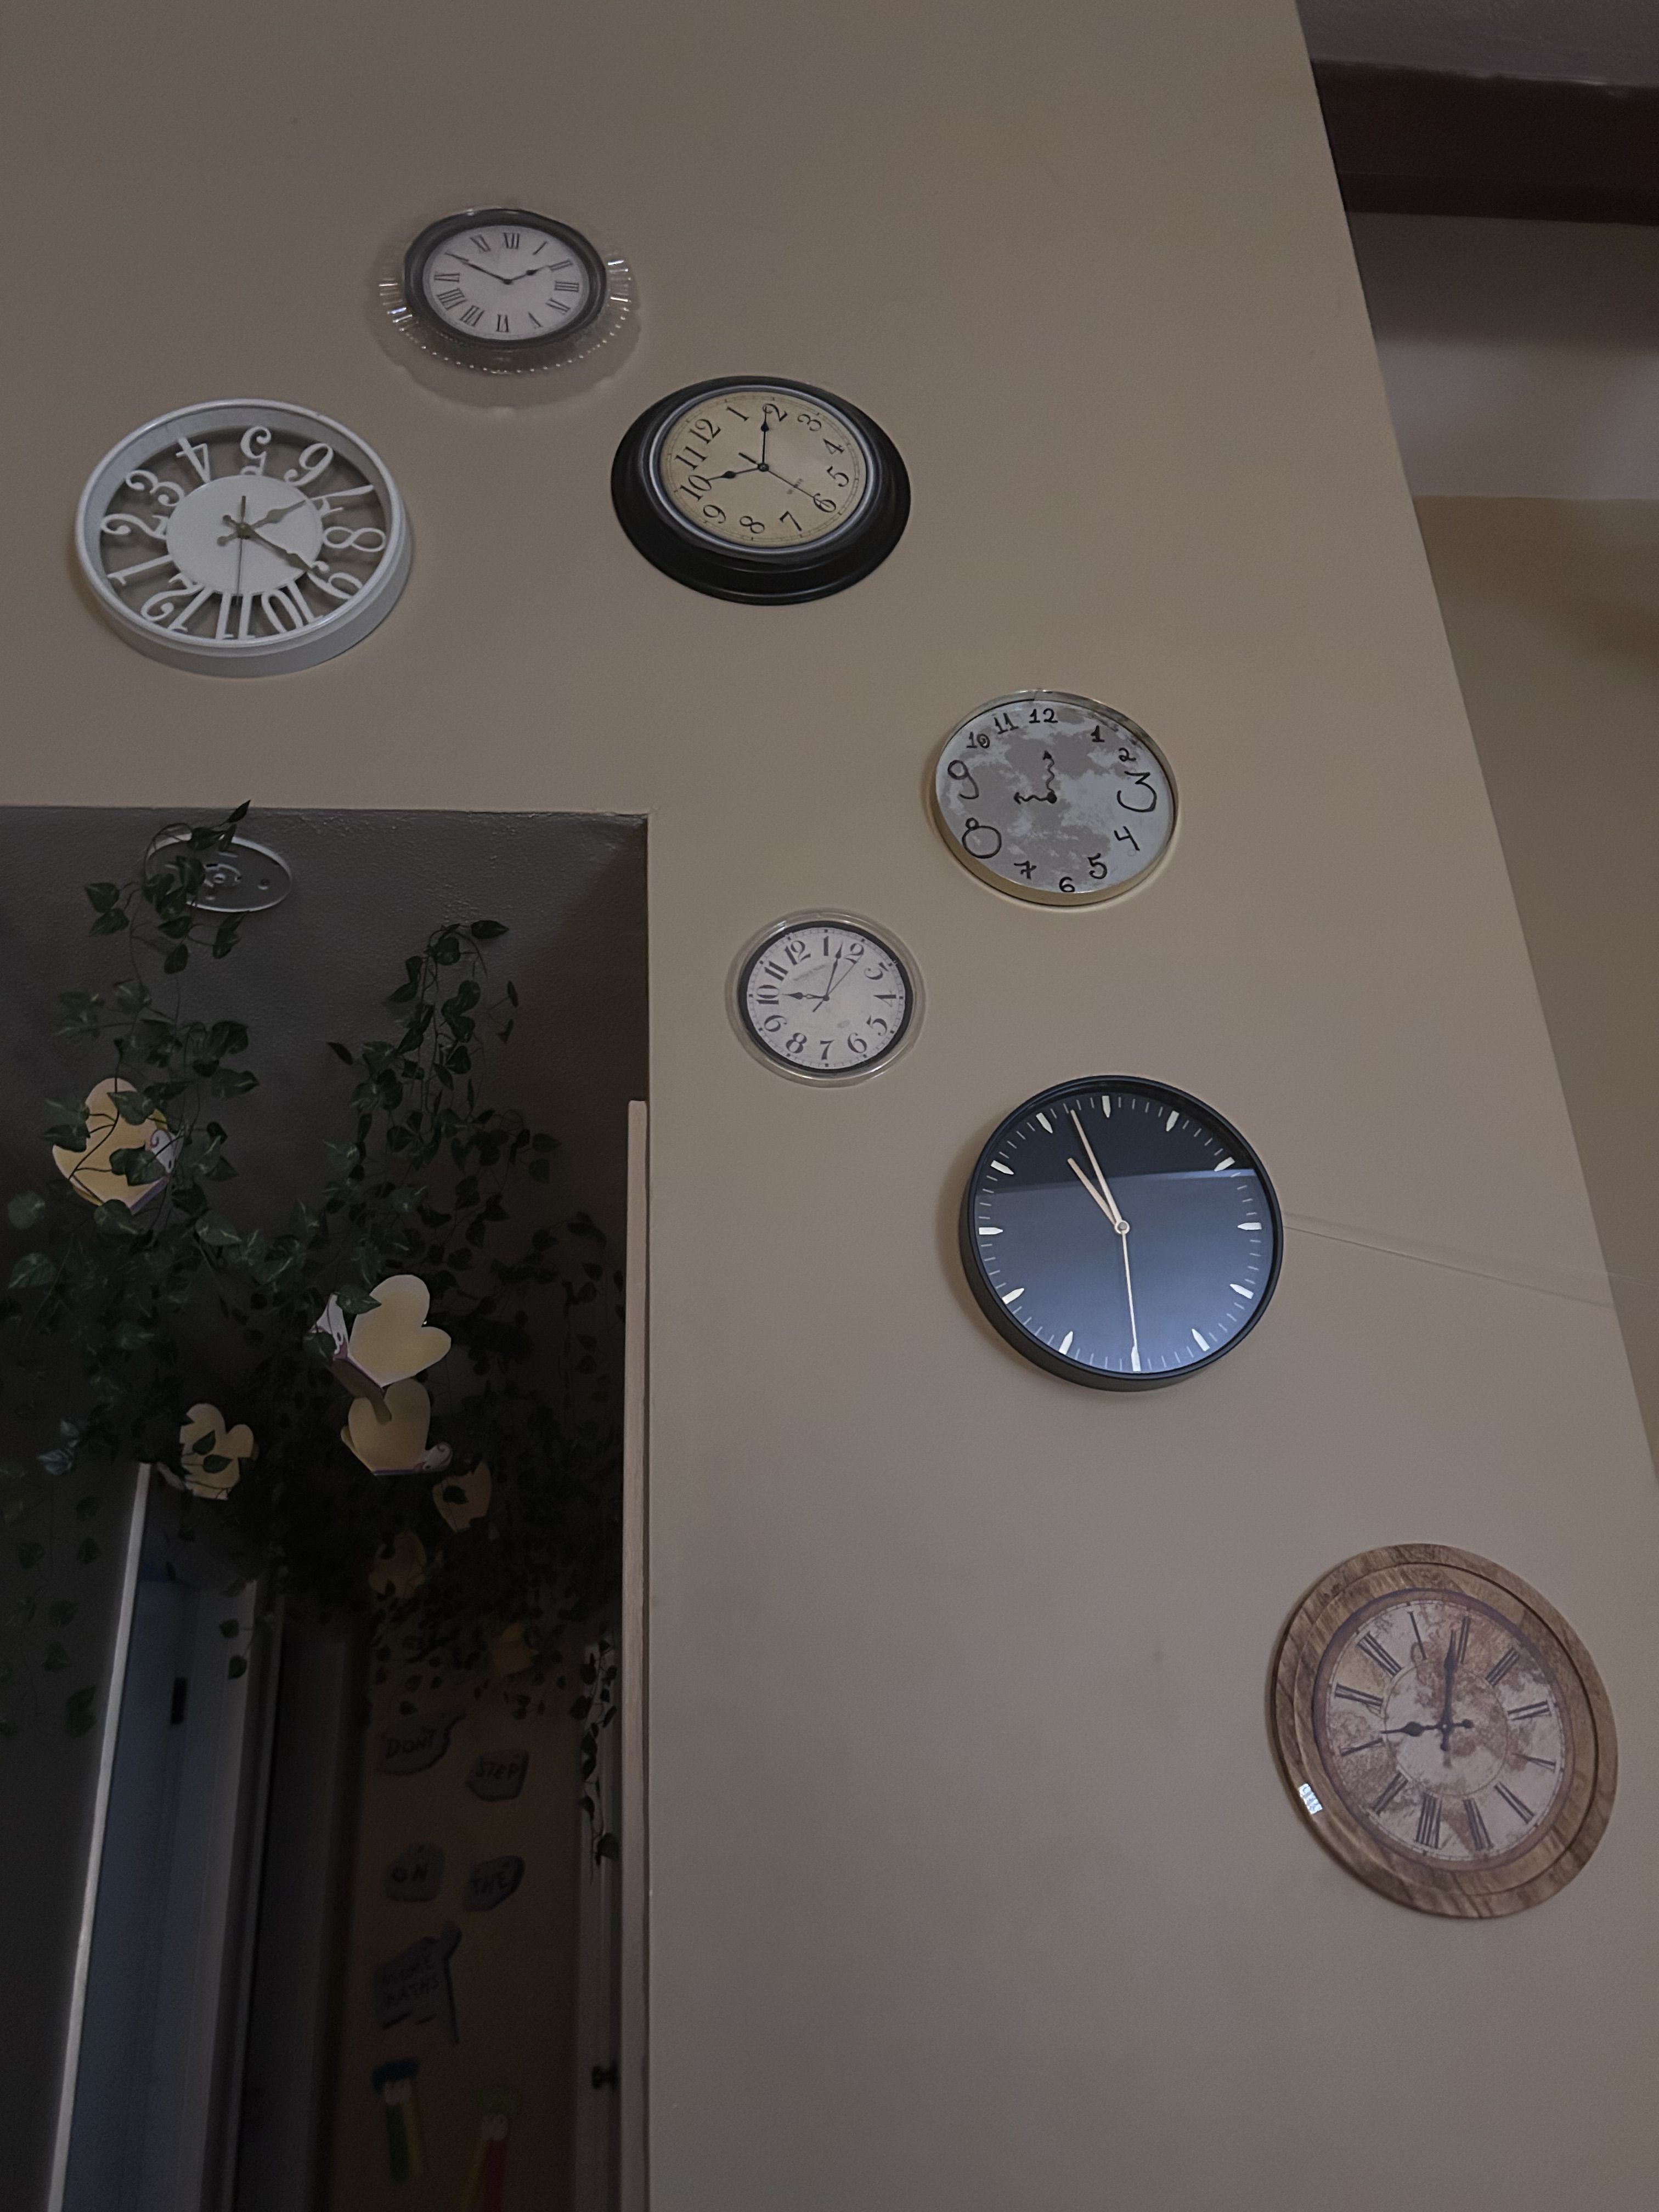
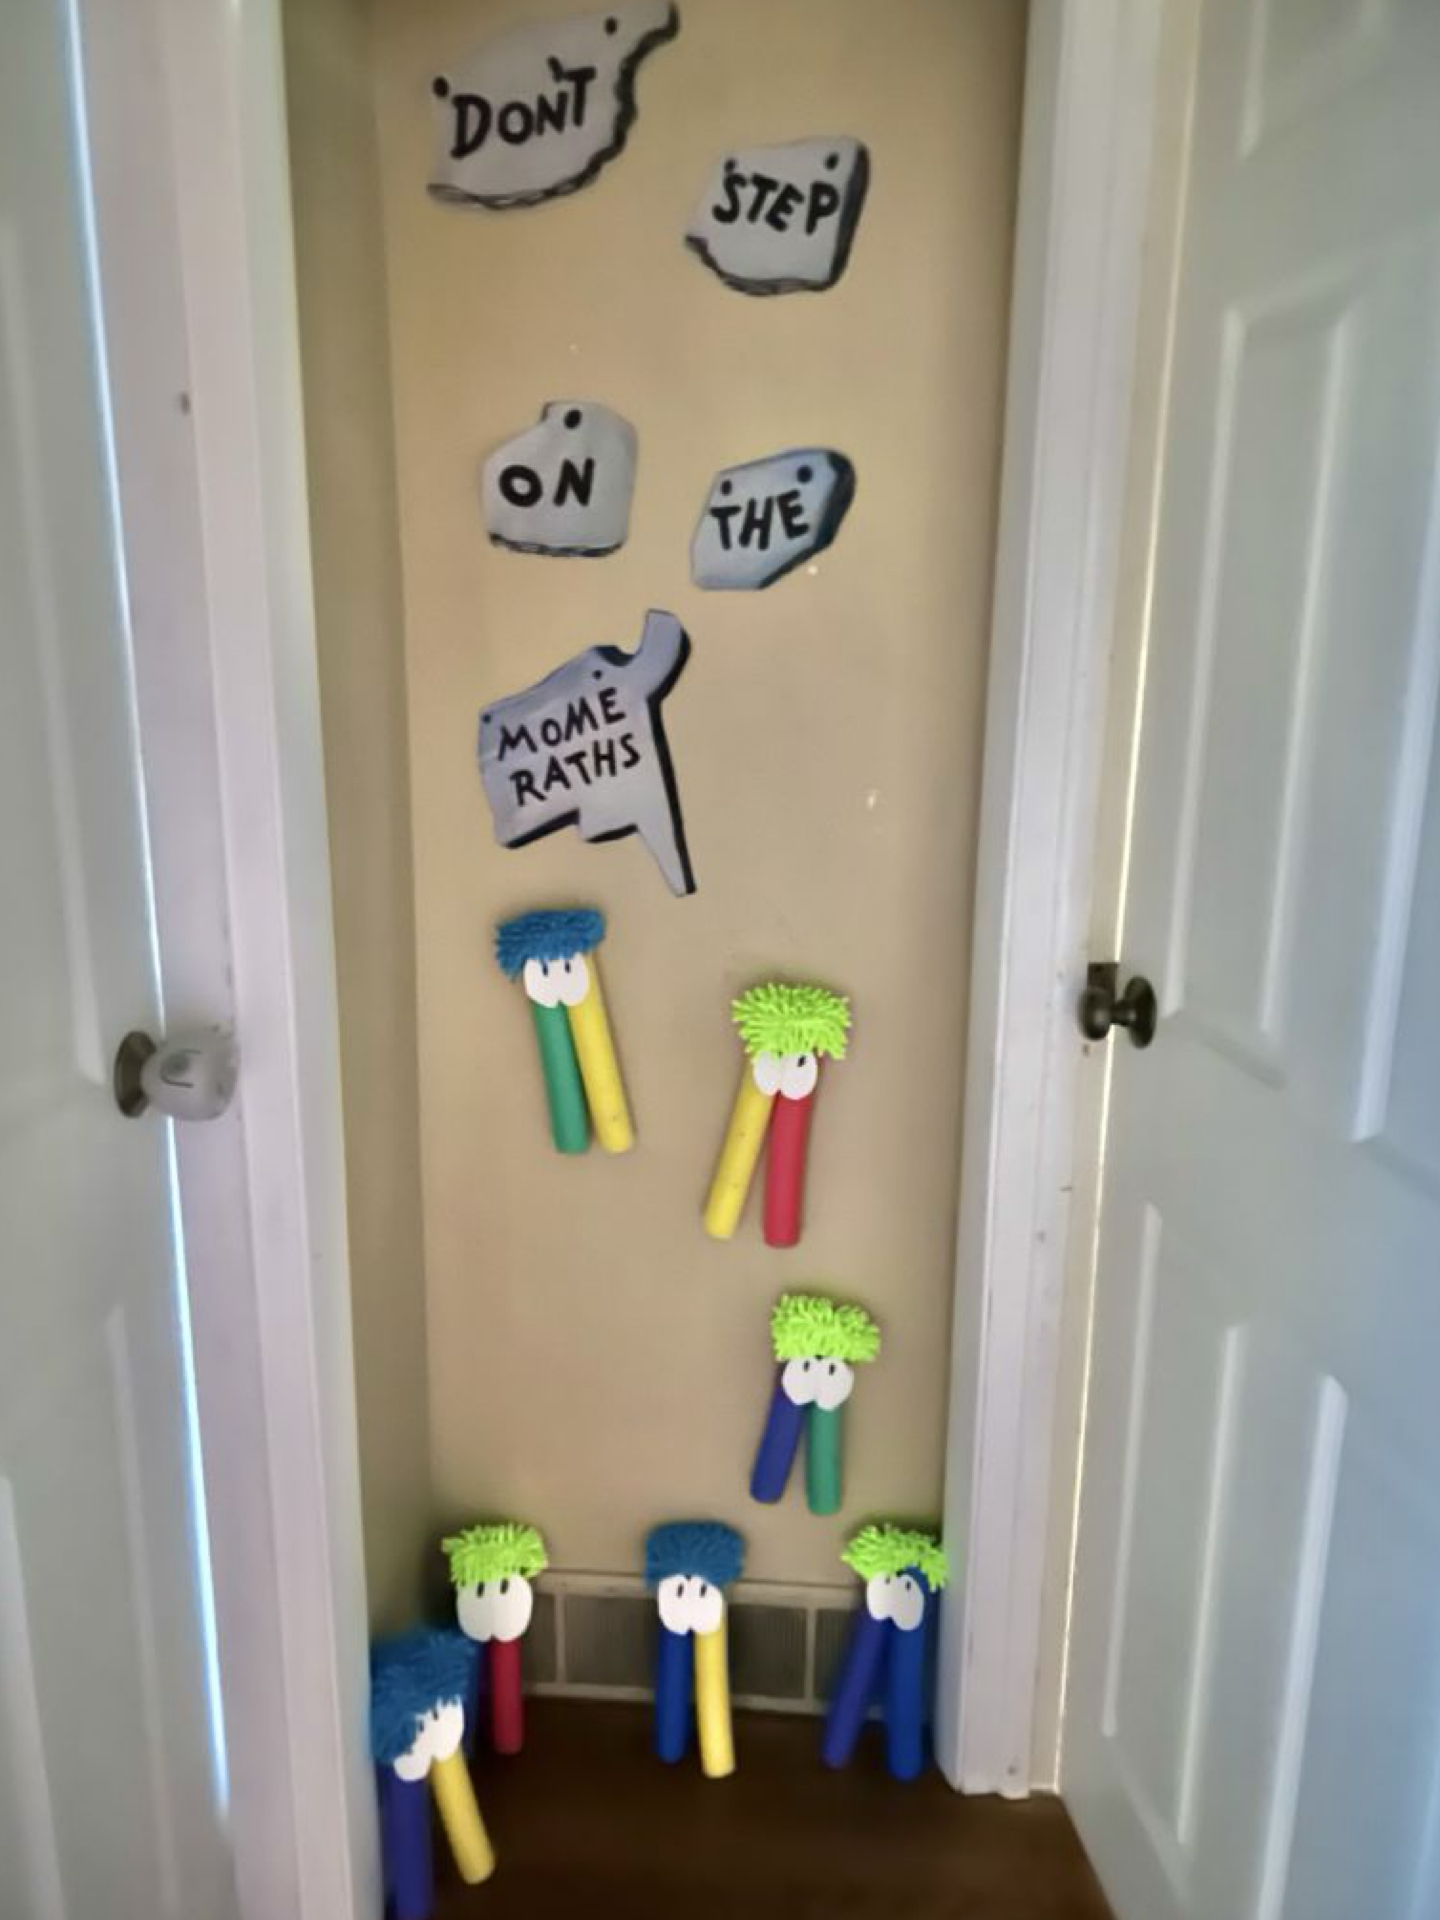
    Check out the party photos.

    Celebrating Halloween helps to keep me sane-ish

    I hadn’t thrown a Halloween party since before my kids were born. I figured this year would be a good time to start since they are at an age where they are getting excited about Halloween. Also, let’s be honest, I will use any excuse to throw a party.

    Going down the rabbit hole

    I love throwing themed parties. My kids’ birthday parties are the perfect opportunity to get creative with characters and stories they love. Alice In Wonderland, however, is a story I love, with which they were not even familiar yet. At 3 and 6 years old they are slowly being introduced to all the movies I loved growing up, but had not yet watched Alice In Wonderland. Until this month. Before planning the party I had to start getting them excited about the theme. We watched the classic 1951 animated Disney Alice In Wonderland which I loved watching throughout my childhood. They were so excited!

    The Creative Process

    People actually ask me how do I come up with my creative ideas for parties. The answer is quite simple: the internet. A lot of what I do for my parties comes from other people, because the internet is full of creative people who share their ideas, so why not borrow from them? (btw I never take credit for ideas I did not come up with myself) Now I’m sharing things I like here, you’re reading it, and you’re welcome to do them too and make them your own.

    Anyway, there is actually a process.

    Step One: Occasion and theme

    Why are you having a party/gathering/get together/celebration? And what is the feel you’re going for? I’ve wanted to throw an Alice In Wonderland-themed party for a long time, but didn’t quite know for what occasion. I love Halloween and a long time ago, when I lived in the national capital of Halloween, Salem, Massachusetts, I used to throw Halloween parties every year in my tiny downtown one-bedroom apartment. This was my first Halloween party in over a decade, so Alice was the perfect theme for this year.

    Step Two: Get inspired

    The way my brain works is I have to feel really excited about something in order to make it happen. It’s either hyper-focus or I can’t do anything.

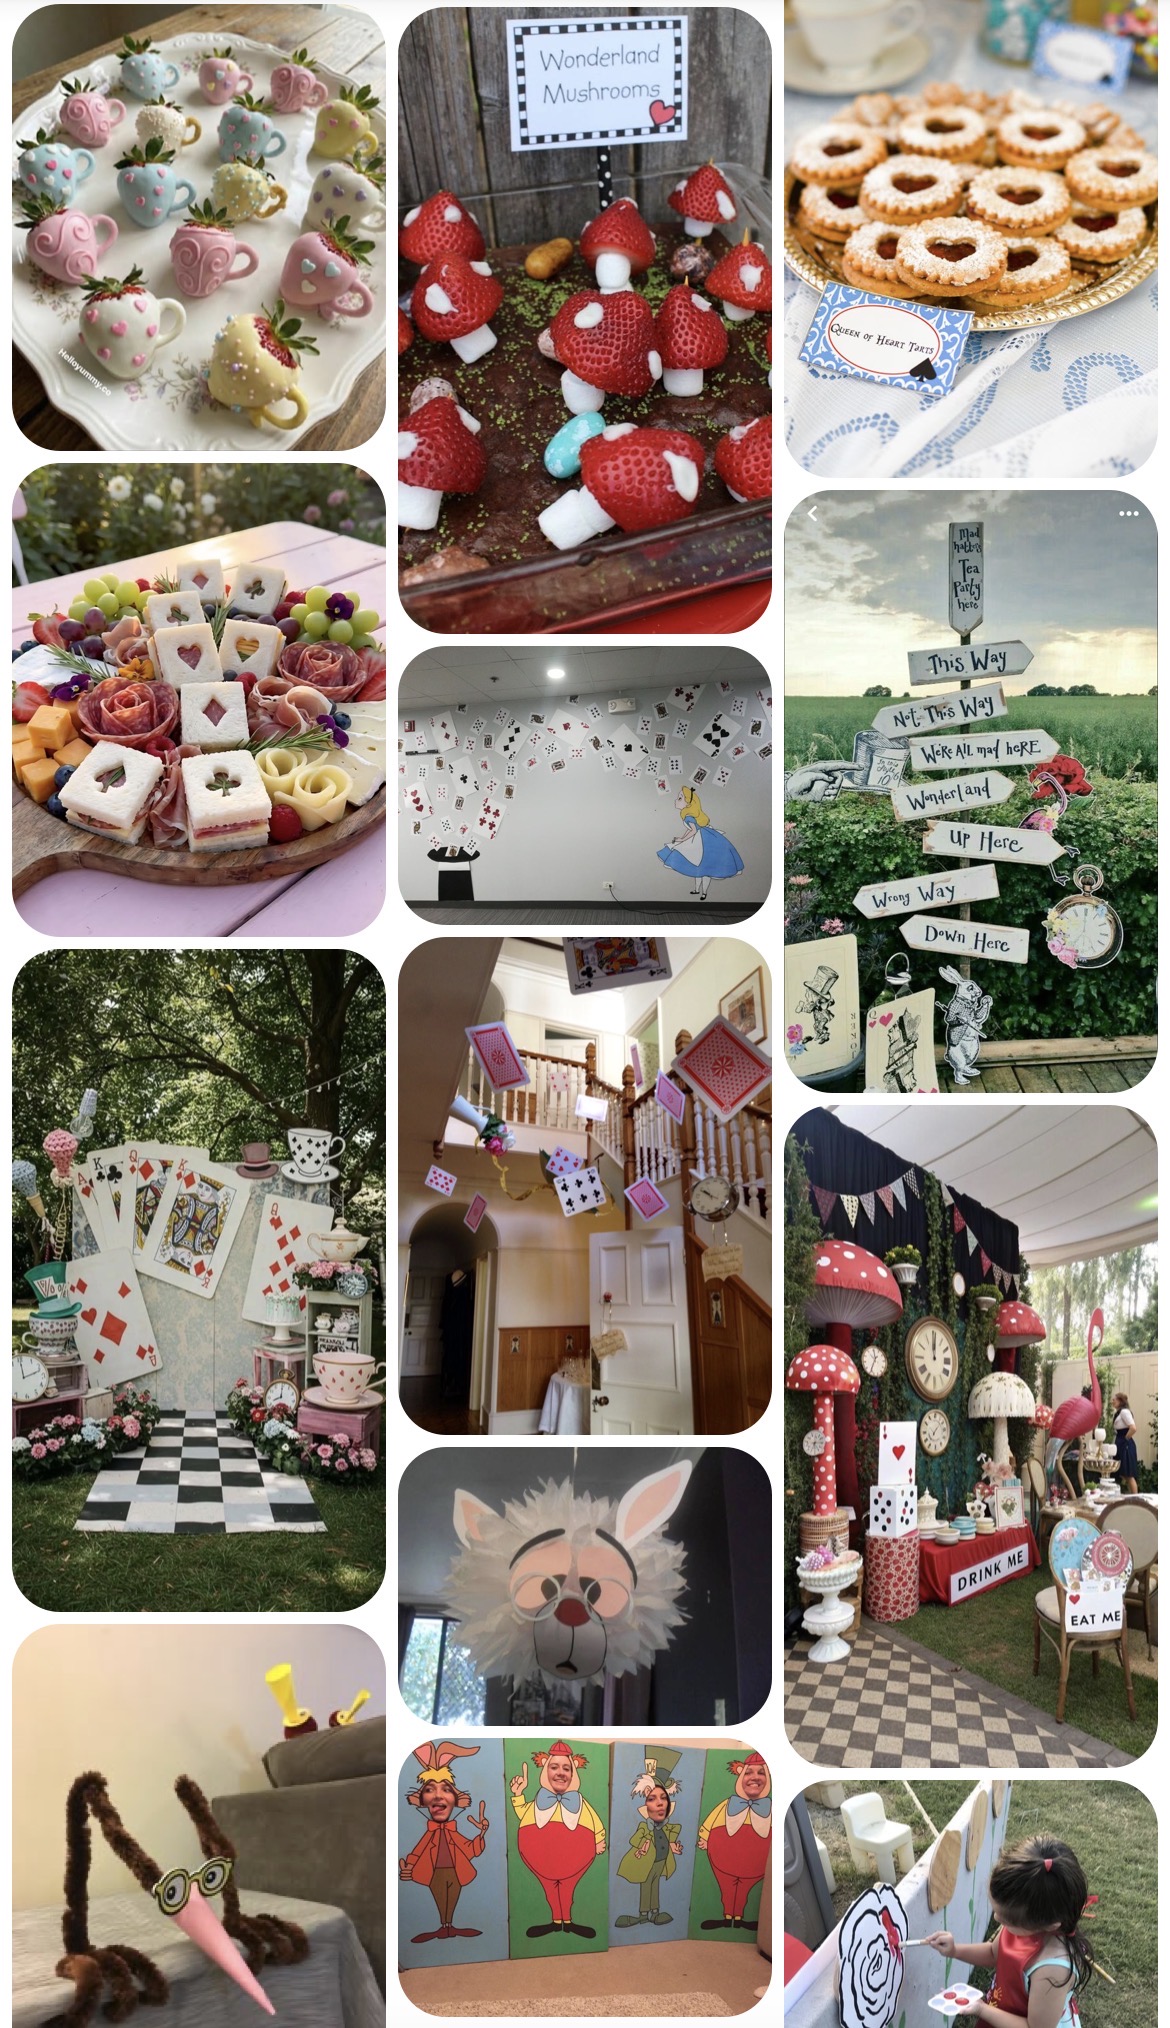
    Sometimes I need to trigger the inspiration that results in the hyper-focus that makes things happen. And for that I resort to Pinterest. I look for ideas on Pinterest for almost everything in life, and (aside from the A.I. slop that’s ruining literally the entire internet – don’t get me started) Pinterest is a great resource for party ideas.

    Photo credit: various Pinterest creators

    I start by making a Pinterest board of ideas related to the theme of the party. Looking at all the cool stuff people post really gets me excited to get started.

    Photo credit: various Pinterest creators

    I look at the simplest ideas that I feel I may be able to make myself, as well as the craziest, most professional-looking ones that I know I can’t make but the shapes, colors and patterns inspire me anyway.
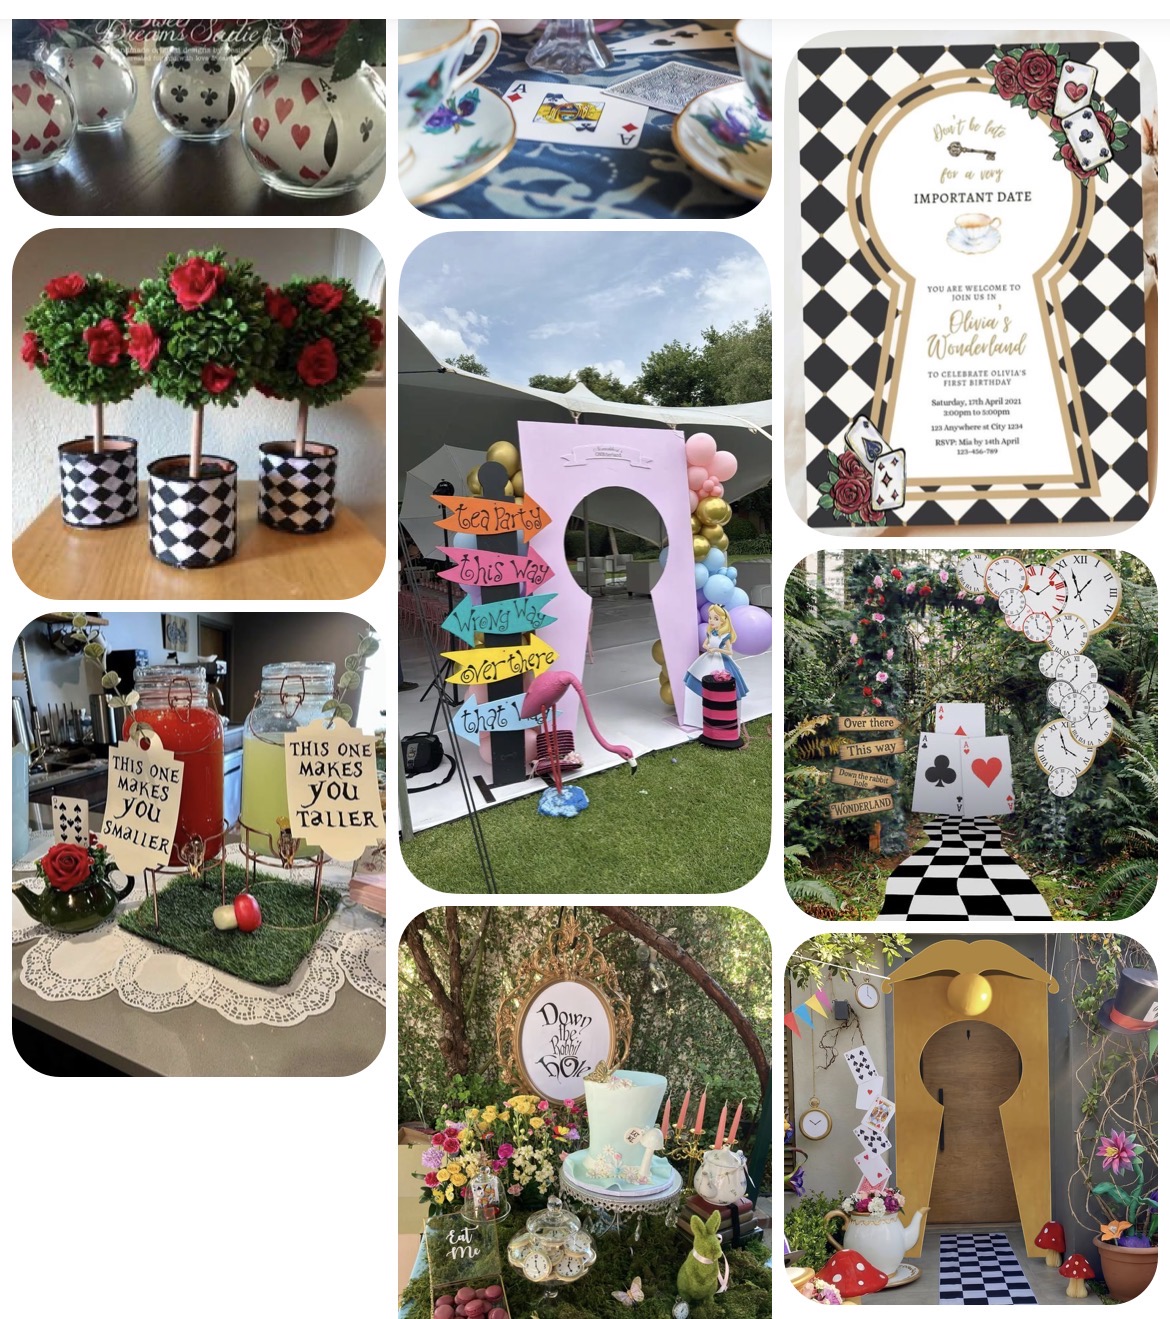
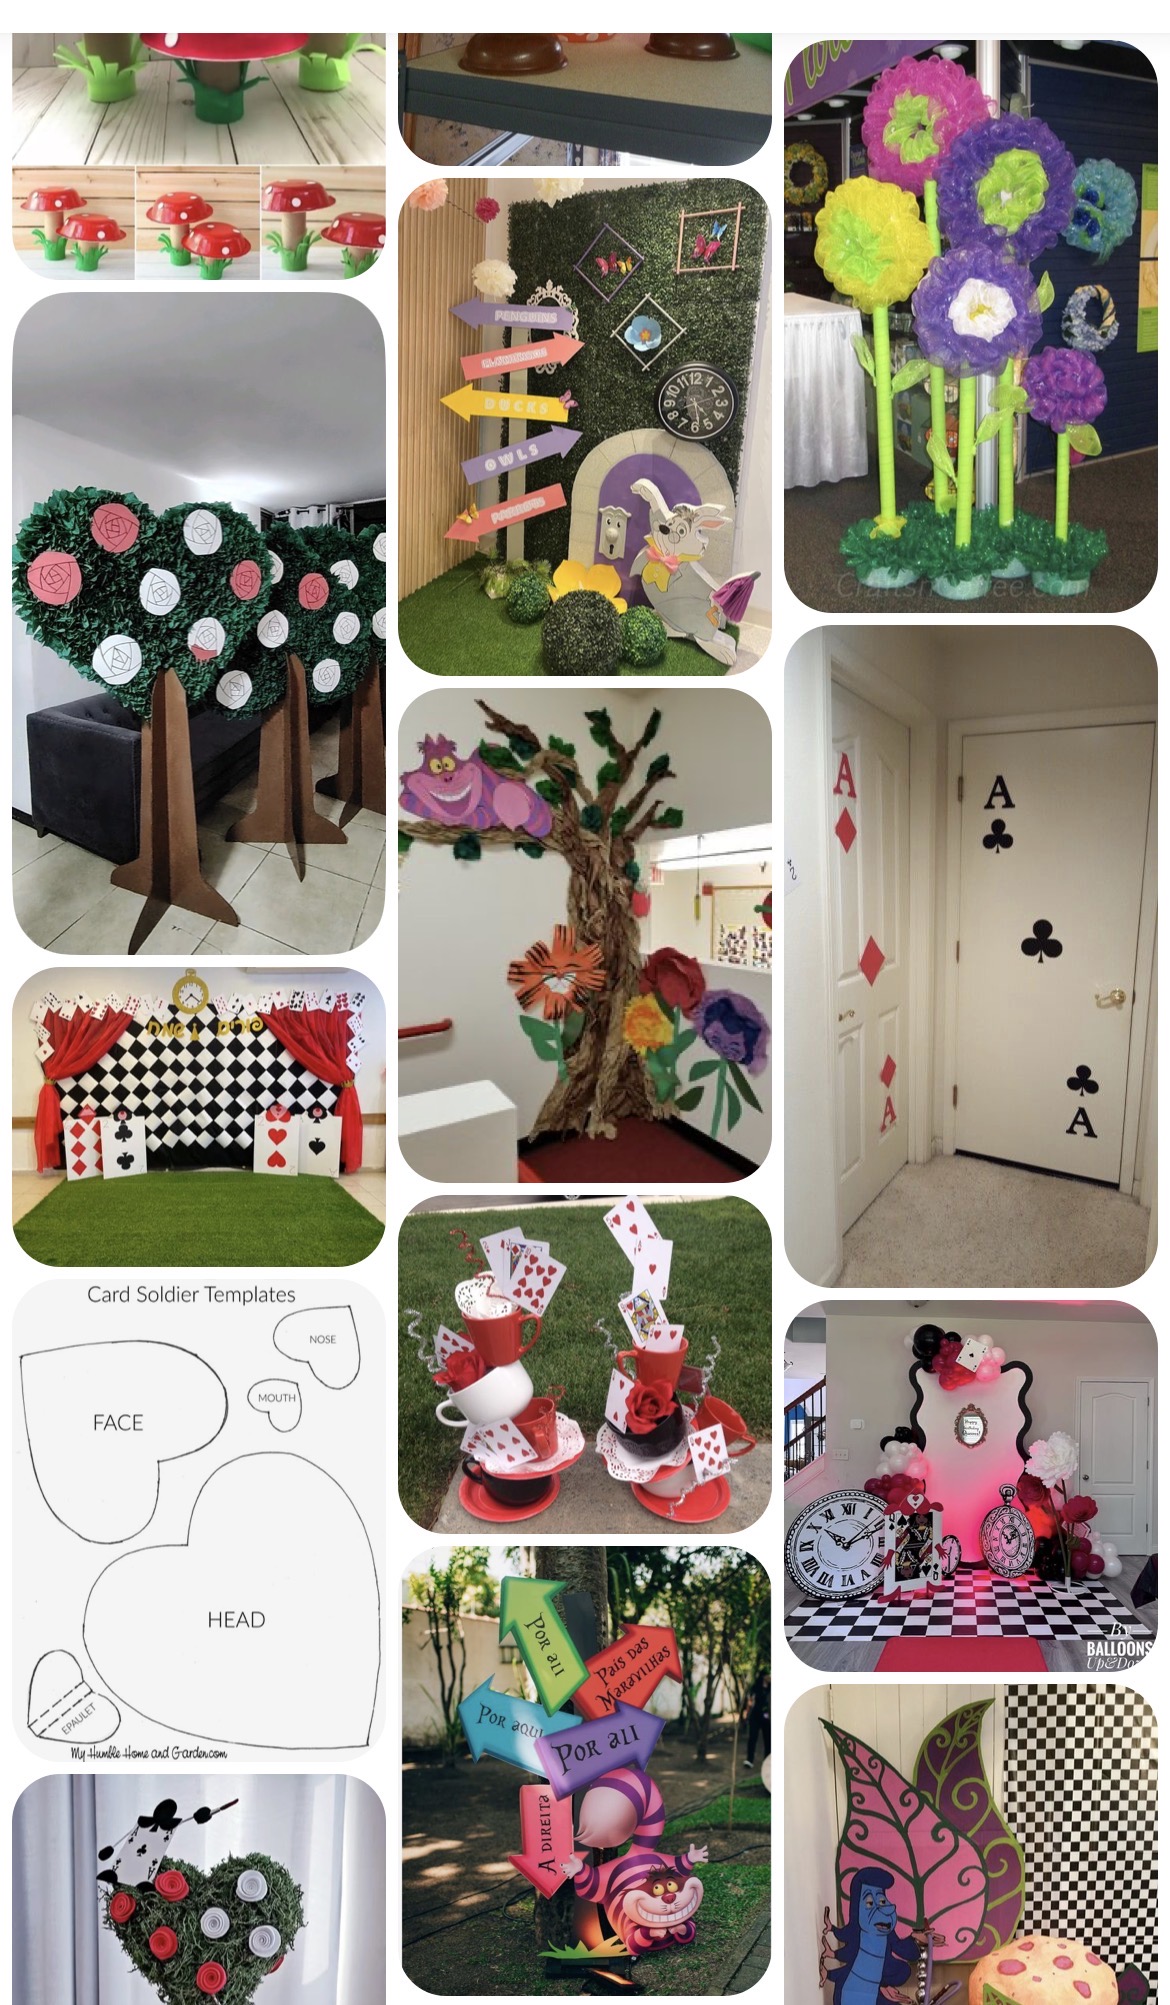
    Photo credit: various Pinterest creators

    Step Three: Design

    My eyes need to see something before my hands can create it (does that make sense?). I take note of colors, patterns and elements that fit into the theme. A lot of the ideas I found for Alice In Wonderland have checkered patterns, clocks, keys, picture frames, playing cards, royal objects, mushrooms, lots of greenery, red roses, and others.

    Once I am inspired by a bunch of cool ideas, I need to visually figure out how I would apply them to my space. For that I like to use the PicCollage app. I take pictures of the spaces where the party will be happening, and digitally plan out how to set things up within that space.

    An interior view of a light-colored hallway featuring a wall clock, a ceiling fan, and a light fixture illuminating a corner.
    I take a picture of the space
    An interior scene featuring multiple wall clocks with Roman numerals and various golden keys hanging from black strings against a dark wall.
    then I design what I want it to look like

    I do the same thing for all the spaces where I want to set up decorations, backdrops, food and drink tables, etc. I have to digitally plan everything out so that I can see what each space is going to look like before putting it together in real life.

    Step Four: Budget

    Like most creative party planners, my vision has no bounds… unlike my budget. After designing each space I make a handy-dandy spreadsheet to take notes of all the supplies I will need for each space. I take inventory of all the supplies I already have, and put aside the ones that match the theme I’m working on. Then I make a list of which supplies I have to buy, and start researching the lowest prices in stores and online. If the prices for a specific idea don’t fit the budget, I try to figure out if I can make it with cheaper materials or things I already own. If I can’t, I may scrap the idea altogether and go a different direction.

    An important part of the budget is food and drinks. I think about what kind of food I will be serving; will it be one big meal, like hot dogs, pizza or barbecue, or only smaller things like appetizers and snacks? Will the budget allow for both? For desserts, can I fit specialty desserts (like custom made brigadeiros, for example) in the budget or just buy cupcakes, cookies and other baked goods at the grocery store? Can I do both?

    When it comes to drinks, I always have a couple coolers with water bottles, non-alcoholic drinks and some beer available for the guests. The question usually is if I will set up a mimosa bar with wine and fruit juices, make up a signature cocktail, or drink dispensers with juice for the kids. All of these are included in the budget planning.

    Then I’m ready to buy the supplies and plan a schedule based on when I have time and when products will be delivered.

    Step Five: Party Planning Schedule

    Time management is the bane of my existence (that is a subject for another blog post). It is probably my biggest struggle in life. That being said, my ADHD brain only works when there’s a deadline. And what is a more effective way to get my brain into gear than to know that there is a fast-approaching date when 40 people are going to show up at my house expecting a party? So I am forced to figure out how to get everything done somehow.

    I plan my schedule several weeks before the party. Out of all the ideas I designed, I have to figure out which ones are an absolute must and which ones I will realistically be able to get done. I schedule those to be worked on weeks in advance. The less time-consuming details are scheduled later on.

    I also make sure to include in the schedule the dates that food and drinks have to be ordered by or purchased. I have learned that having things delivered the day before or day of the event makes everything easier, so I do that when I can.

    The party planning schedule includes everything I need to get done in the days leading up to the party, like, cleaning the house, yard maintenance, setting up backdrops, making props, etc. I also schedule things I would like to do, but sometimes end up not having time to get it done. Again, still working on the time management thing.

    Step Six: The Execution

    After deciding to have a party, thinking of a theme, getting inspired by different ideas, designing a vision, budgeting and planning all of it, the time comes to execute it. This part, my friends, is the number one reason that, when people suggest I’m “so good at this and should do it professionally”, my answer is “I can’t.” Because this is the part I’m truly not that good at; the execution.

    I love the entire creative process of planning an event, especially a kids party. I do like most of the “making” part of it too. It’s fun for me to challenge myself and see what I can do each time. It is, however, a lot of work.

    Most of it is fun, but it does take a great deal of work, which I can only accomplish during my very limited free time. In the days leading up to a party, I get both excited and stressed about the things that still need to get done, and usually what is most affected is my sleep. When people ask me “How did you do all this?” my answer is “I slept very little”, which is unfortunately the truth. While making decorations for this Halloween party I stayed up until 4am three nights in a row and until 5am the night before the party. Not to mention how stressed I get the day of the party, setting everything up, never finishing on time and feeling like I failed for not being able to do every detail I planned. Believe it or not, when all my guests are giving me compliments on how great everything looks, all I can see are the things that didn’t get done or didn’t come out just right. They have a great time regardless so that’s all that matters to me. Although I never say never, I don’t think I could do it for a living at this time.

    With all the work and lack of sleep, the one thing that keeps me going is focusing on the results. The more I get done, the more excited I get to do the next thing. It’s really fun to see my designs come to life, and it’s incredibly rewarding to see my guests enjoying all my hard work.

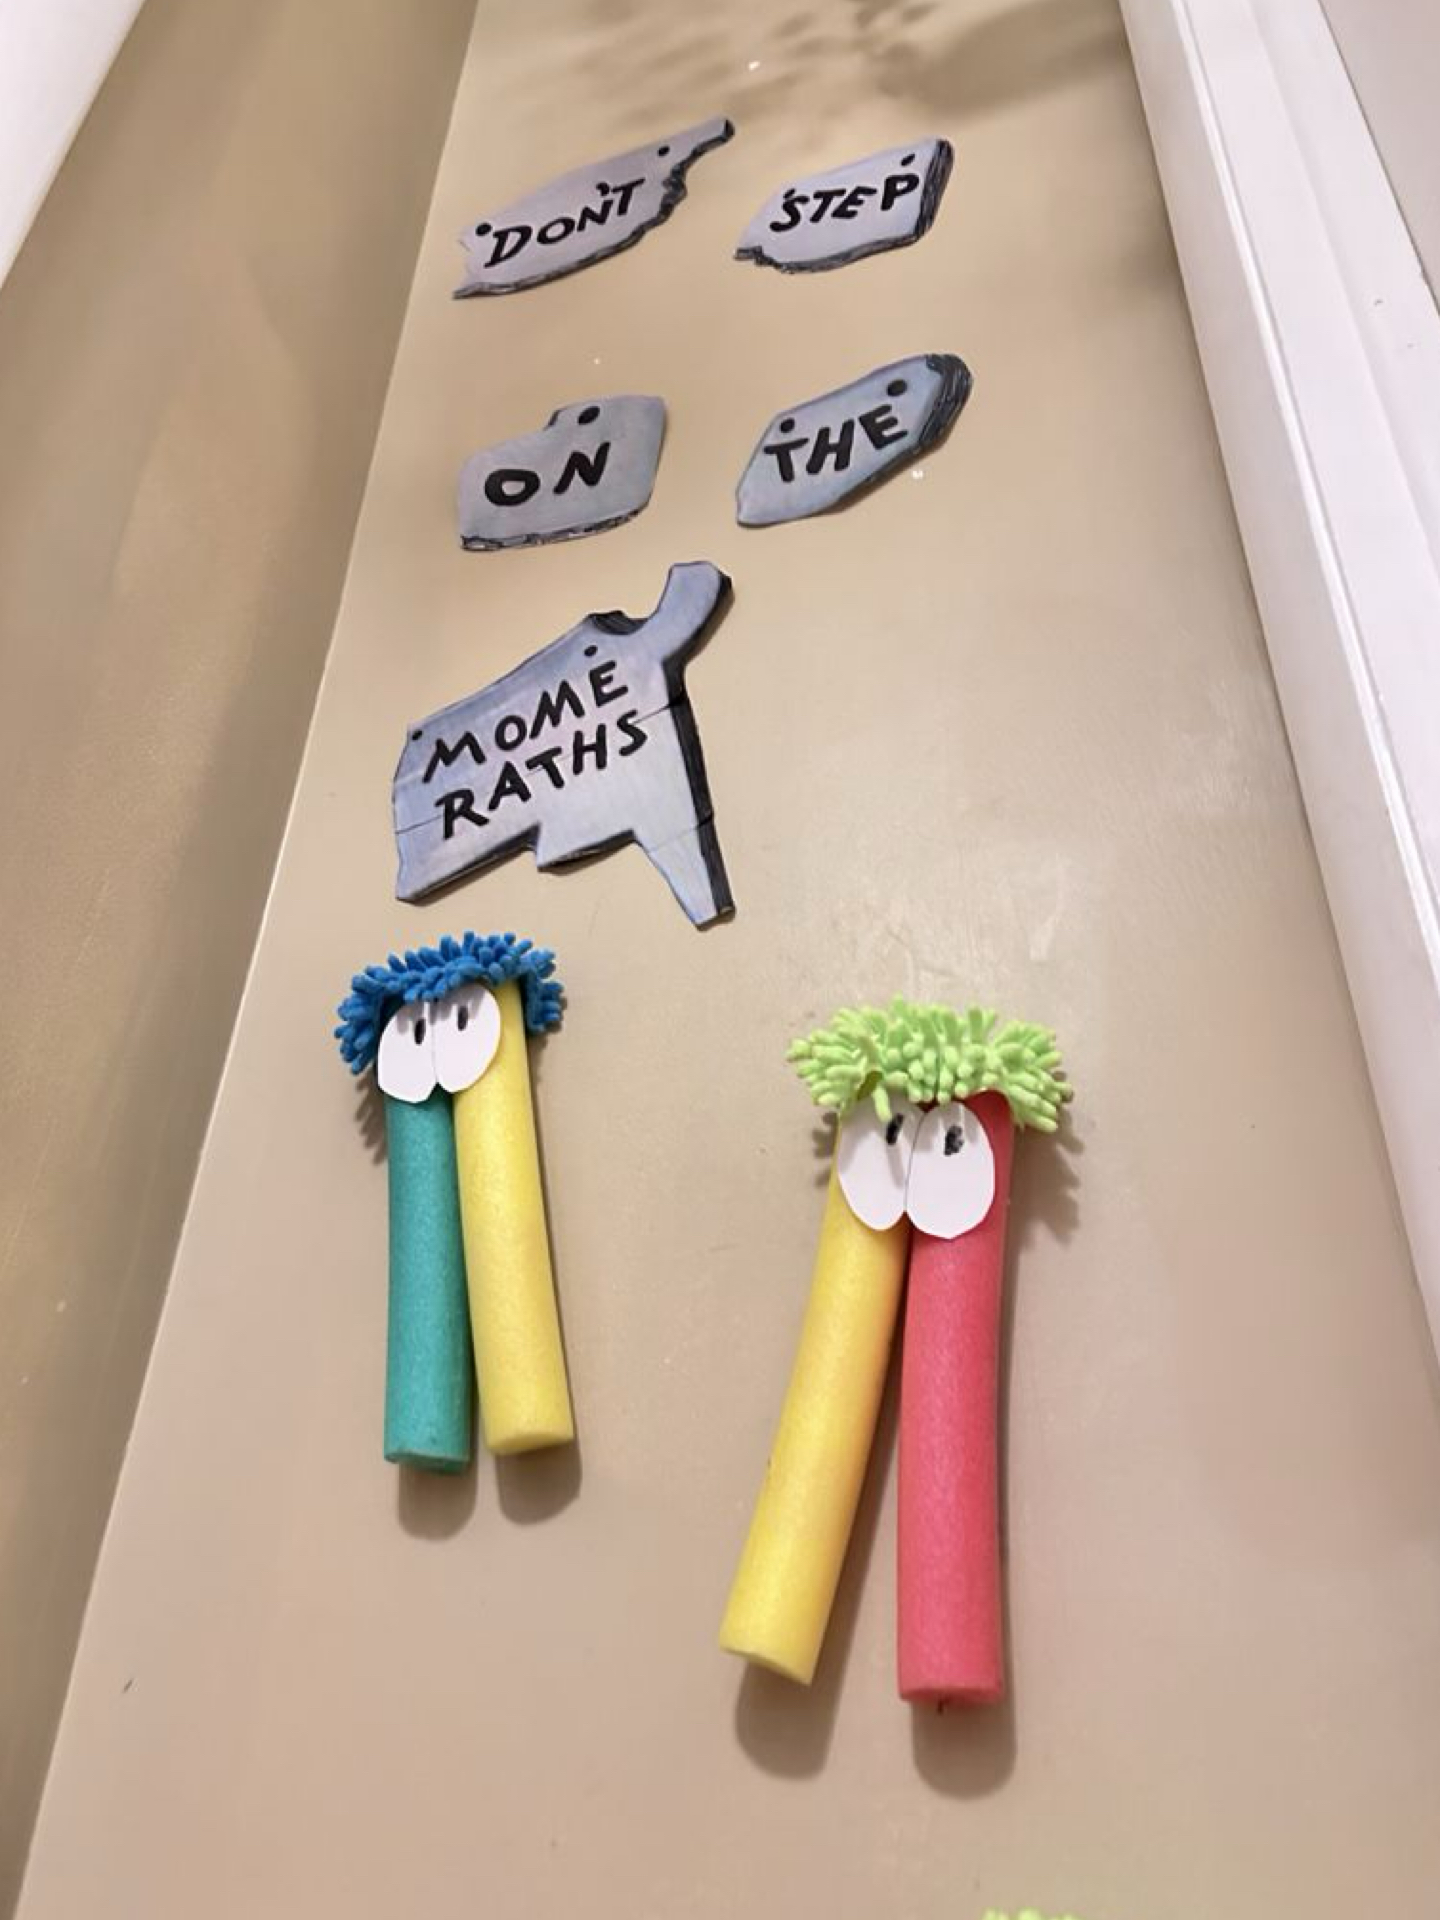
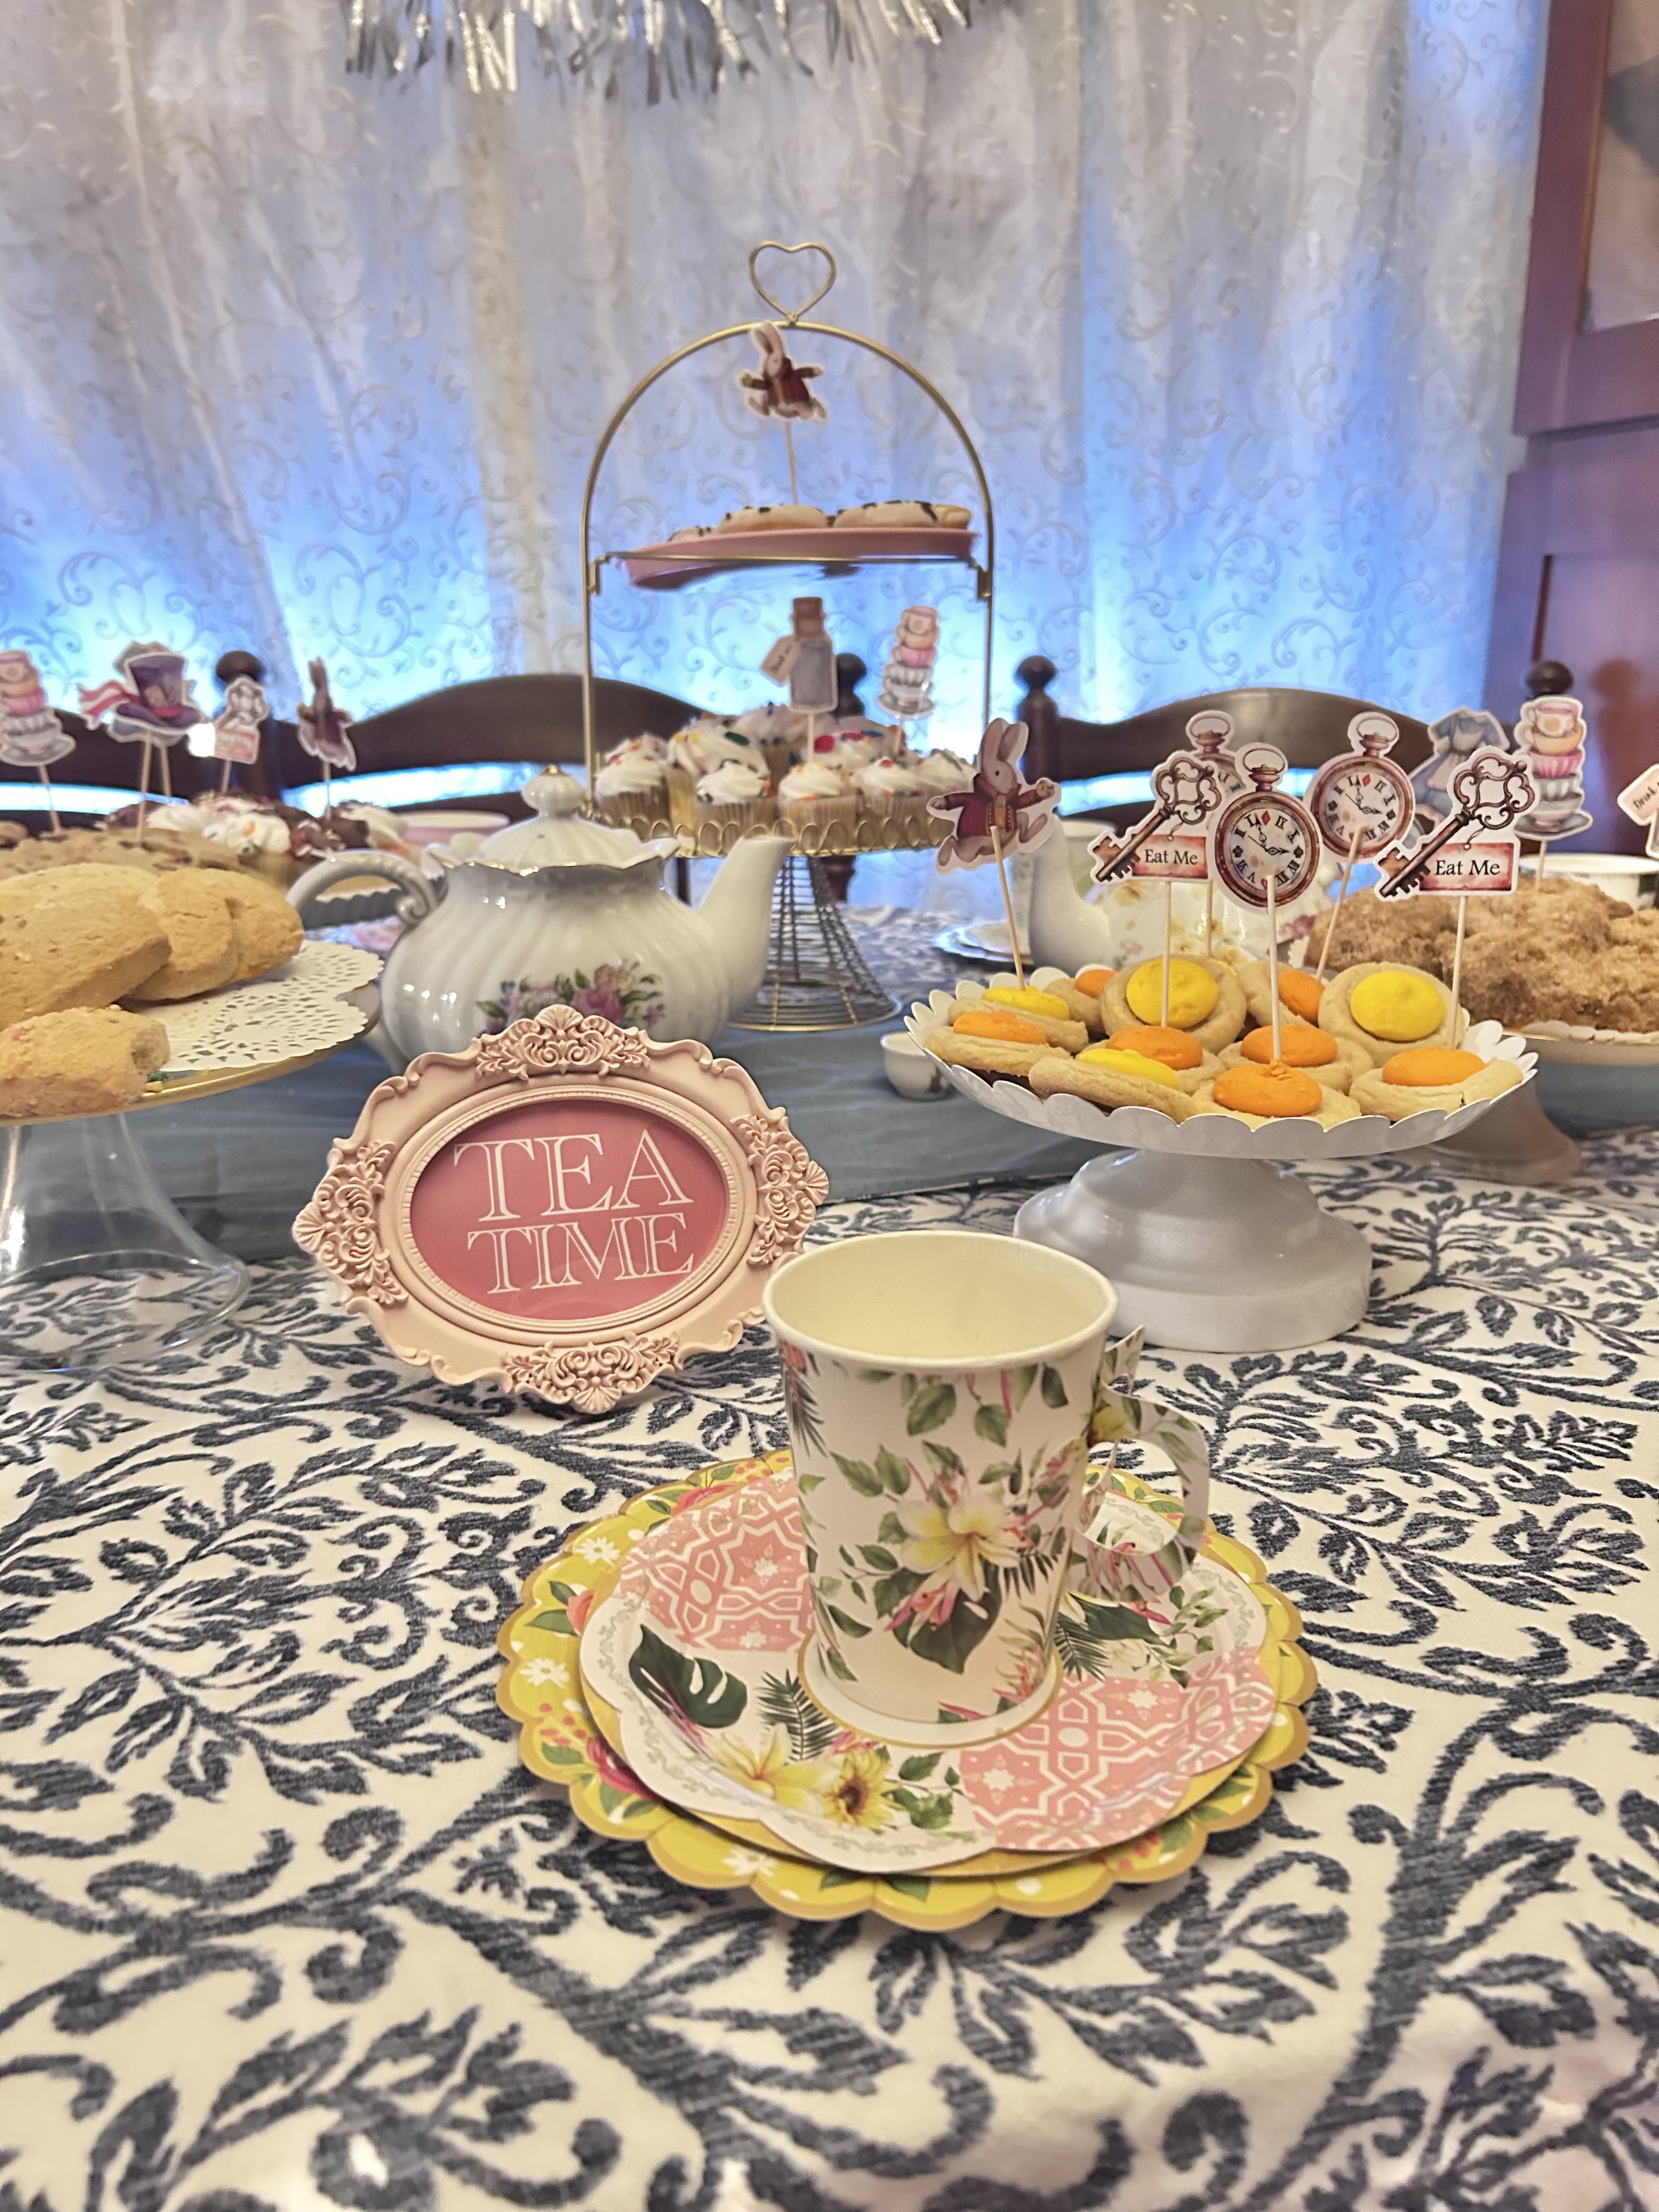
    These are some of the results from this Halloween party:

    A wall adorned with various clocks and hanging decorative keys, featuring a combination of antique and modern designs.
    What I designed
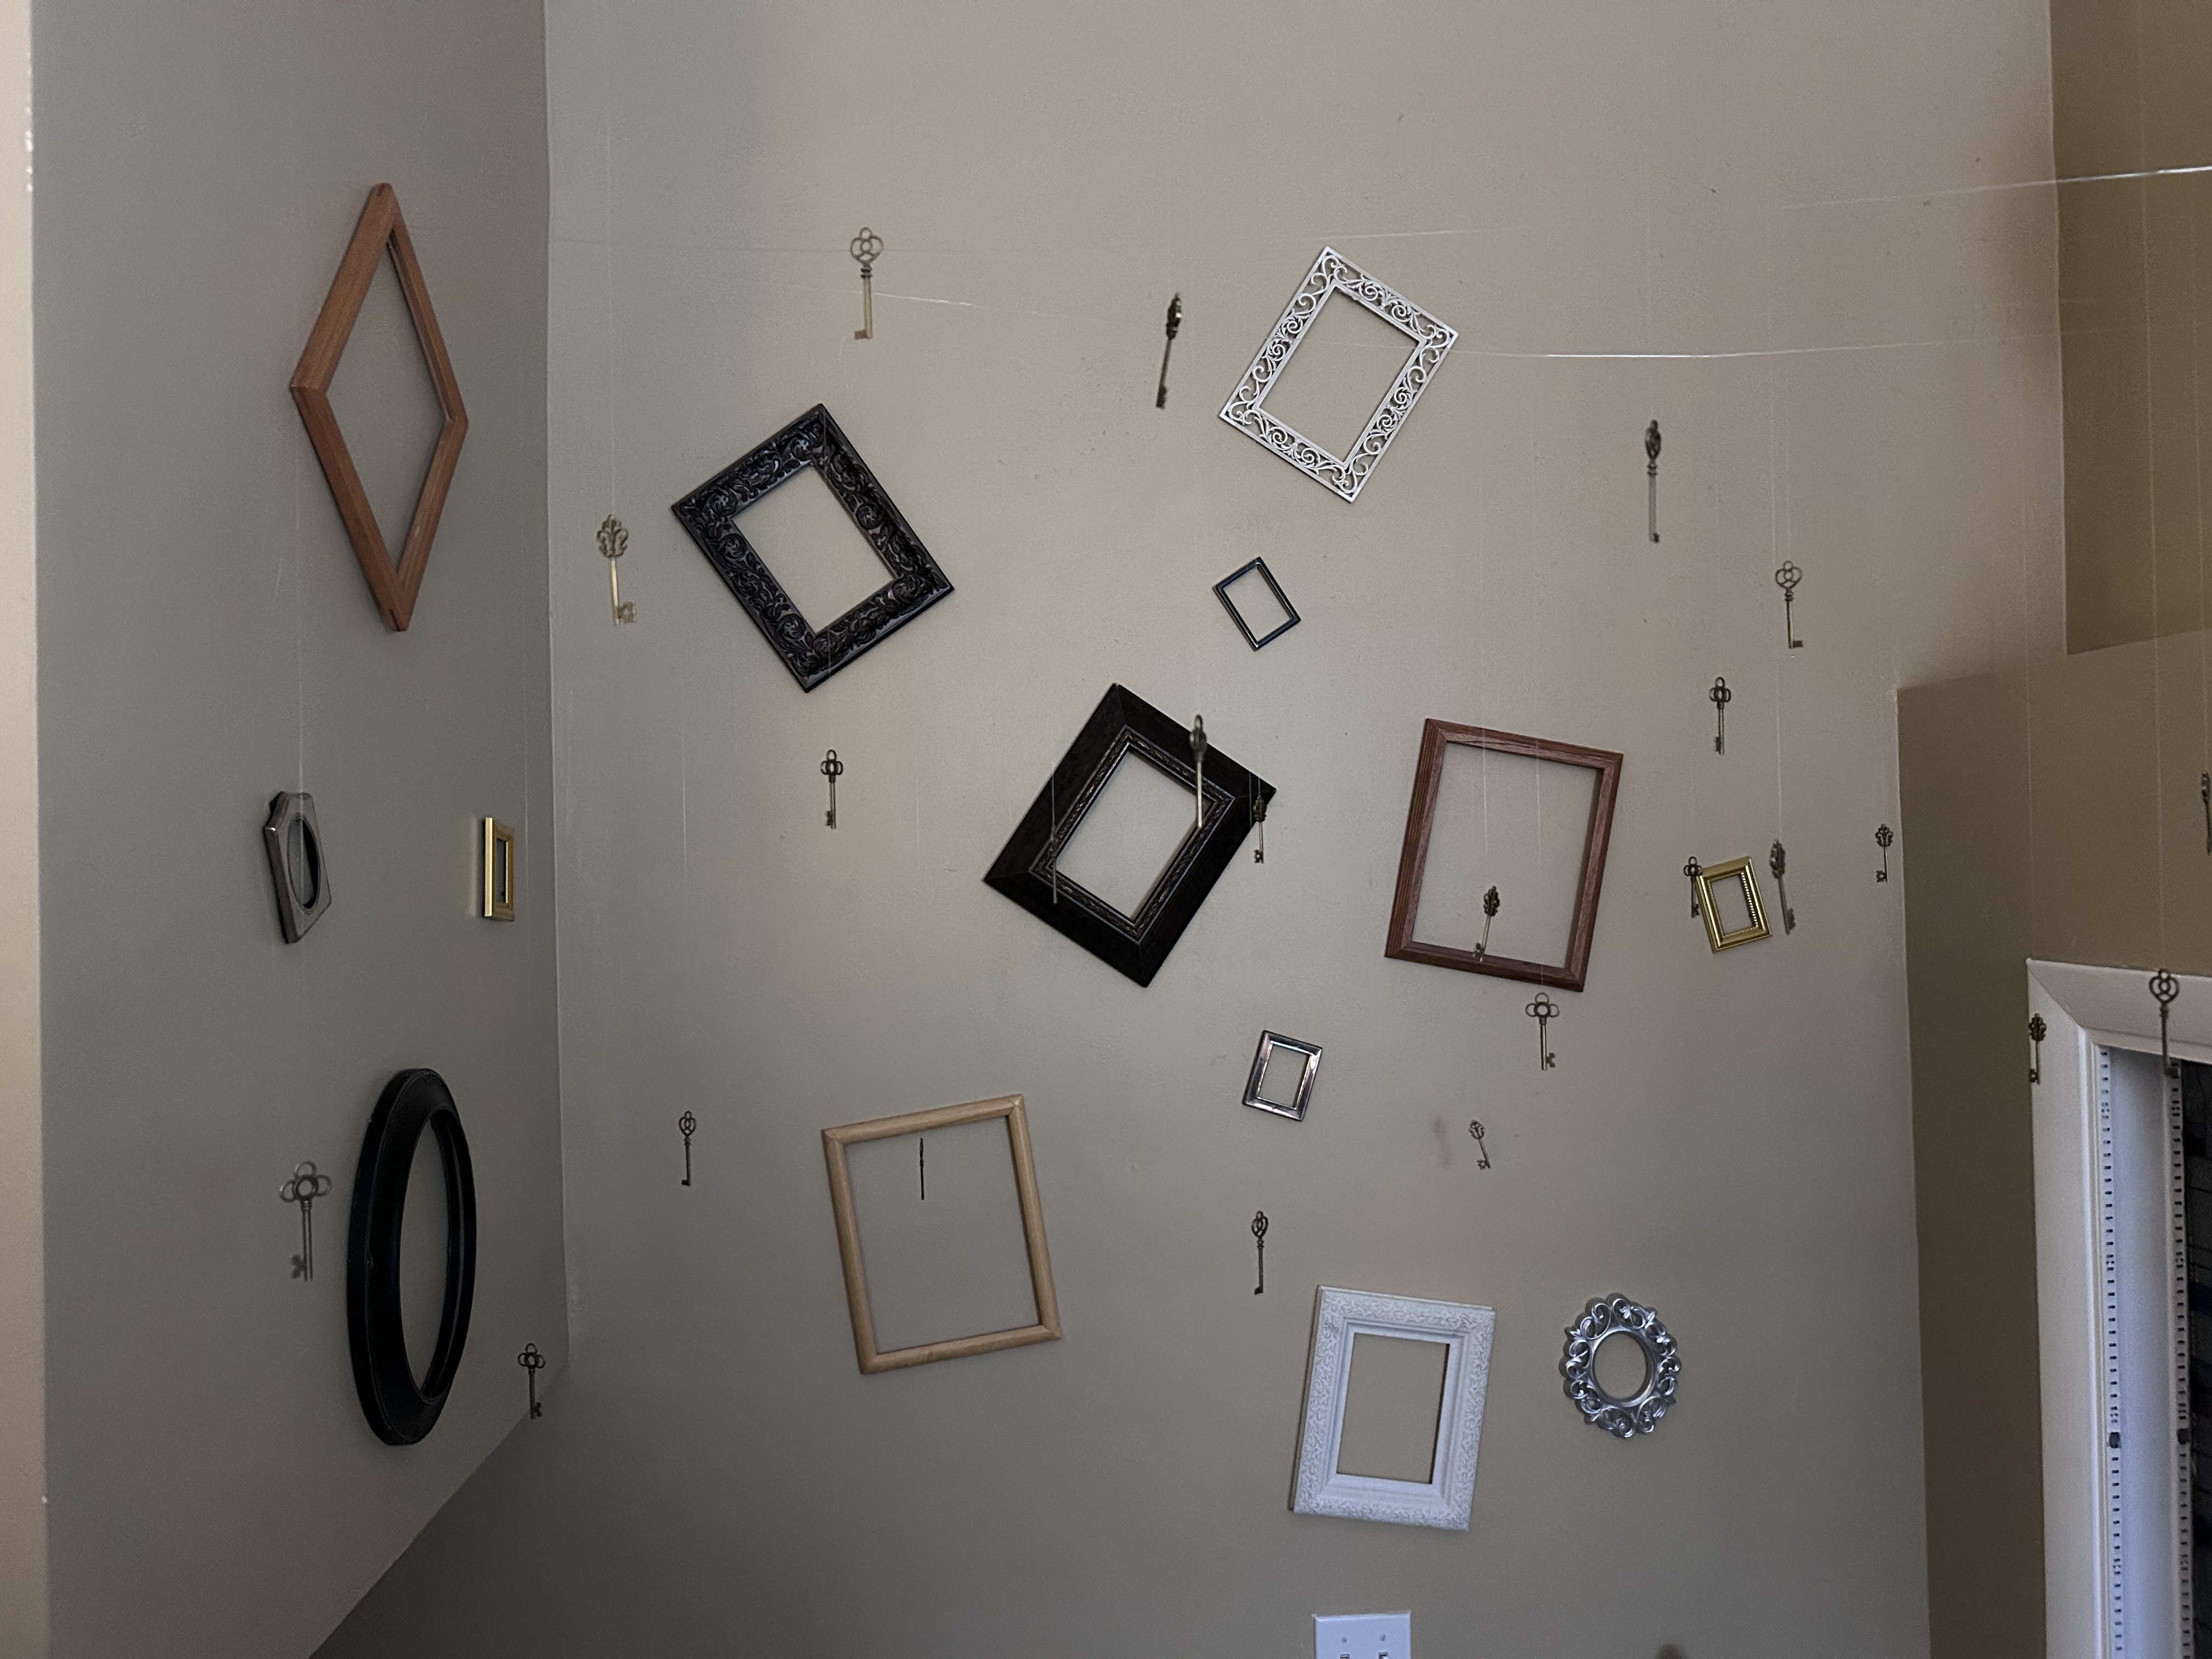
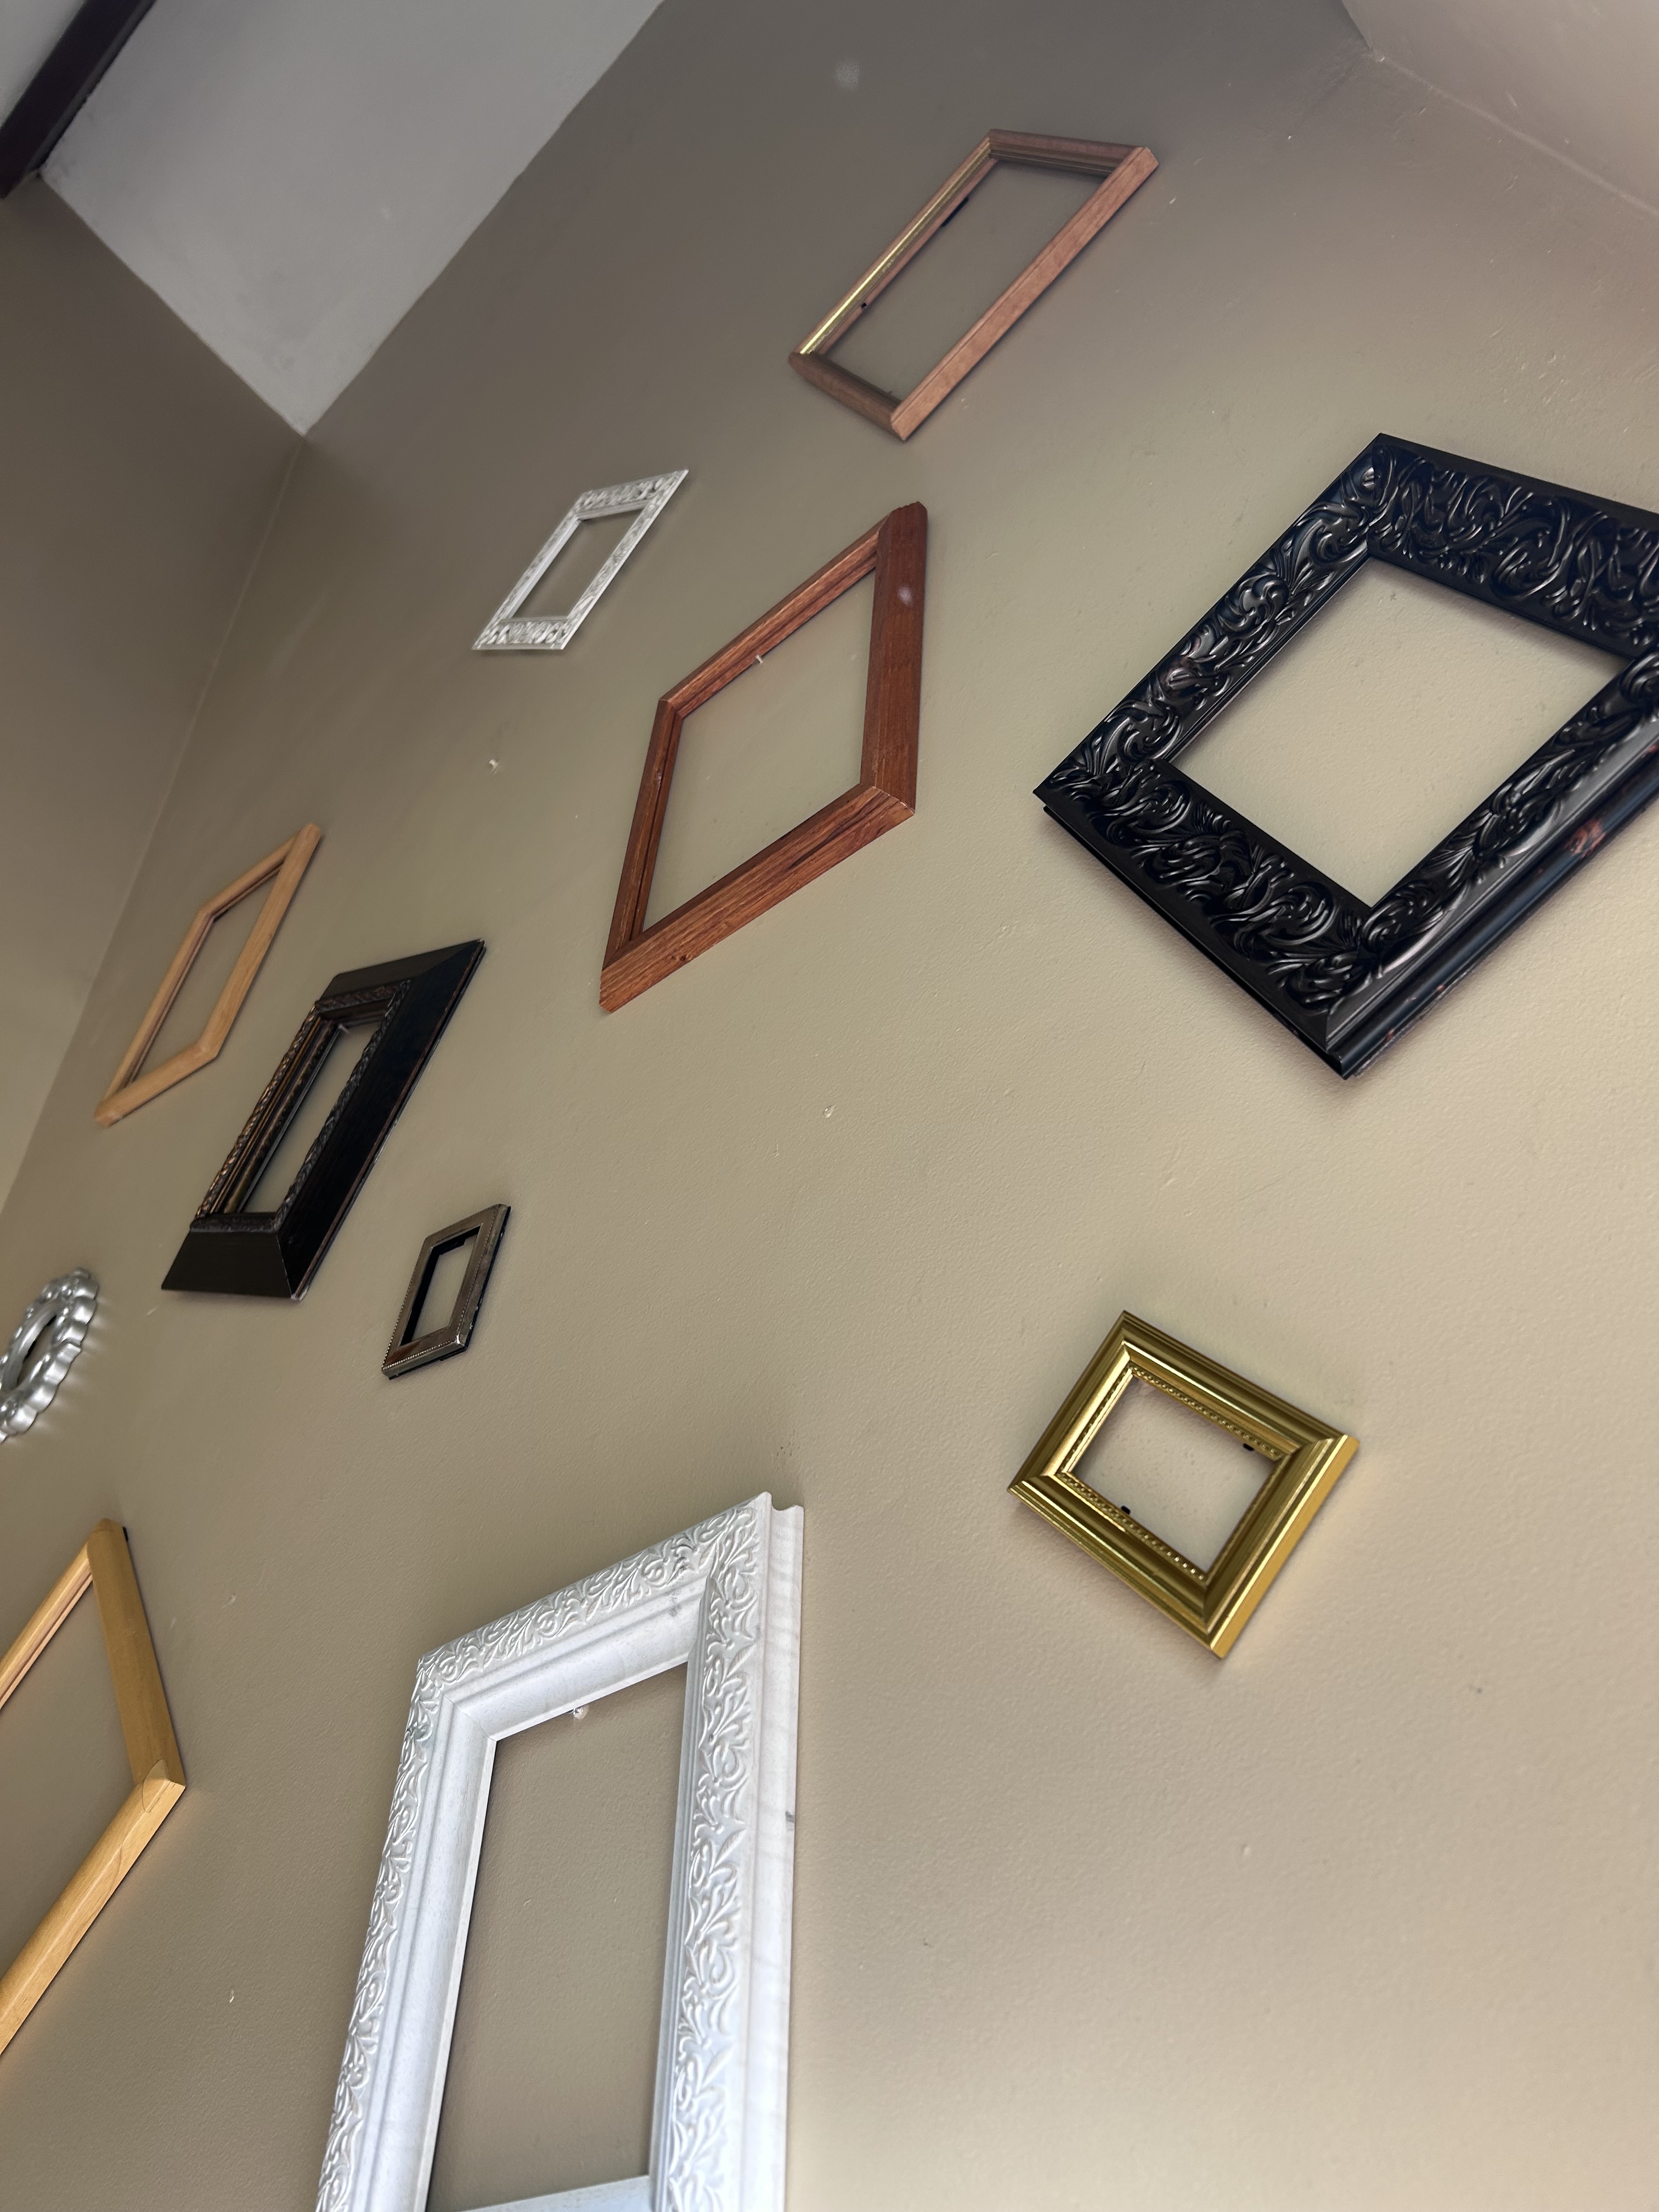
    A wall featuring various wall clocks and picture frames in different shapes and colors, with a pet dog sitting nearby.
    This is how it turned out
    A wall featuring various picture frames of different shapes and sizes, some hanging from strings along with vintage keys.
    This one shows the hanging keys
    A whimsical scene featuring two large, red mushroom lamps with glowing tops, set in a cozy living room. A cartoon caterpillar with a whimsical expression is perched on a spotted mushroom base, with a speech bubble above saying 'Moo? Up?'
    What I designed inspired by Carole Anderson Pinterest and Ito N Suzy Menendez Pinterest
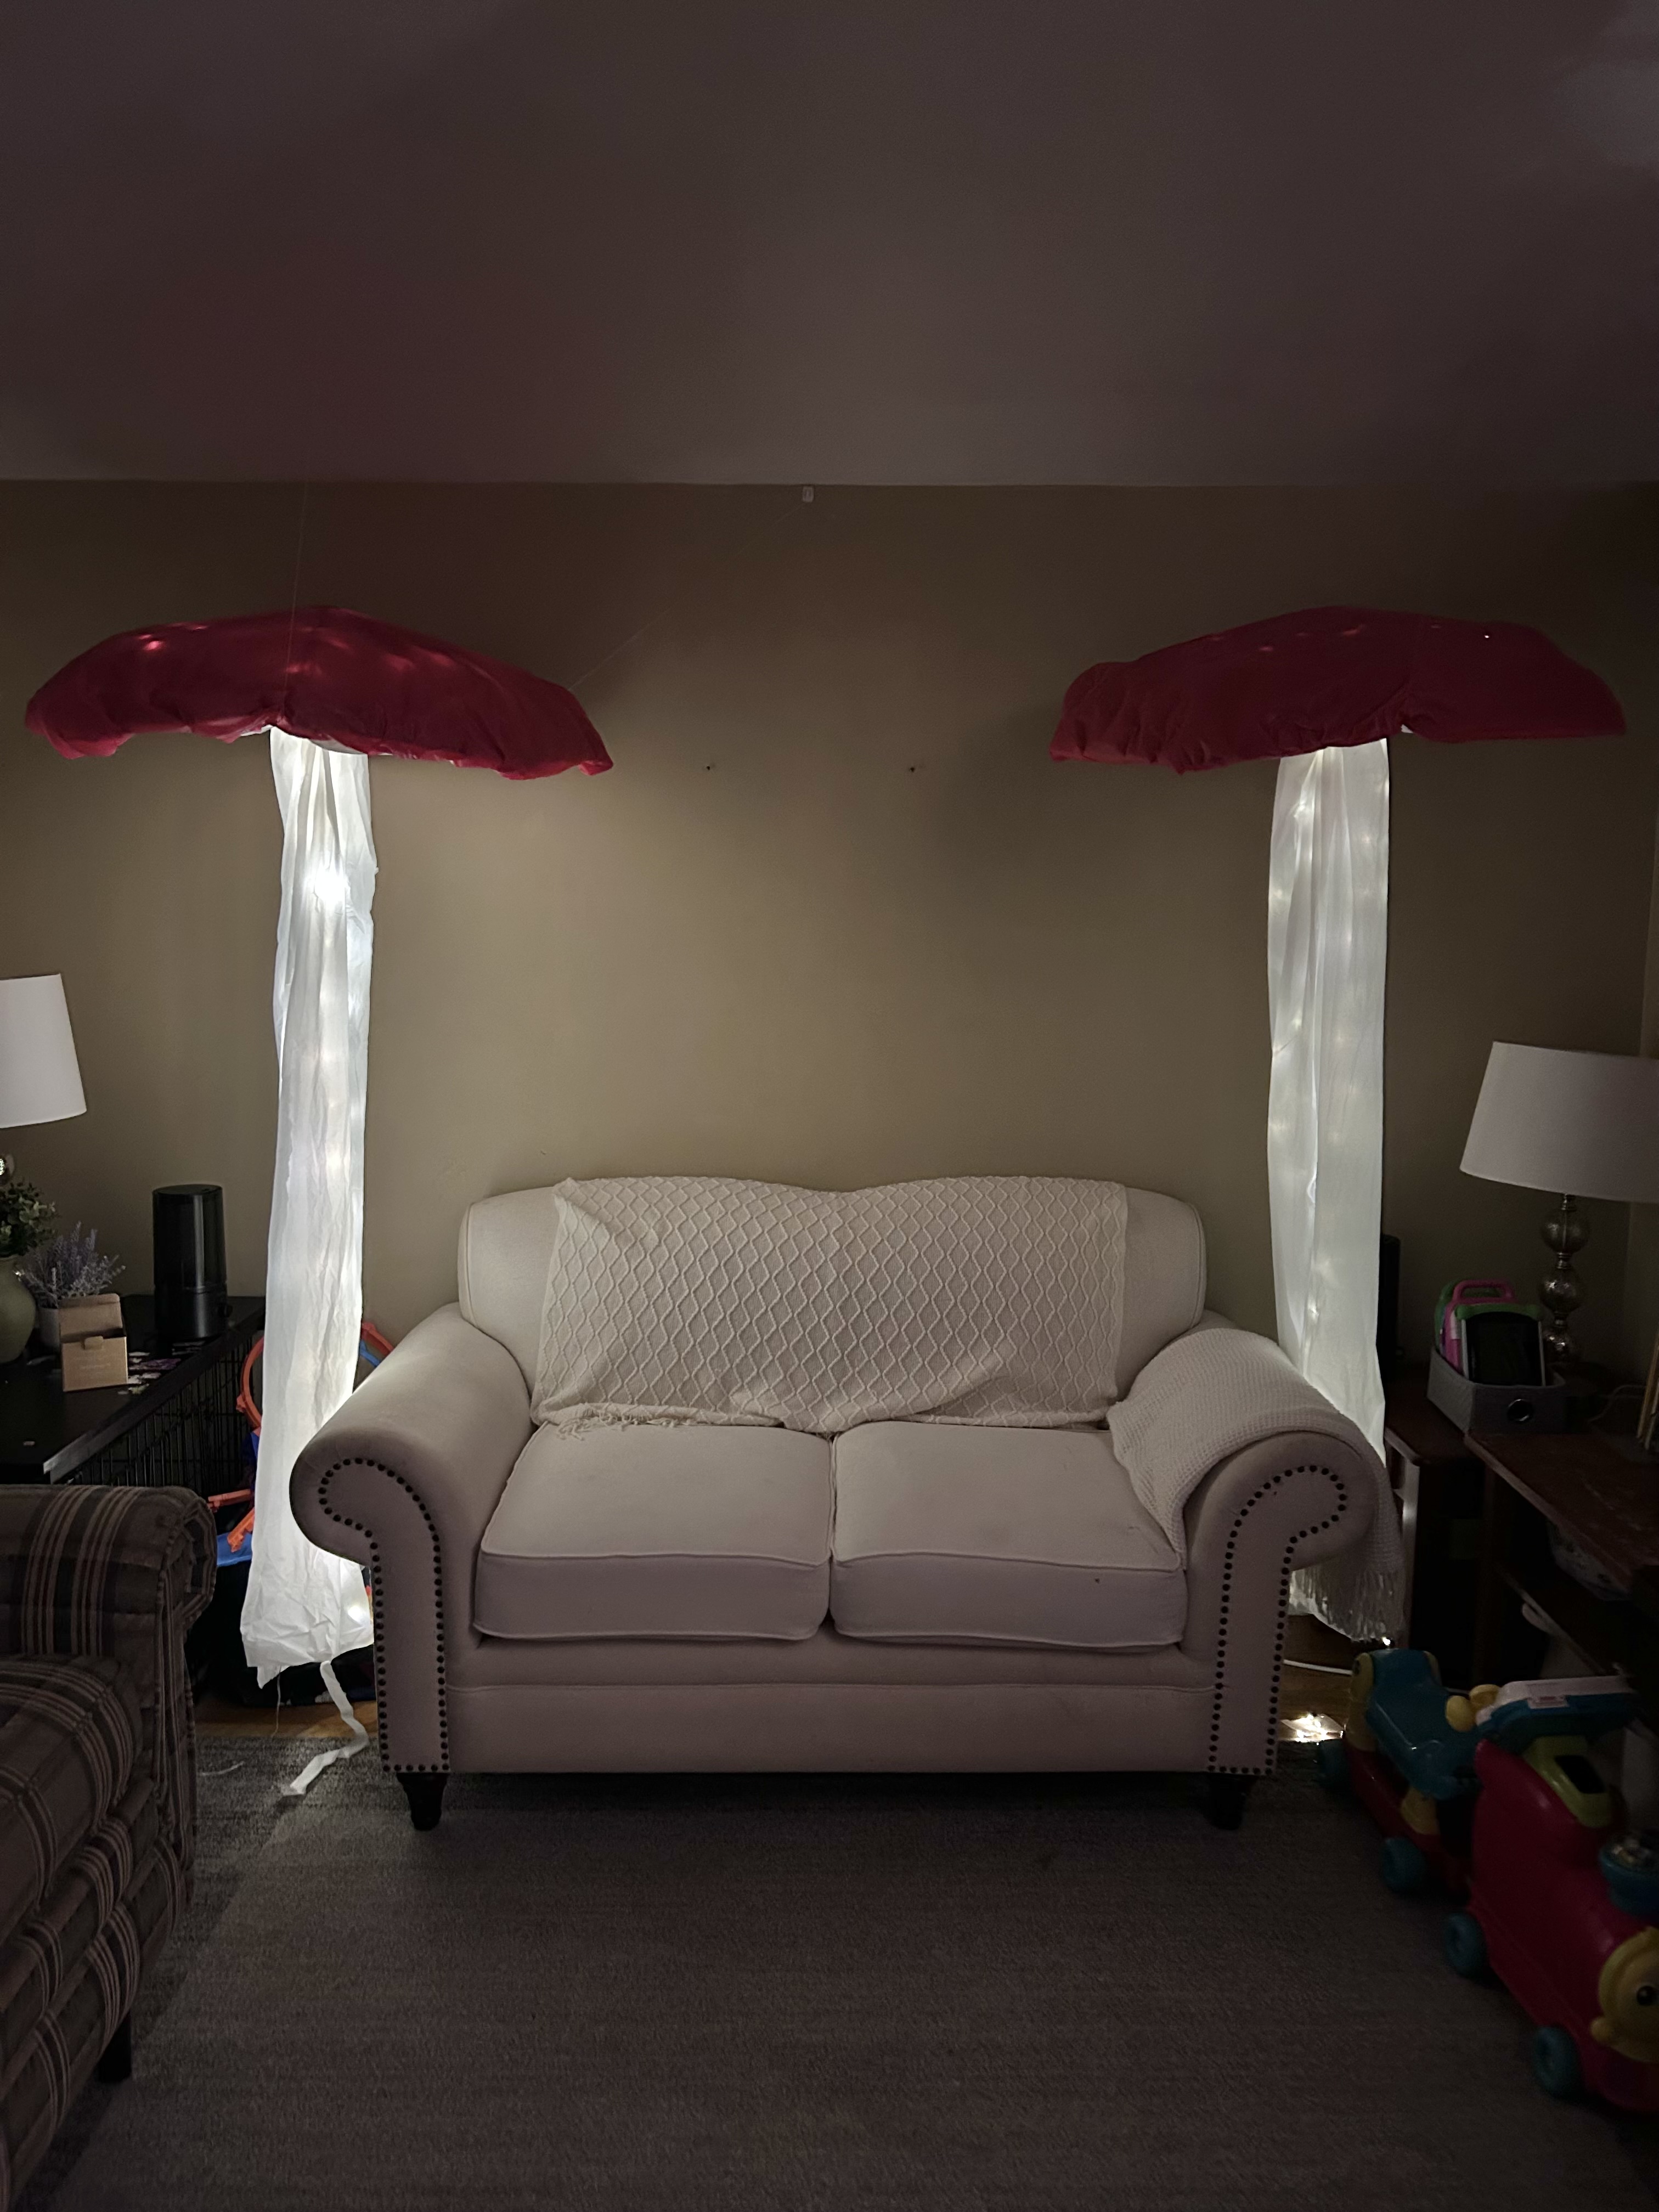
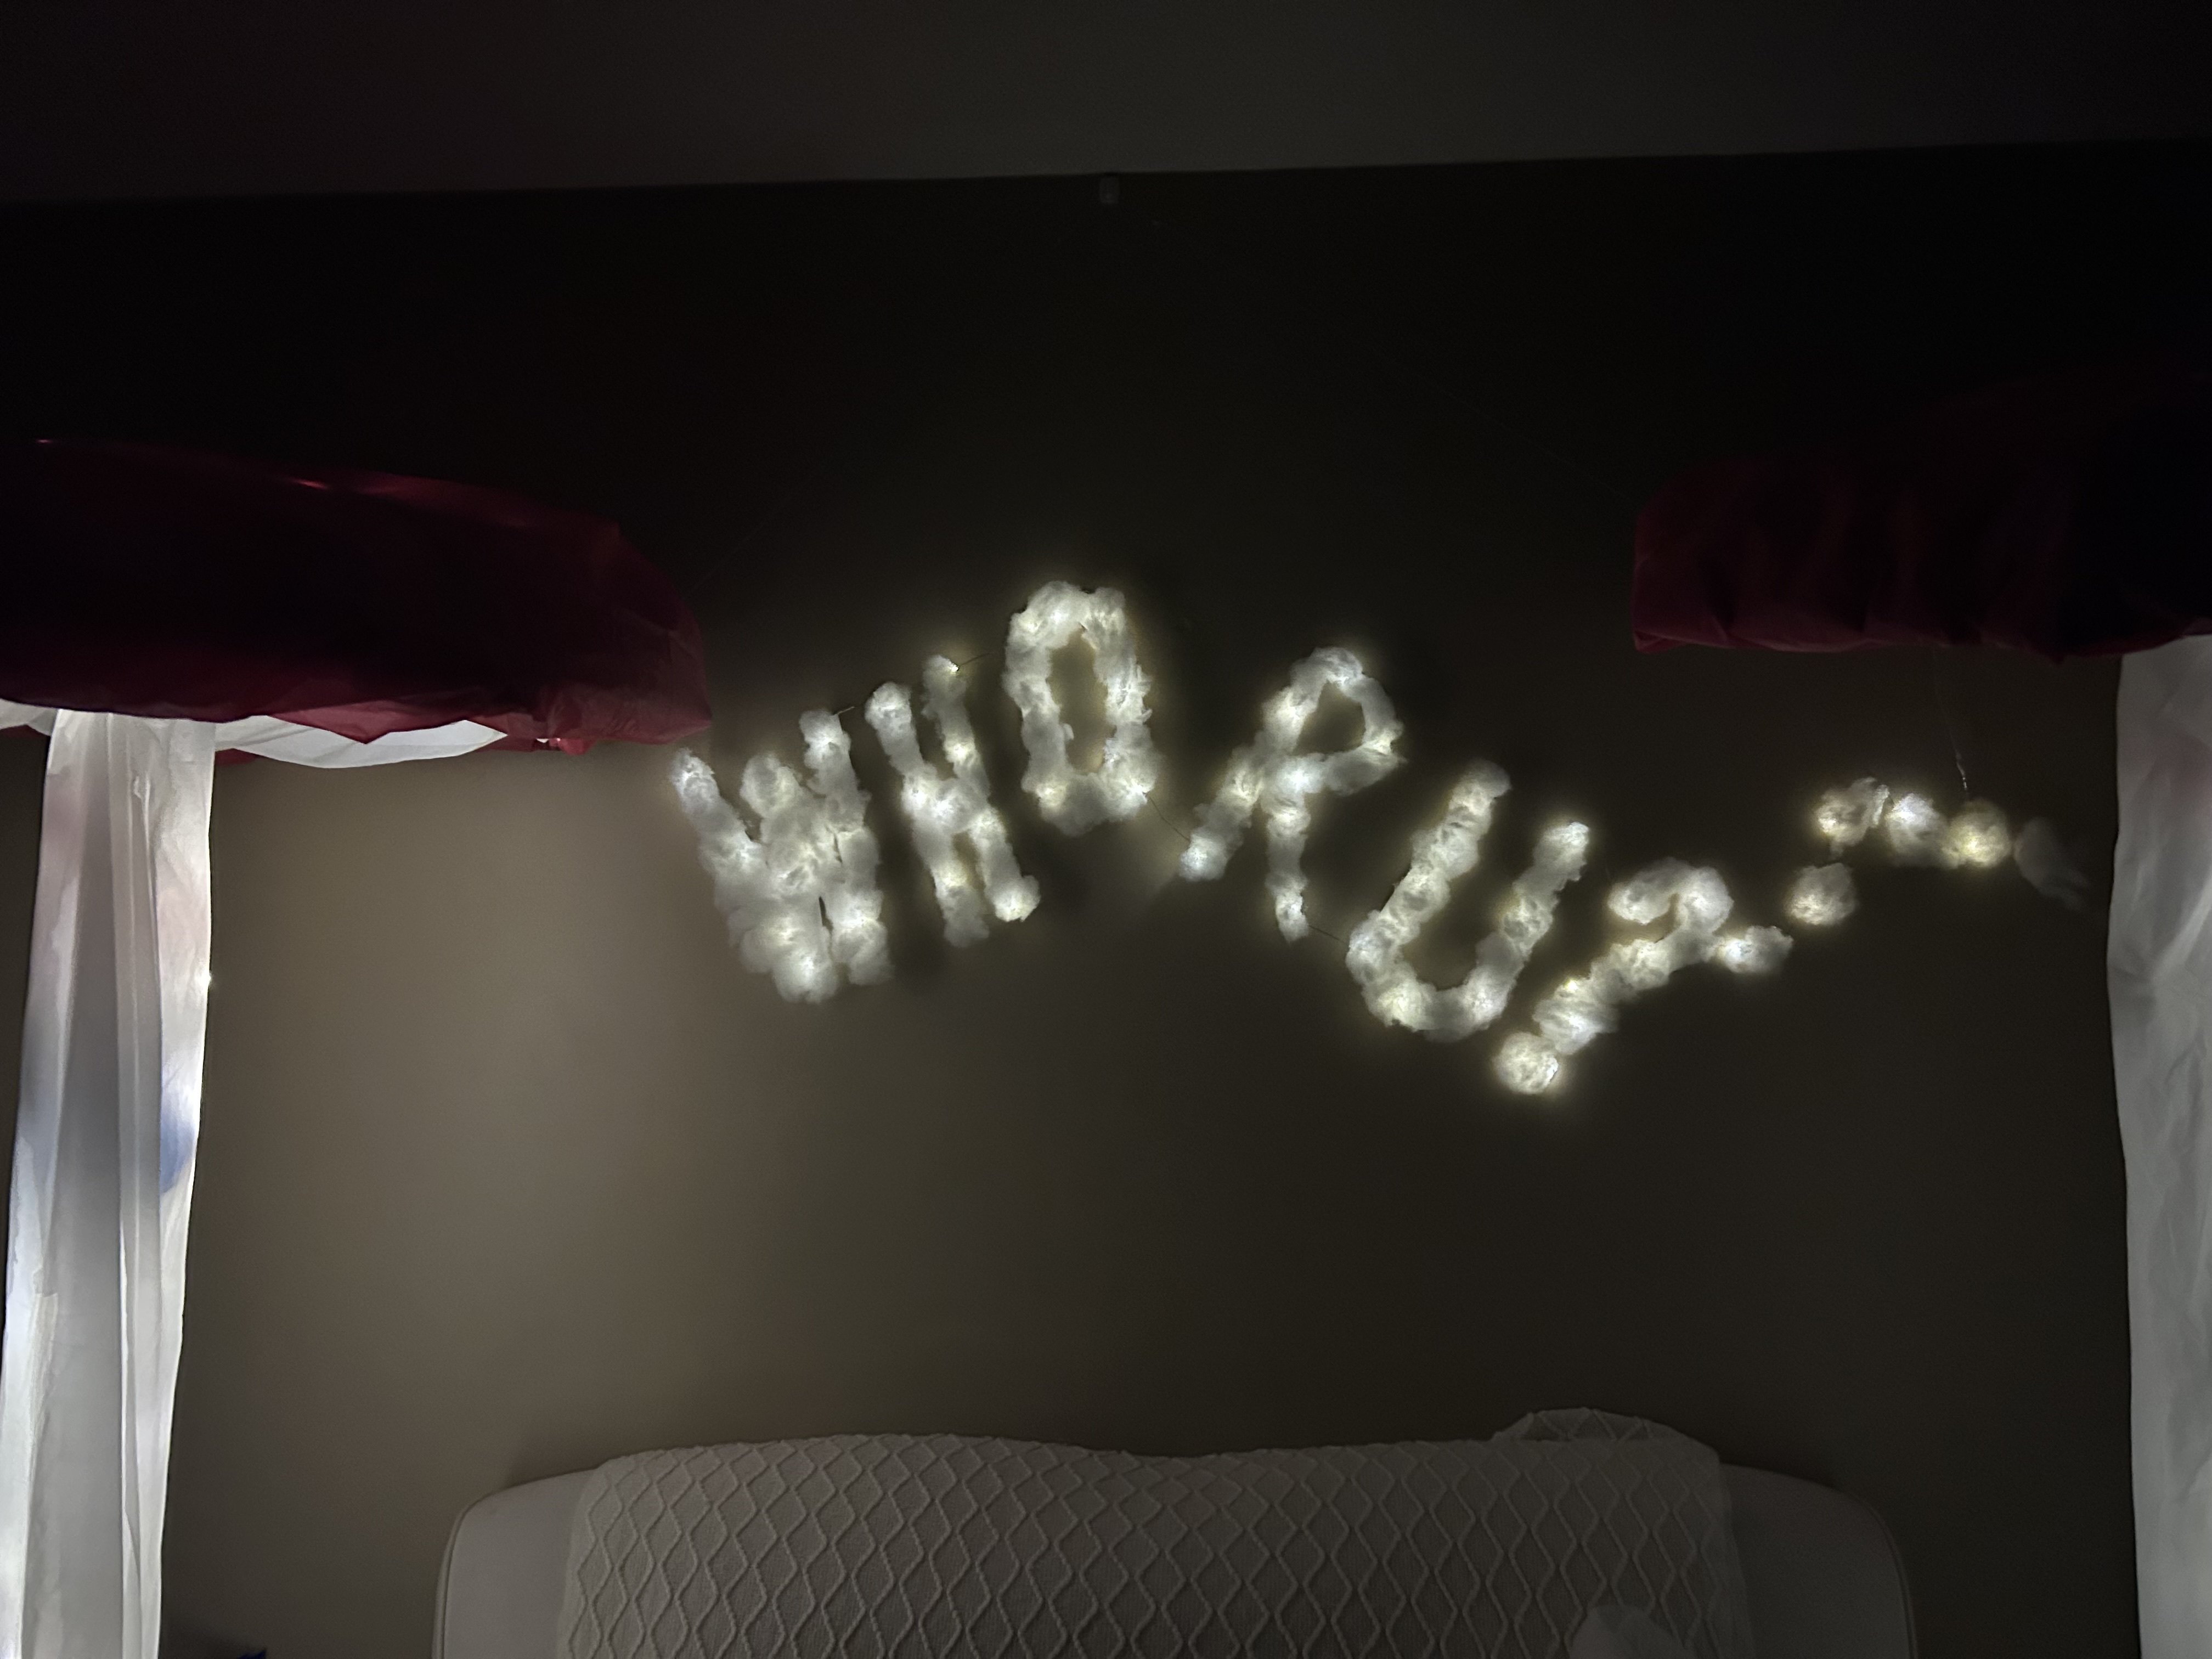
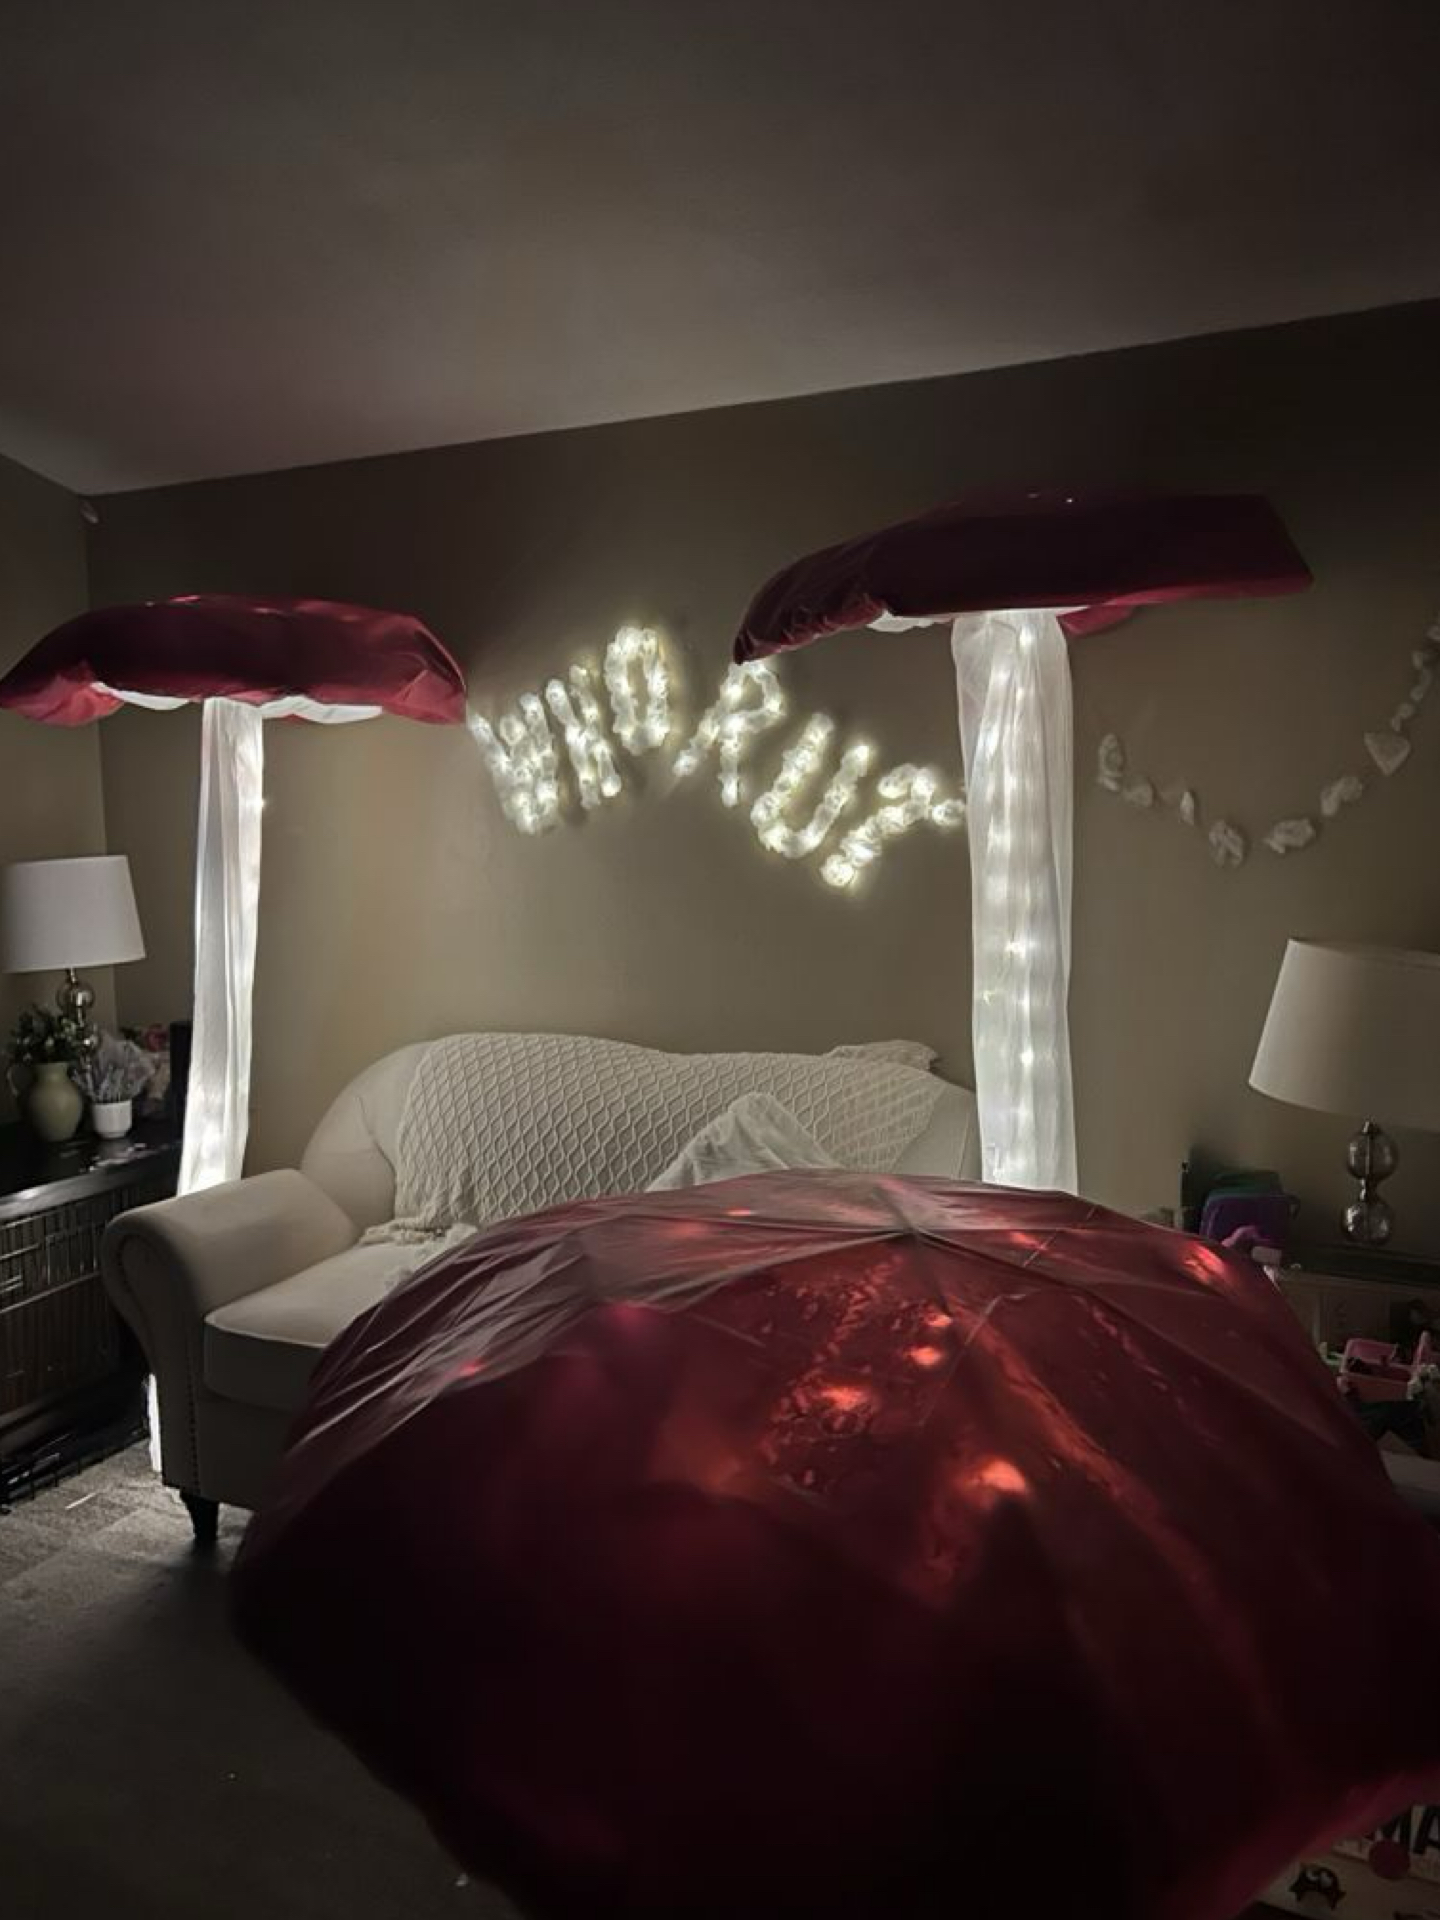
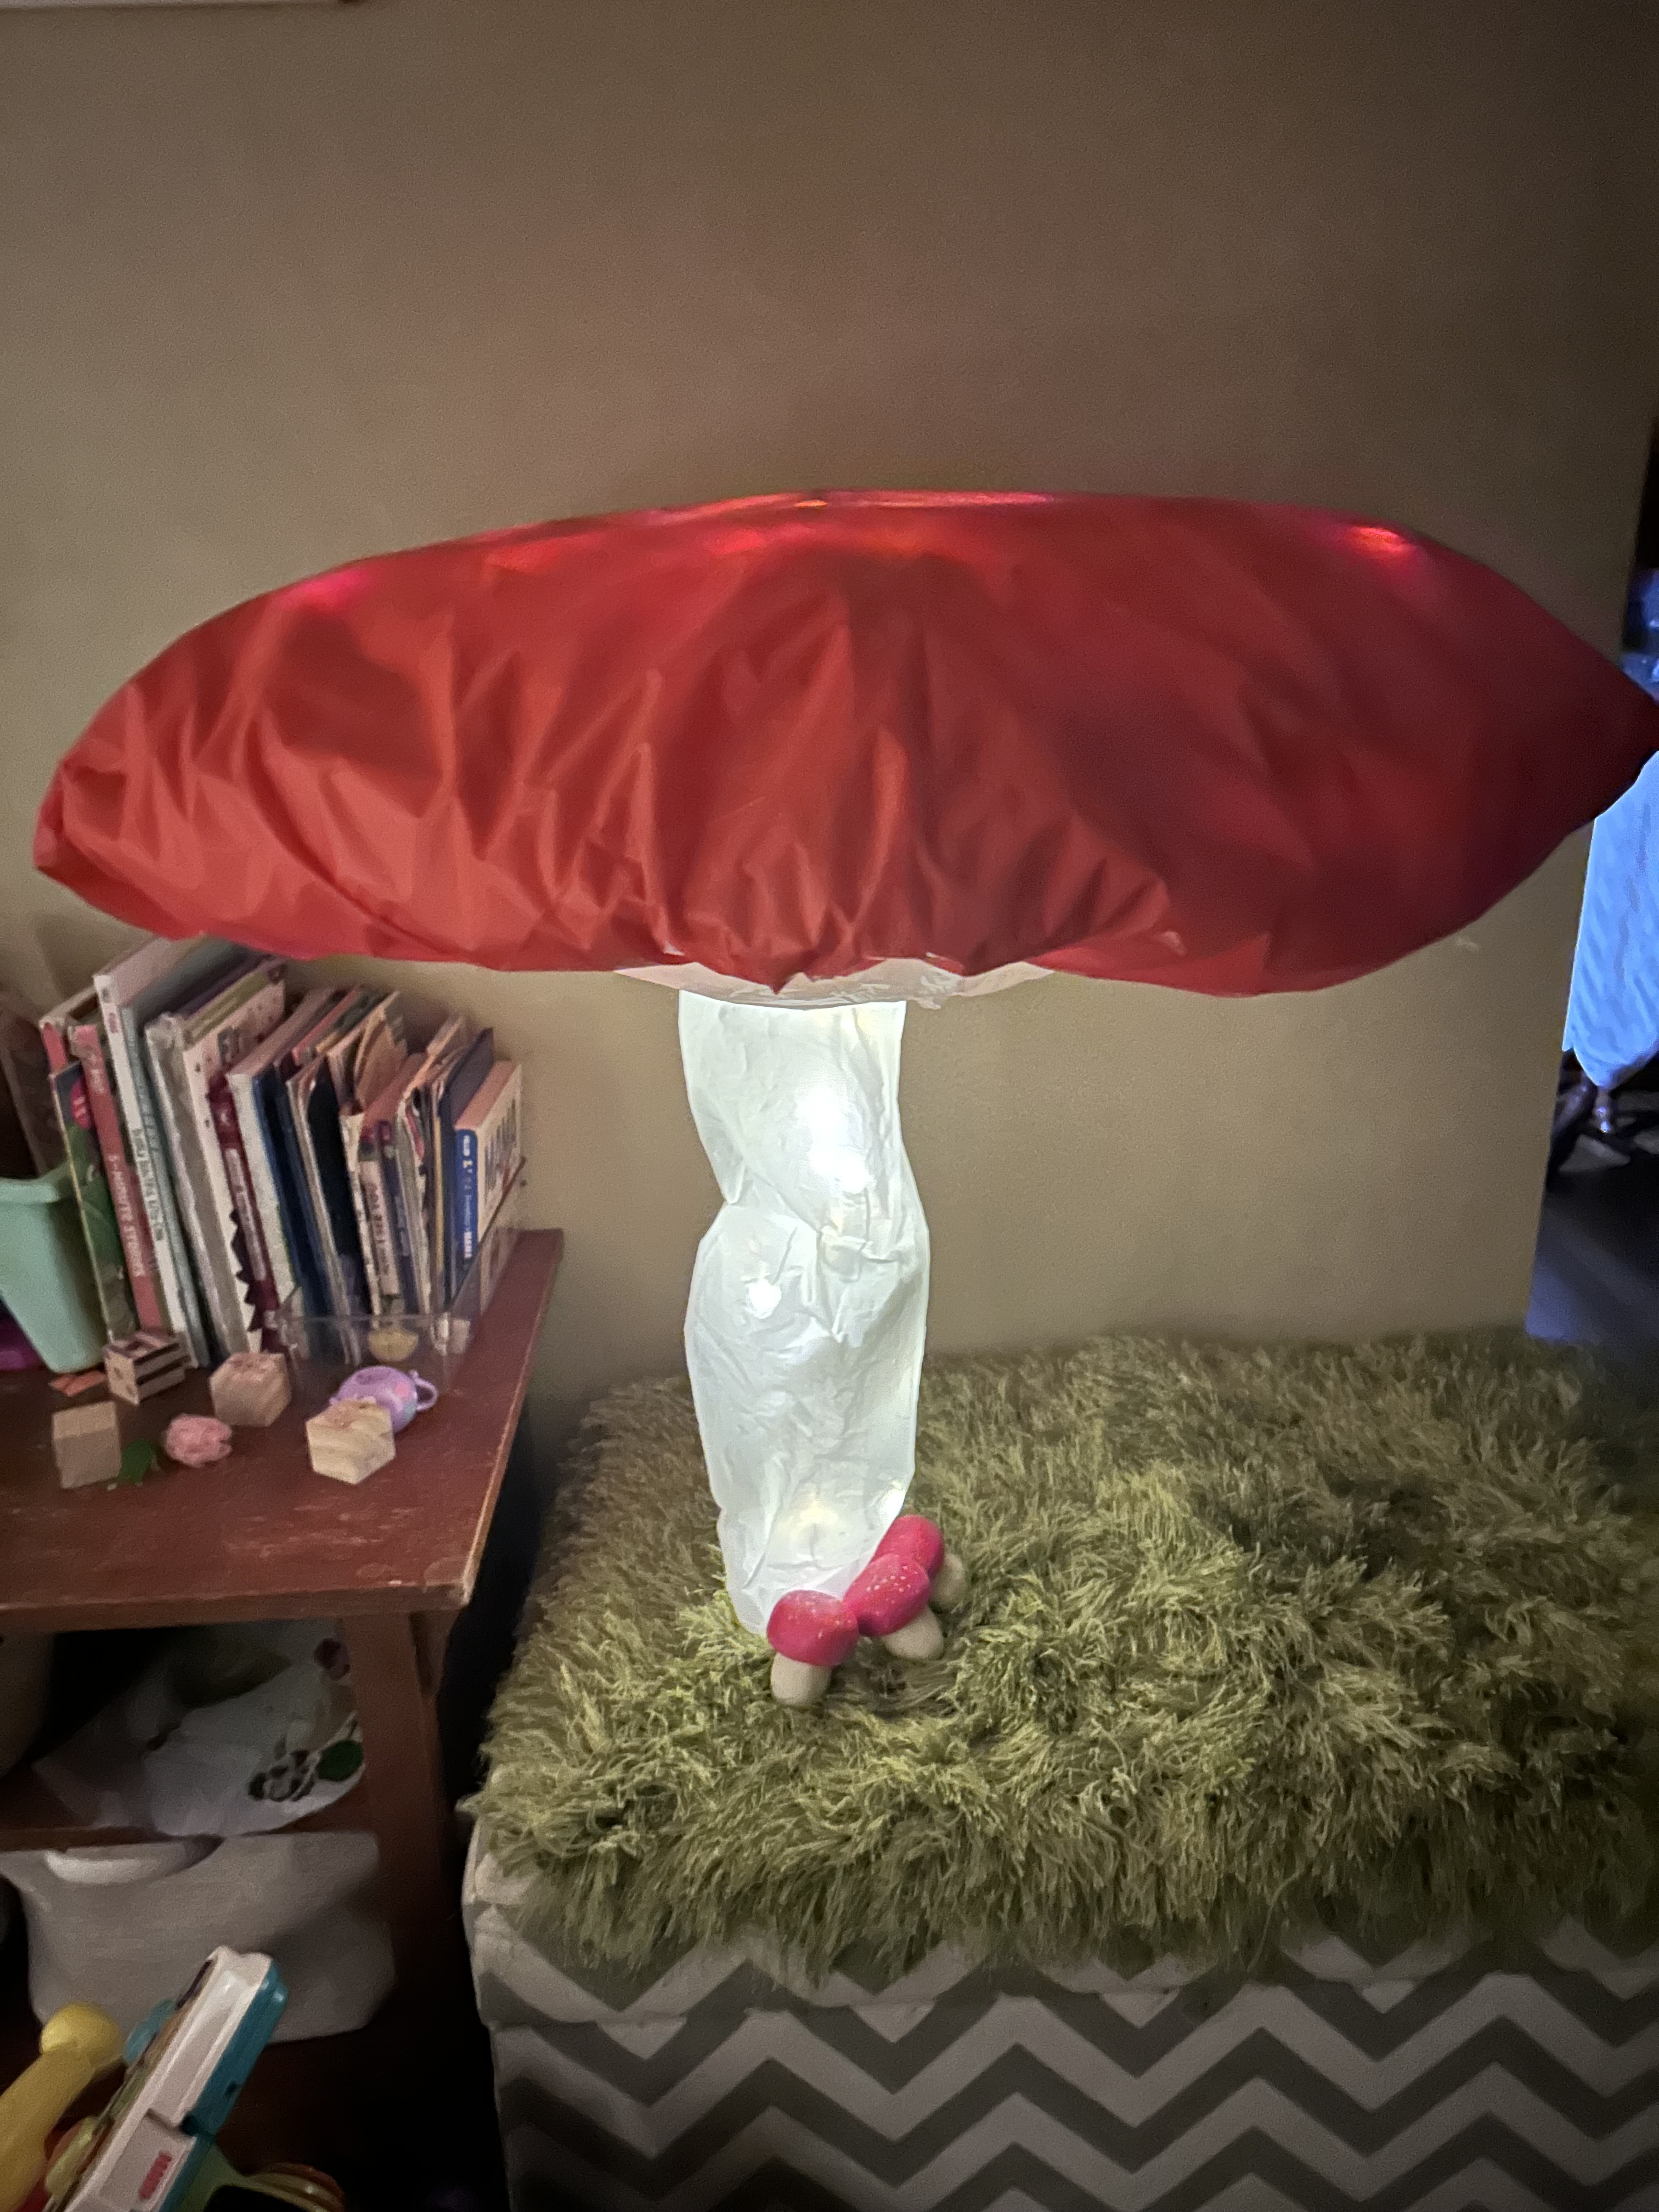
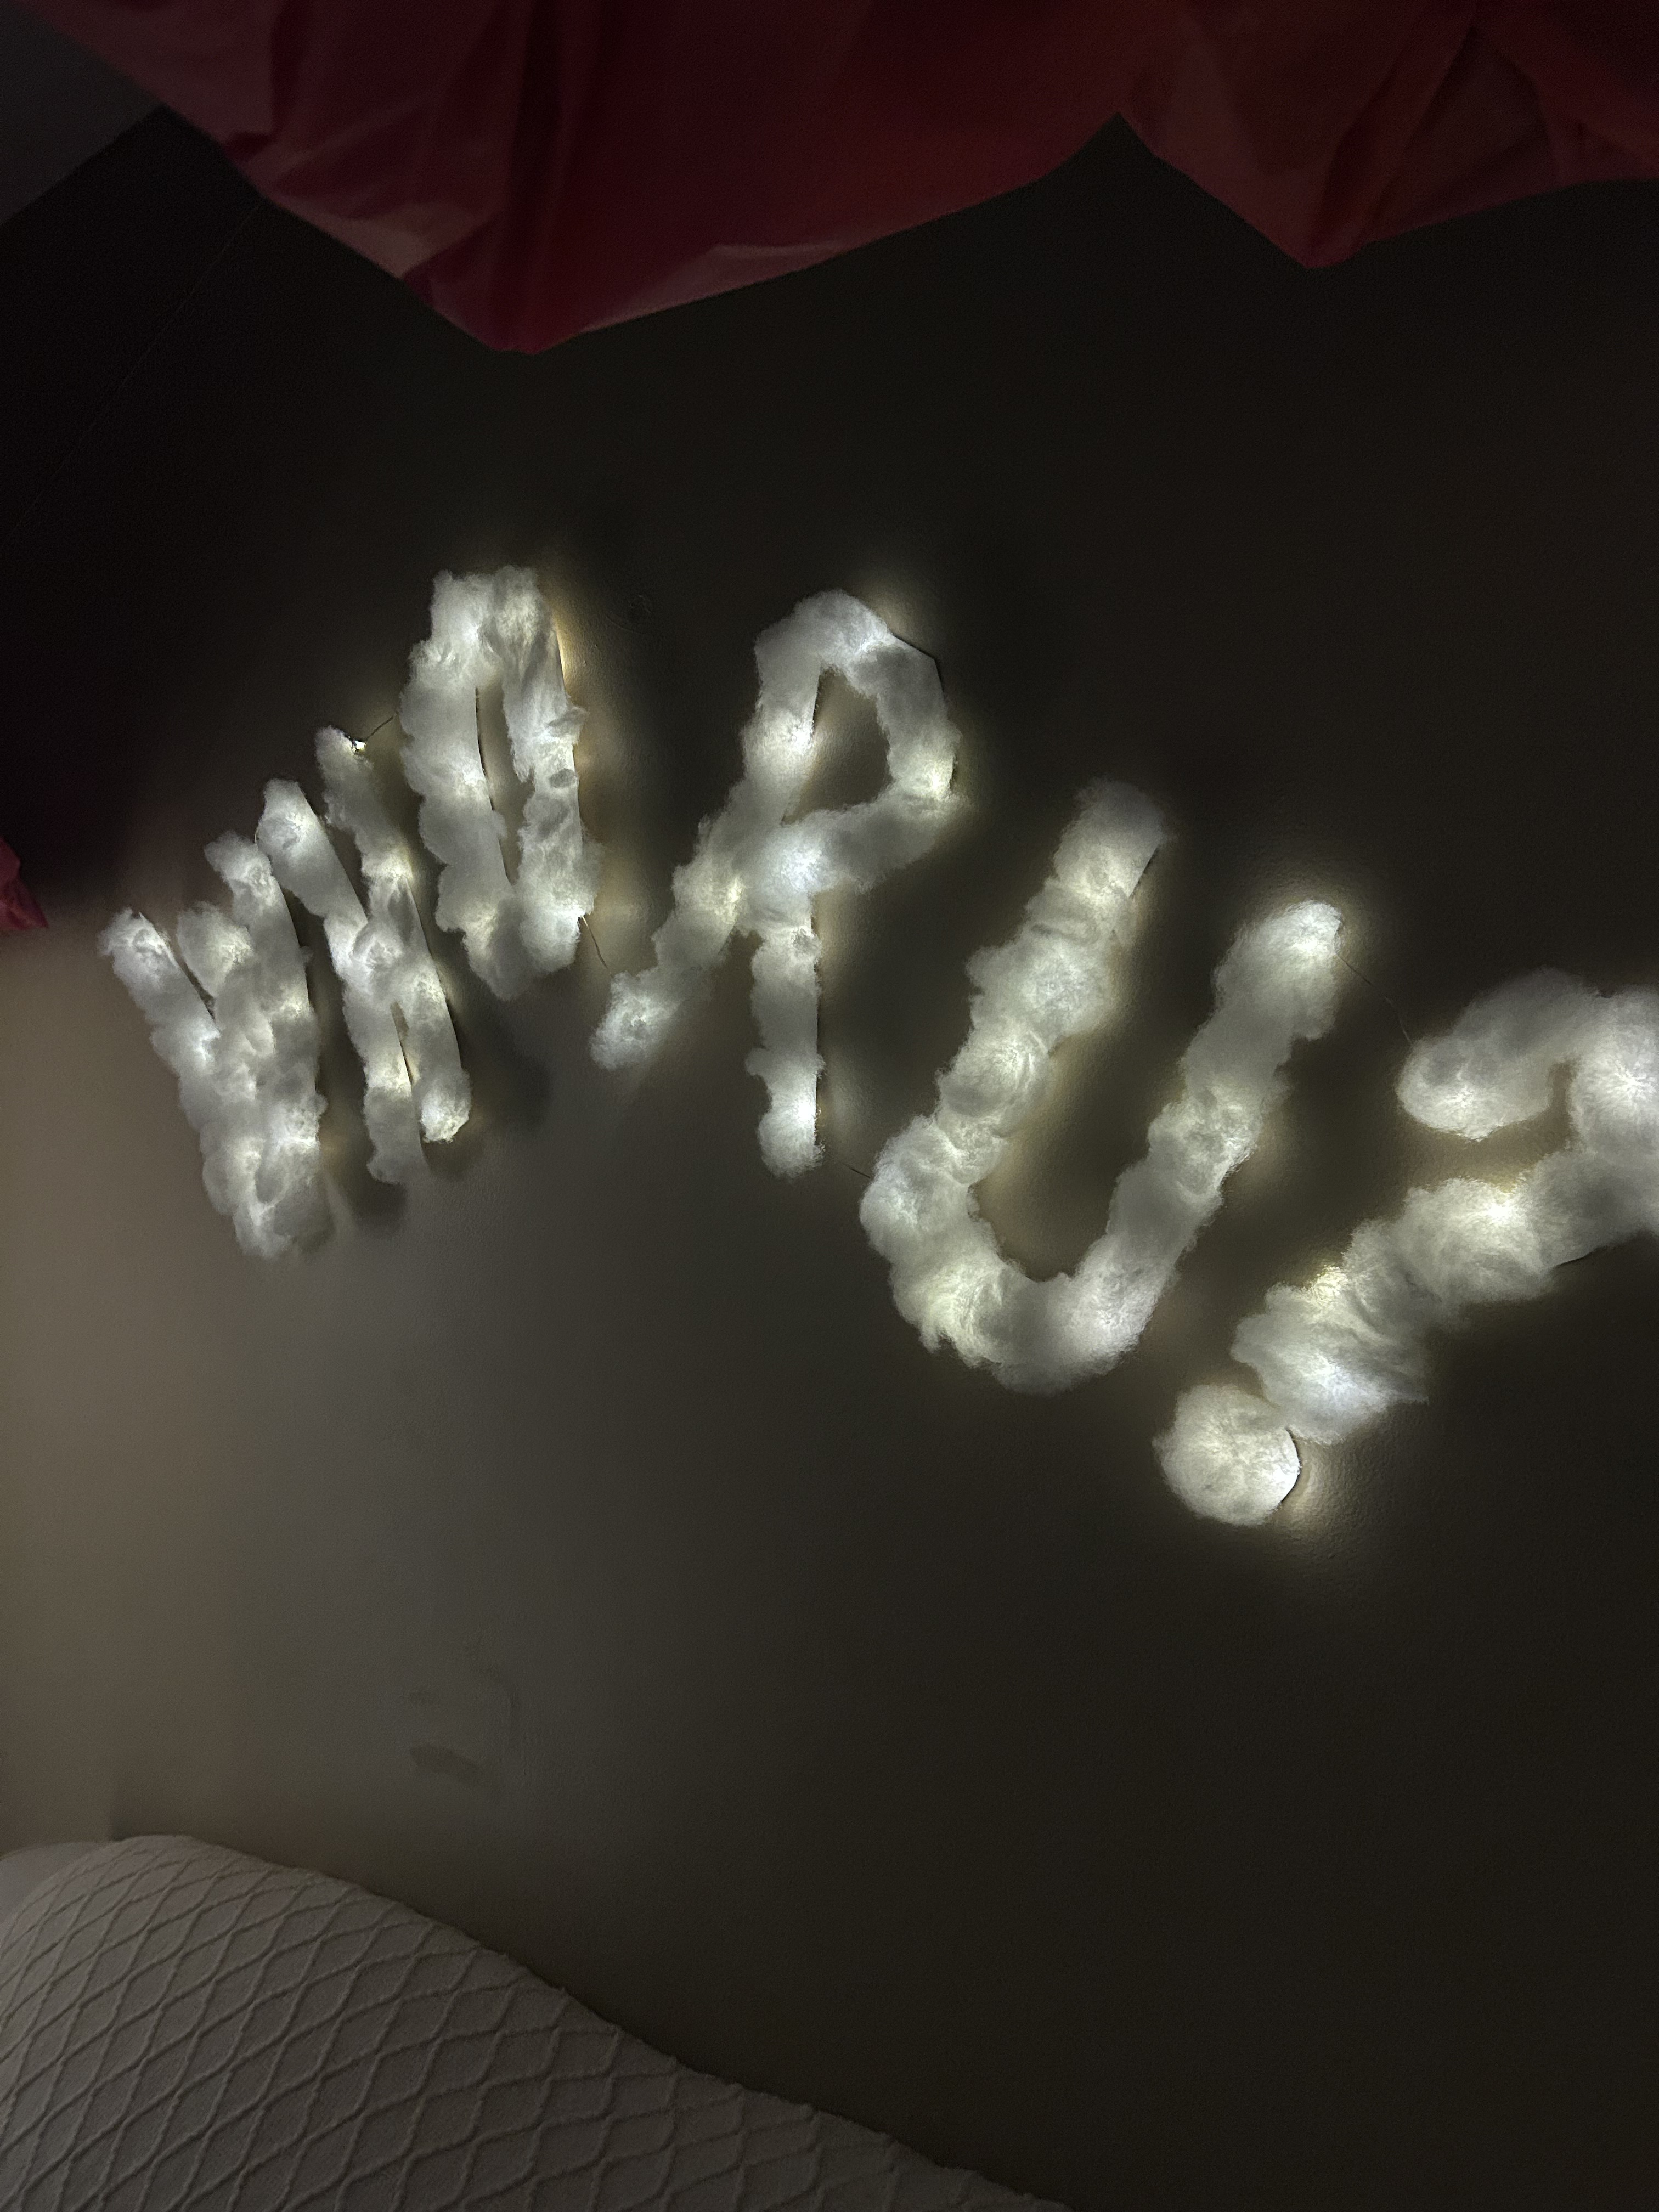
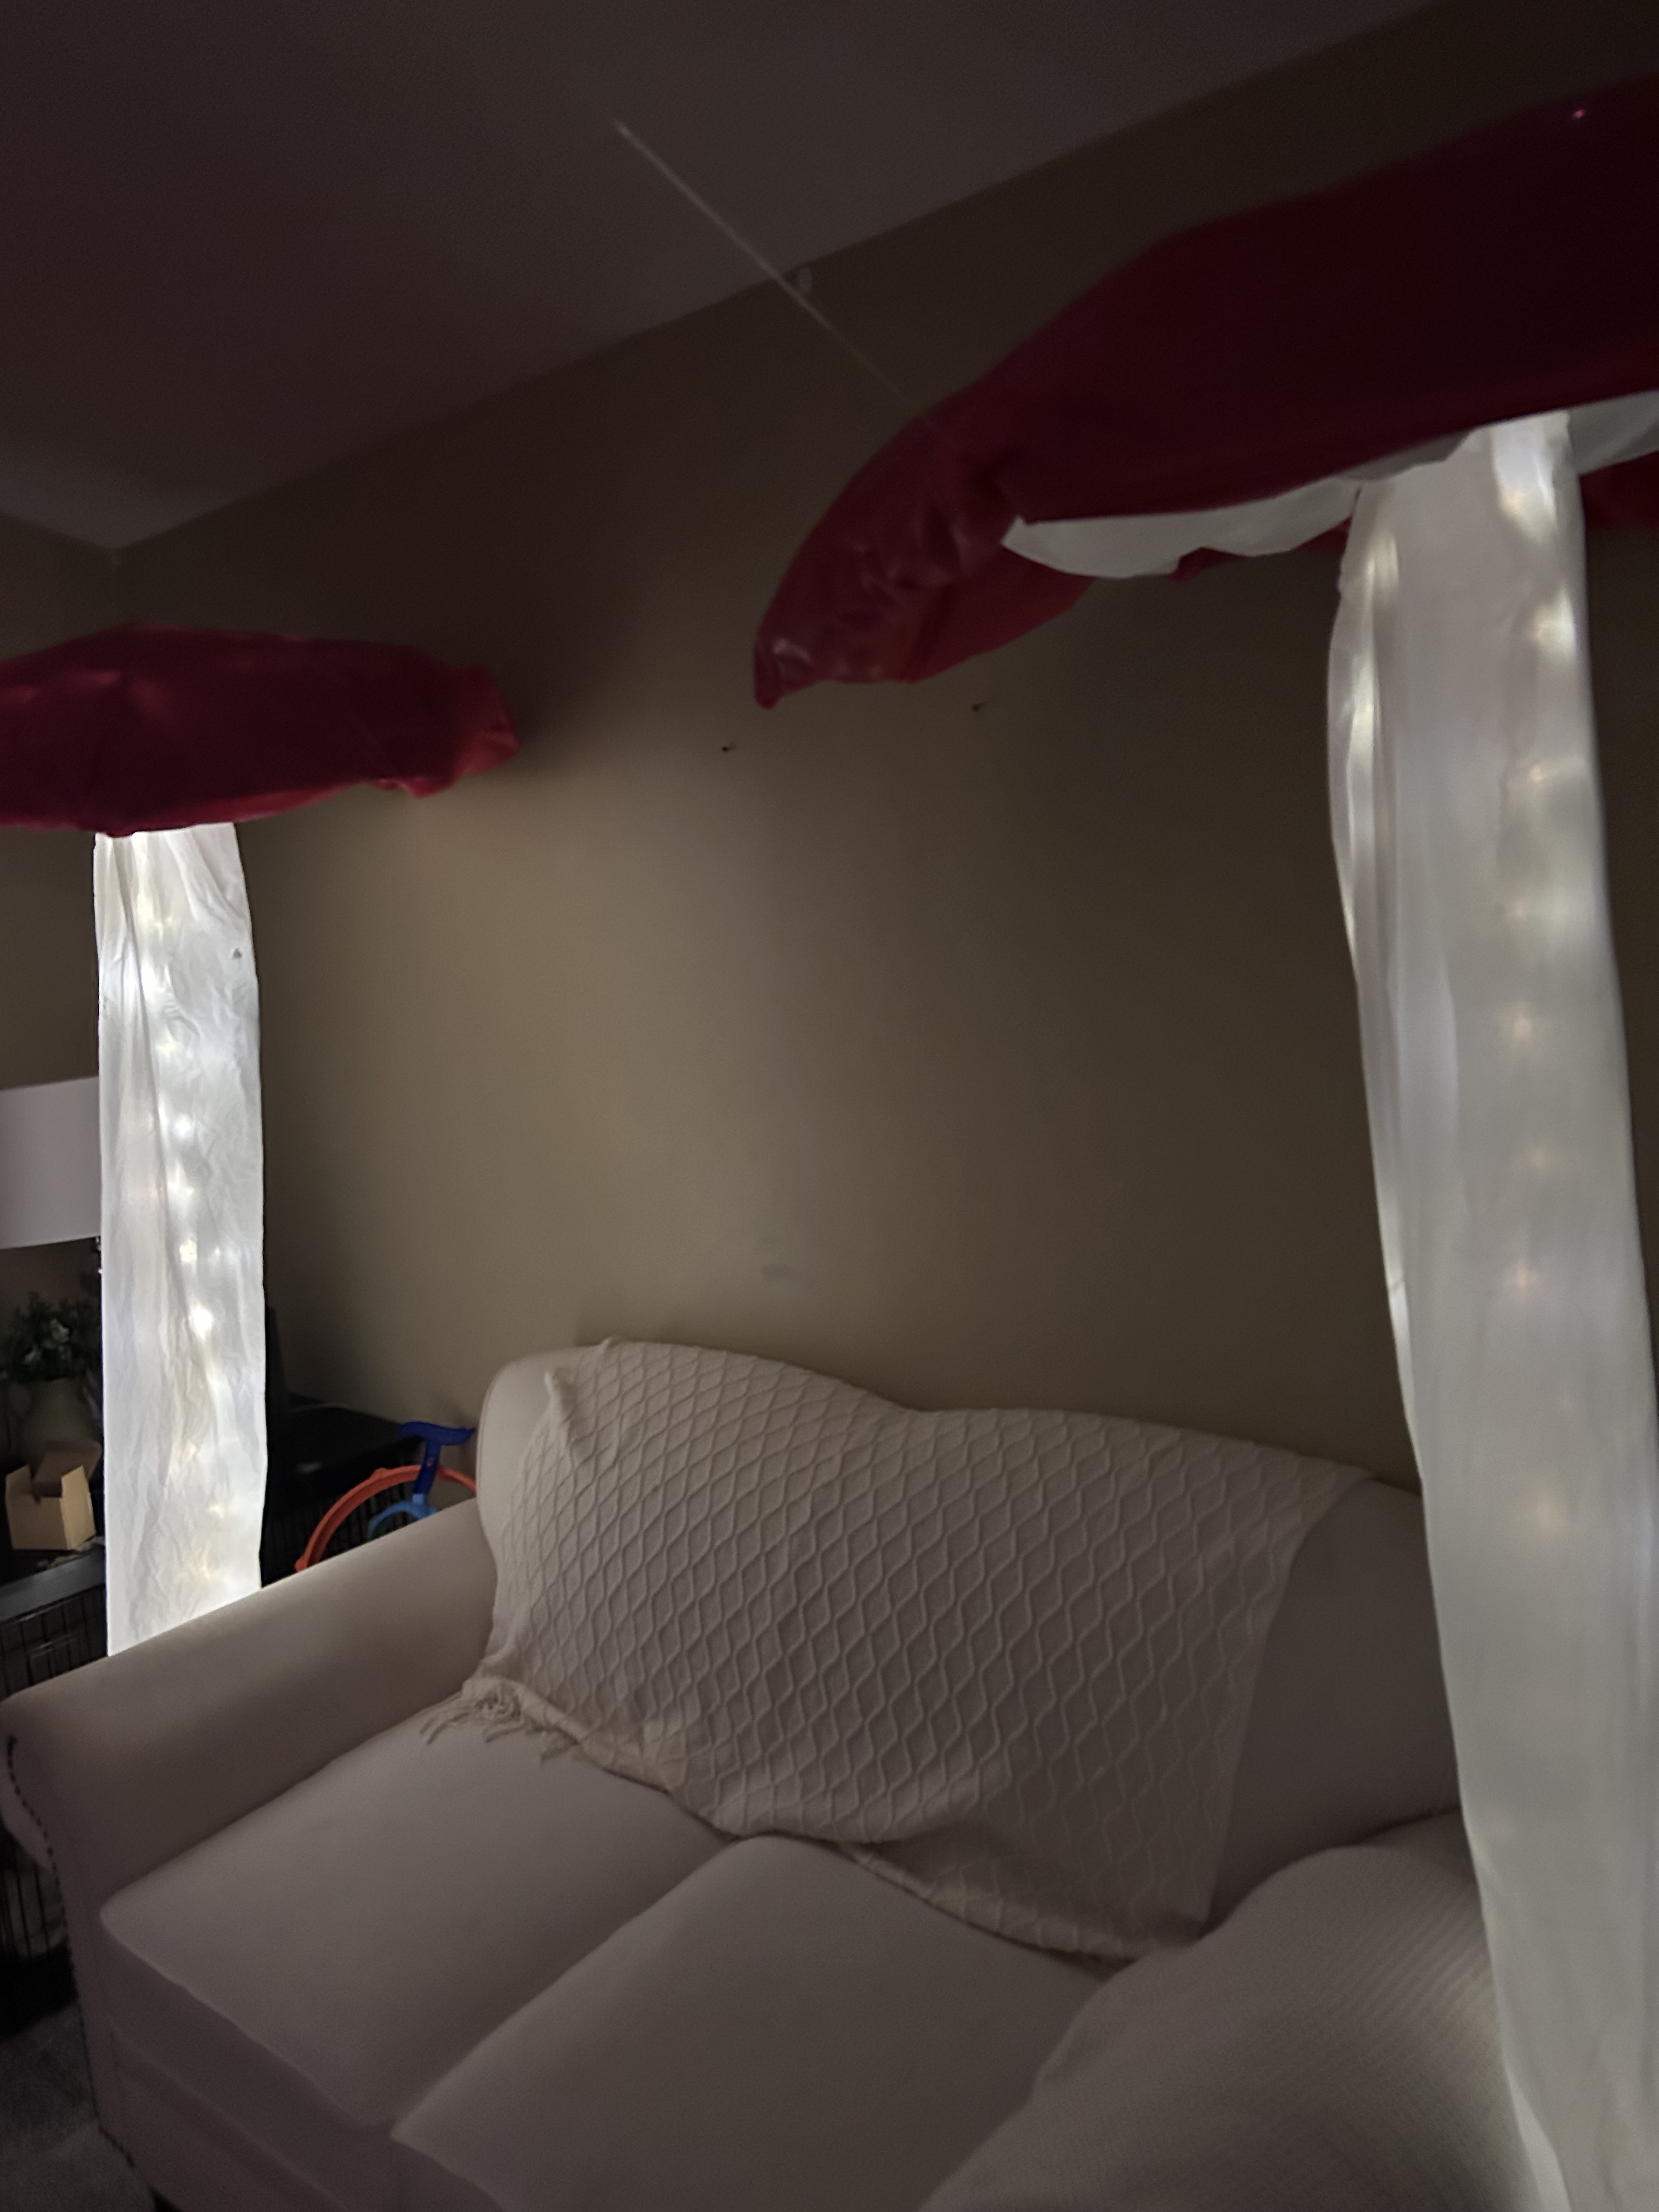
    A cozy living room featuring a white couch with a knit blanket, illuminated by large red mushroom-shaped decorations with white drapes and string lights spelling 'WHO RU?' on the wall.
    How it turned out
    Colorful blue caterpillar character made from paper lanterns, sitting on a red surface, with a whimsical facial expression and cartoonish features.
    This is how my Blue Caterpillar turned out and it was inspired by K- Wow For Now Pinterest
    A whimsical tree with colorful flowers and a smiling Cheshire Cat figure lounging on a branch, displayed in front of a green curtain.
    Design inspired by Minee Lee Pinterest
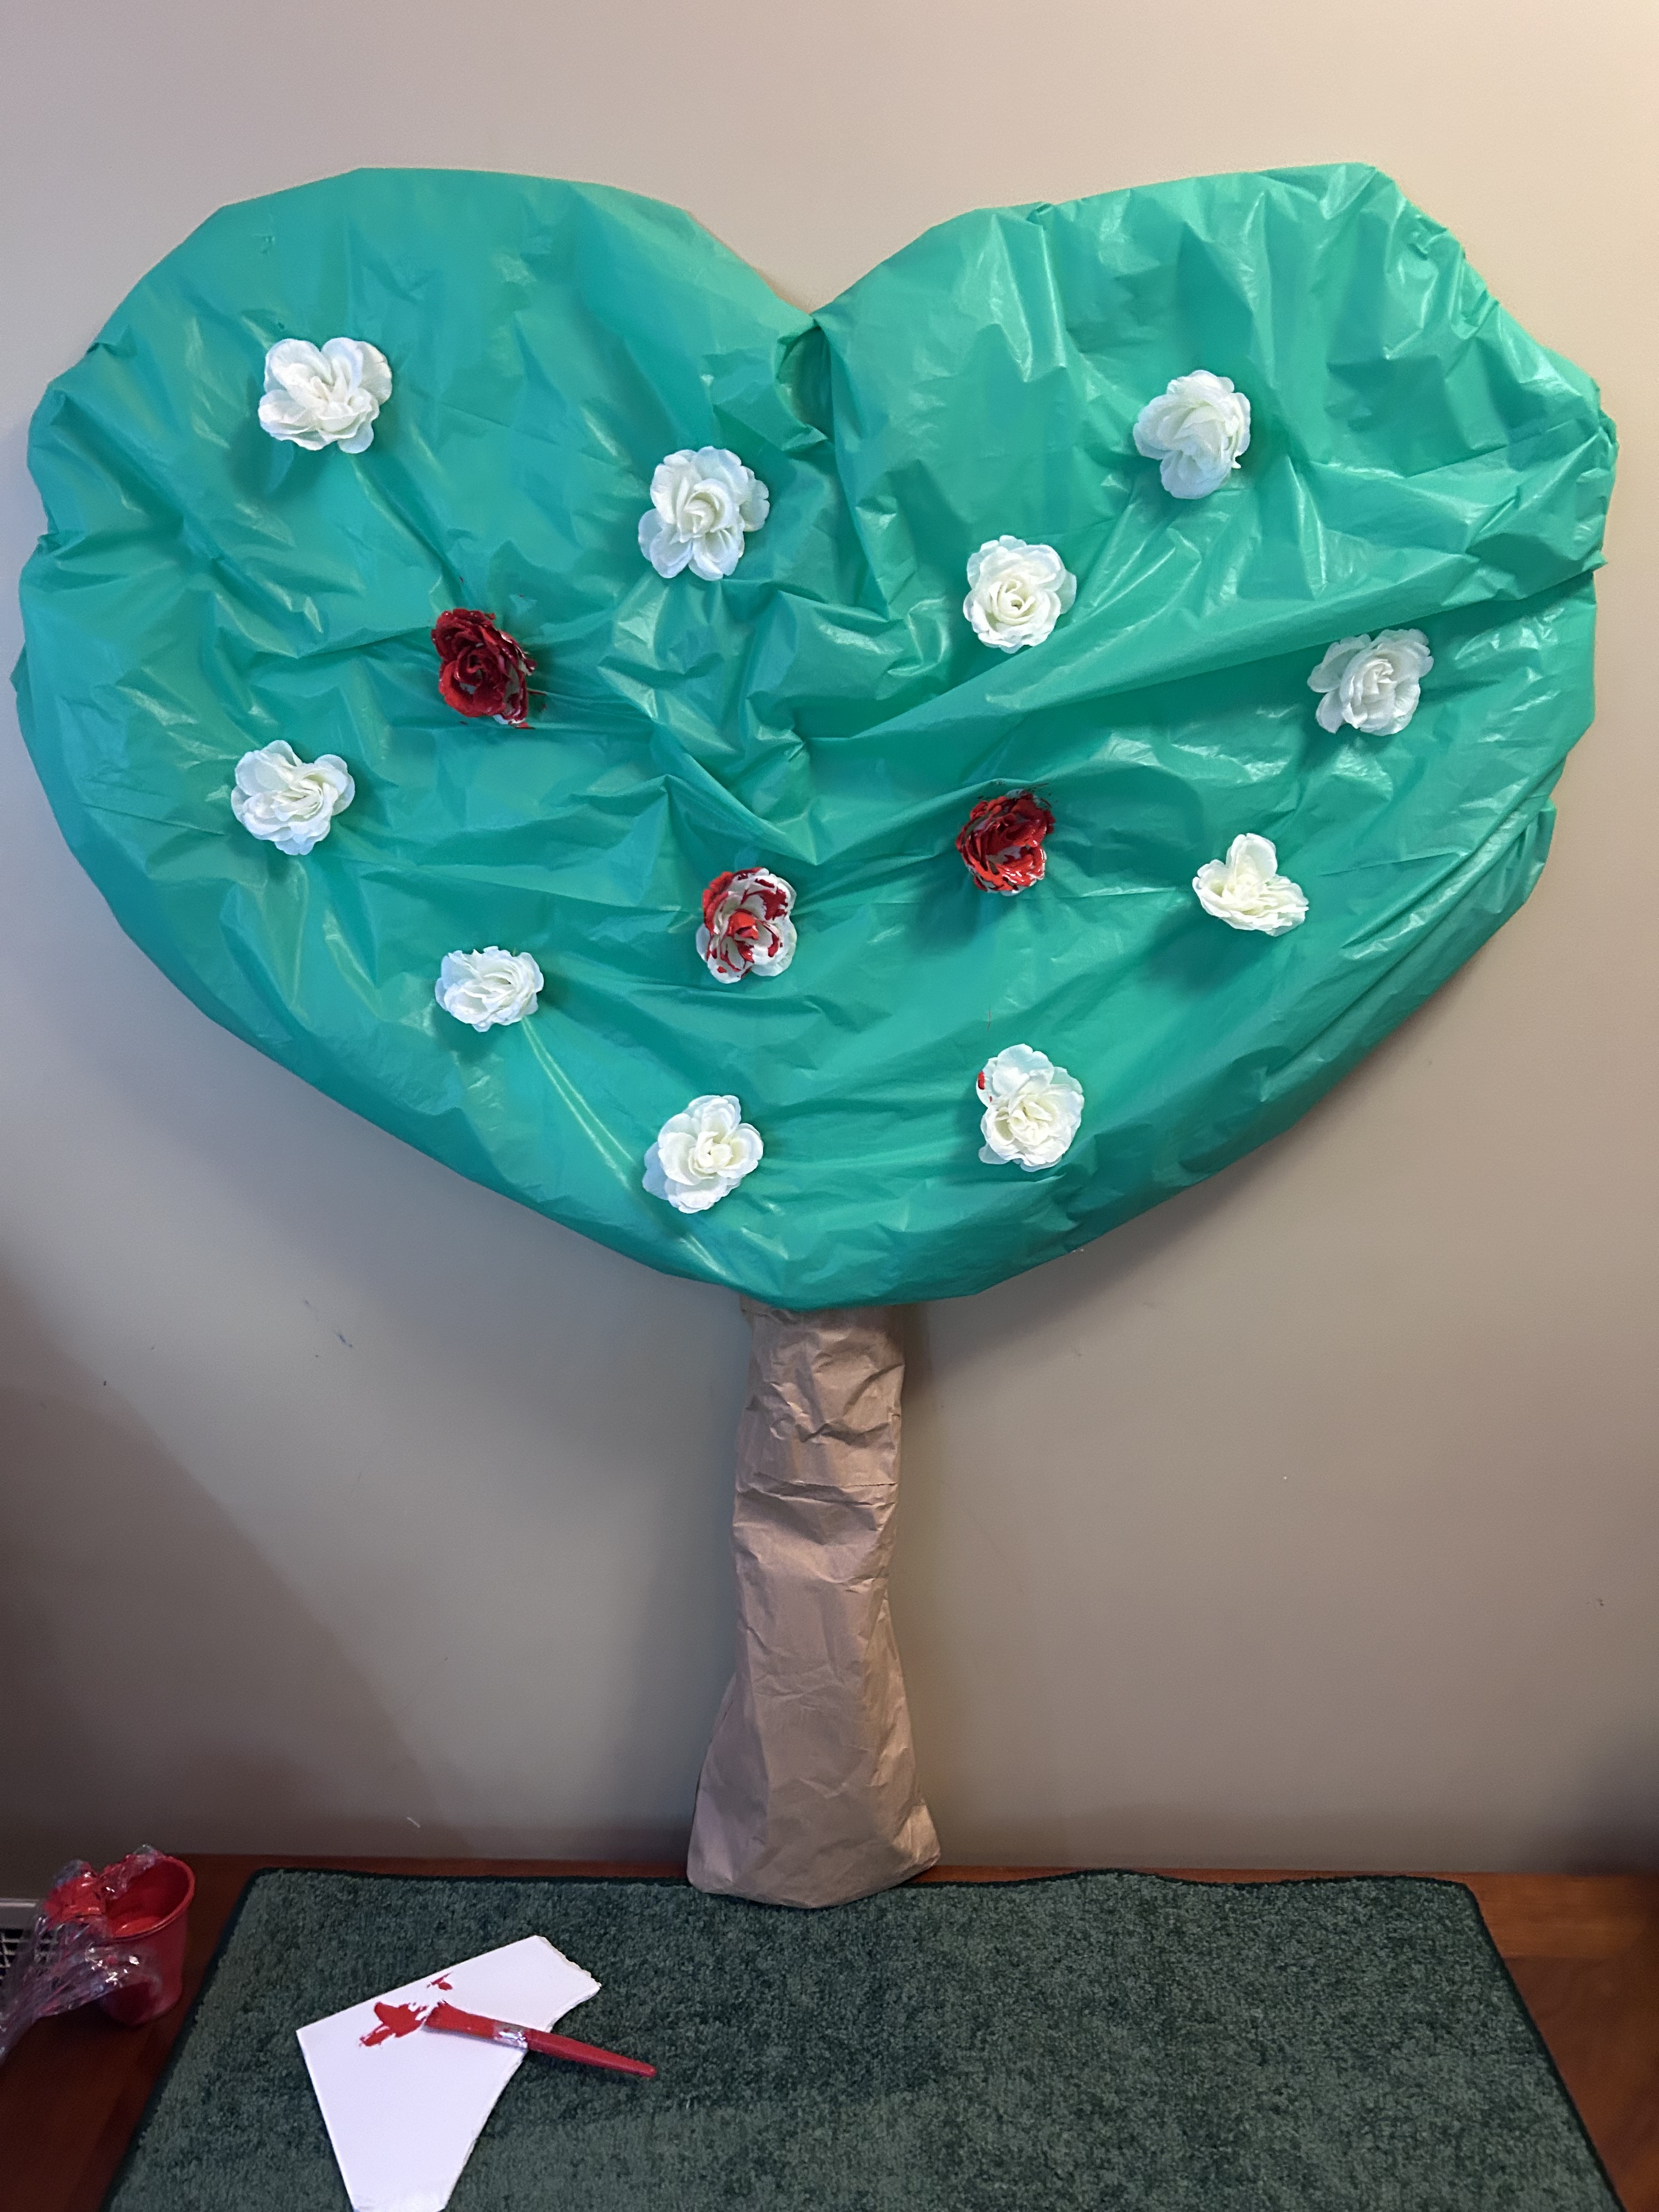
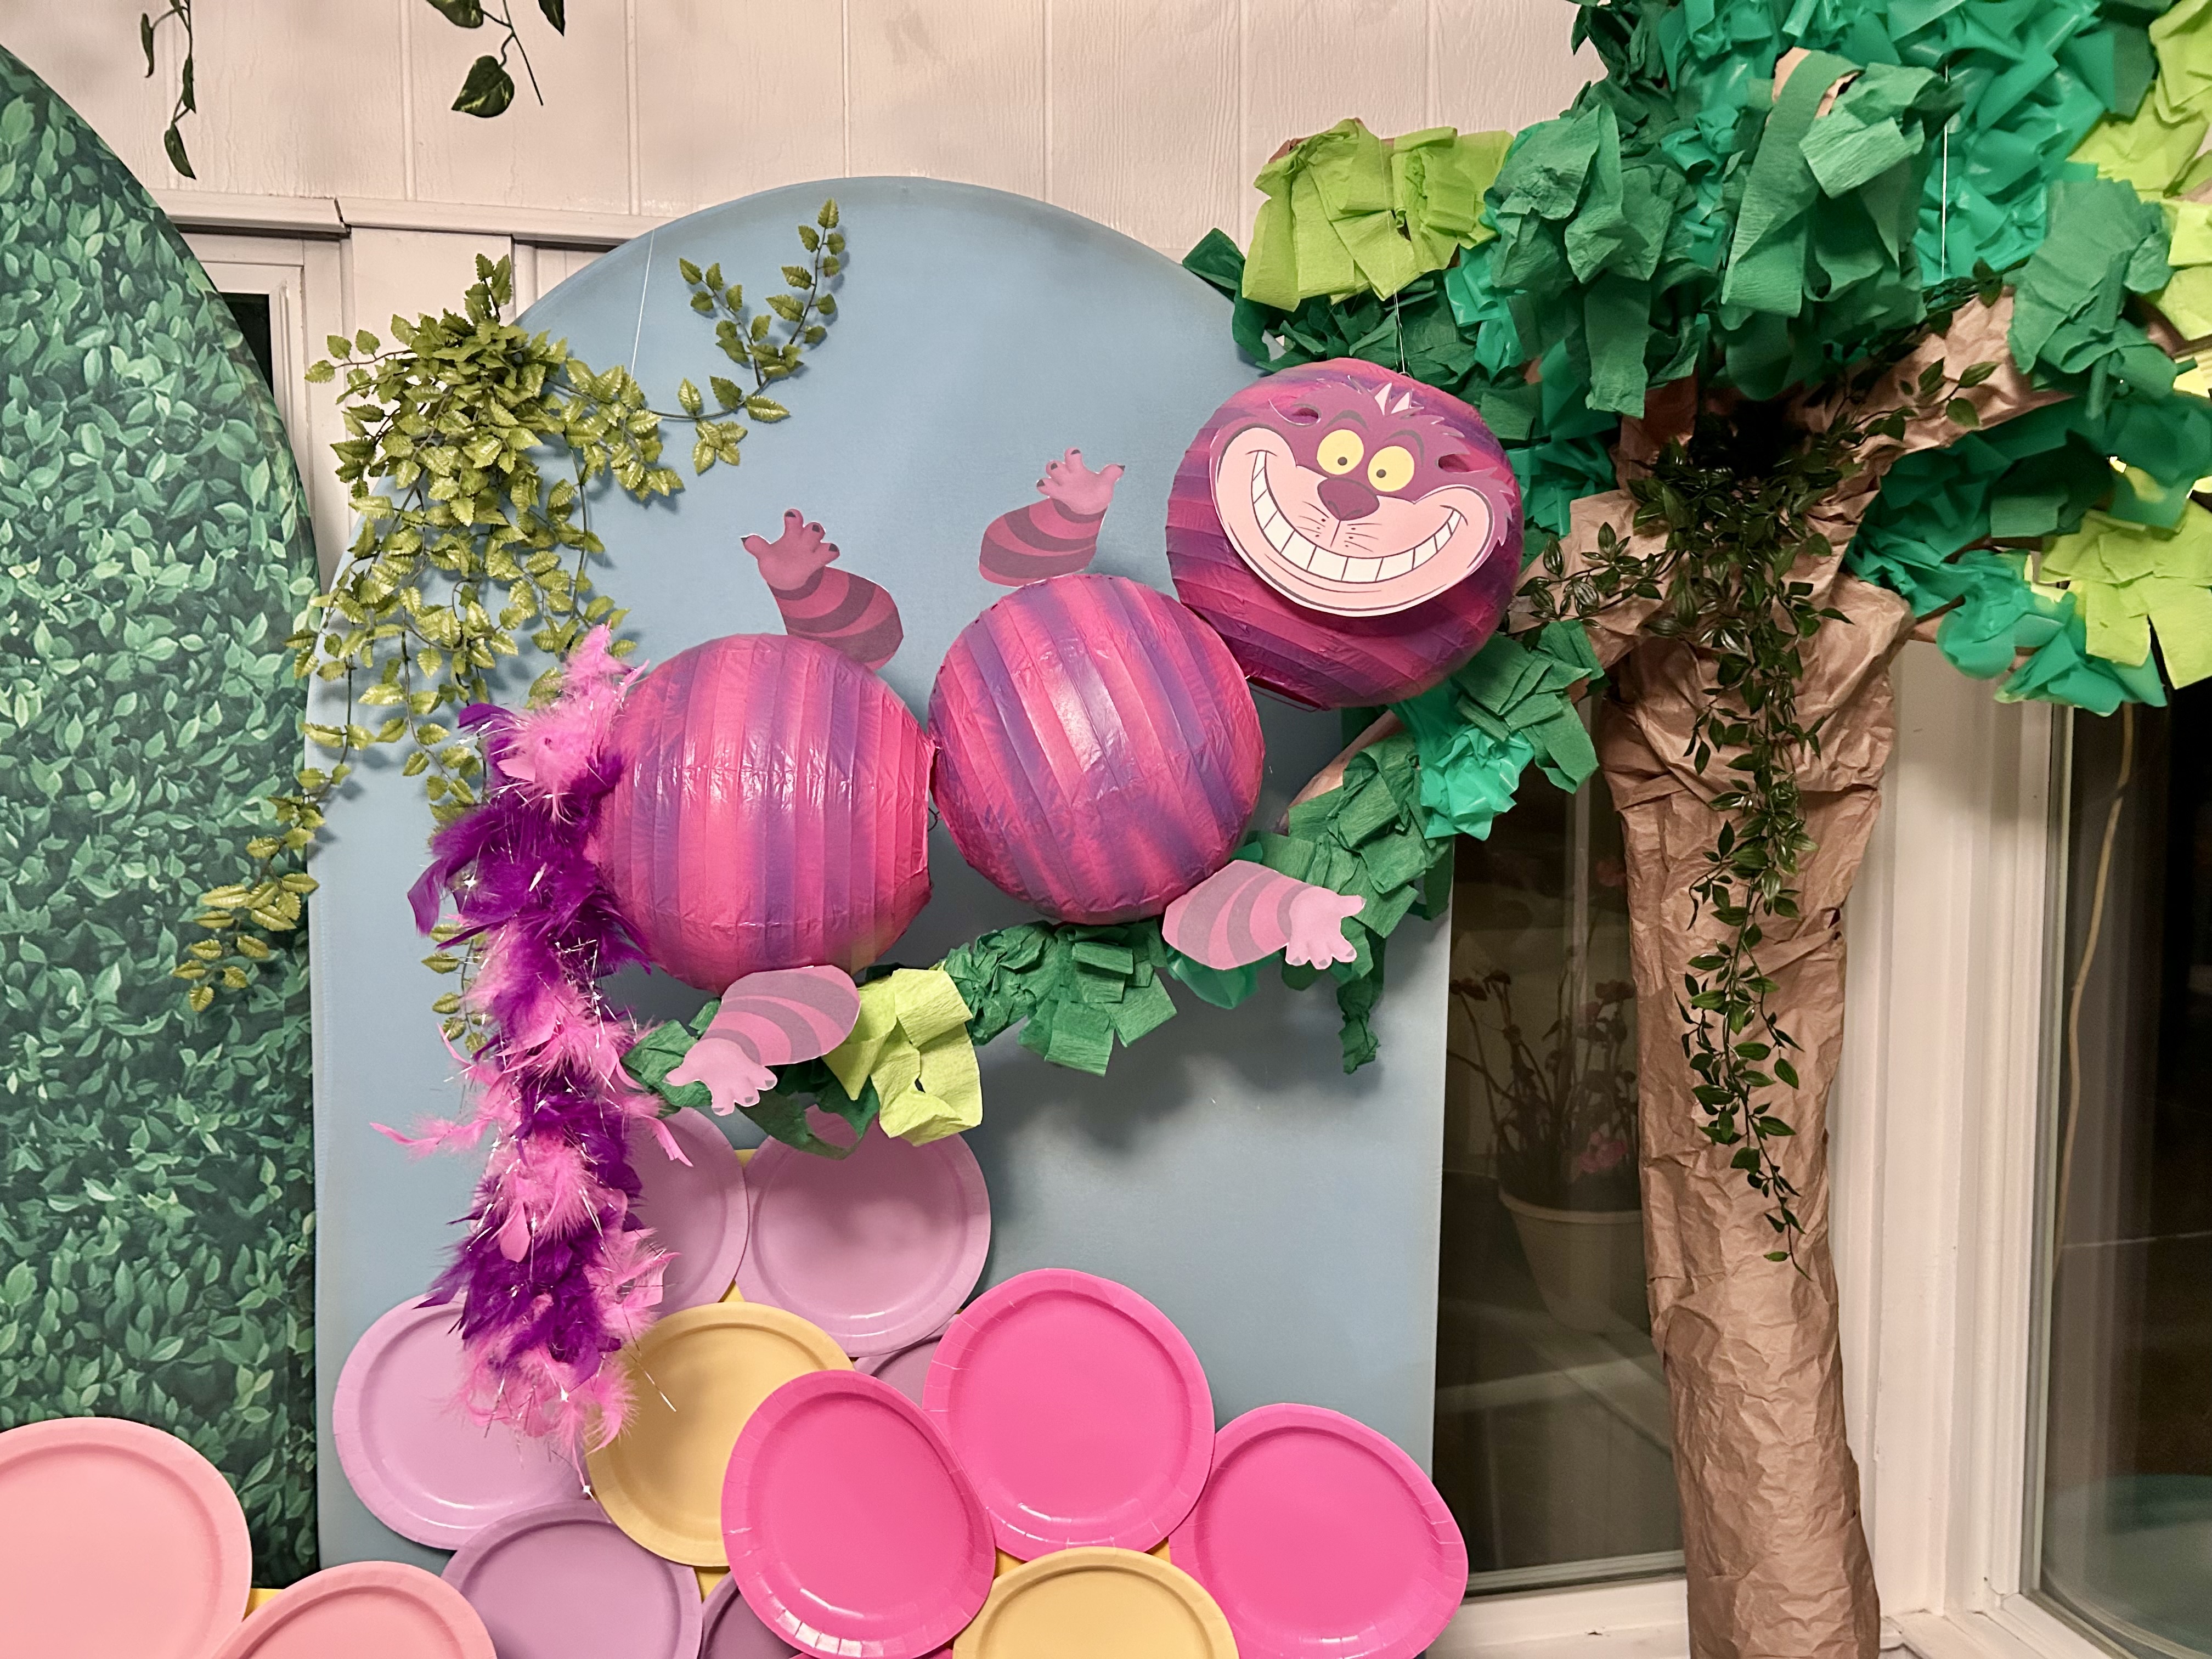
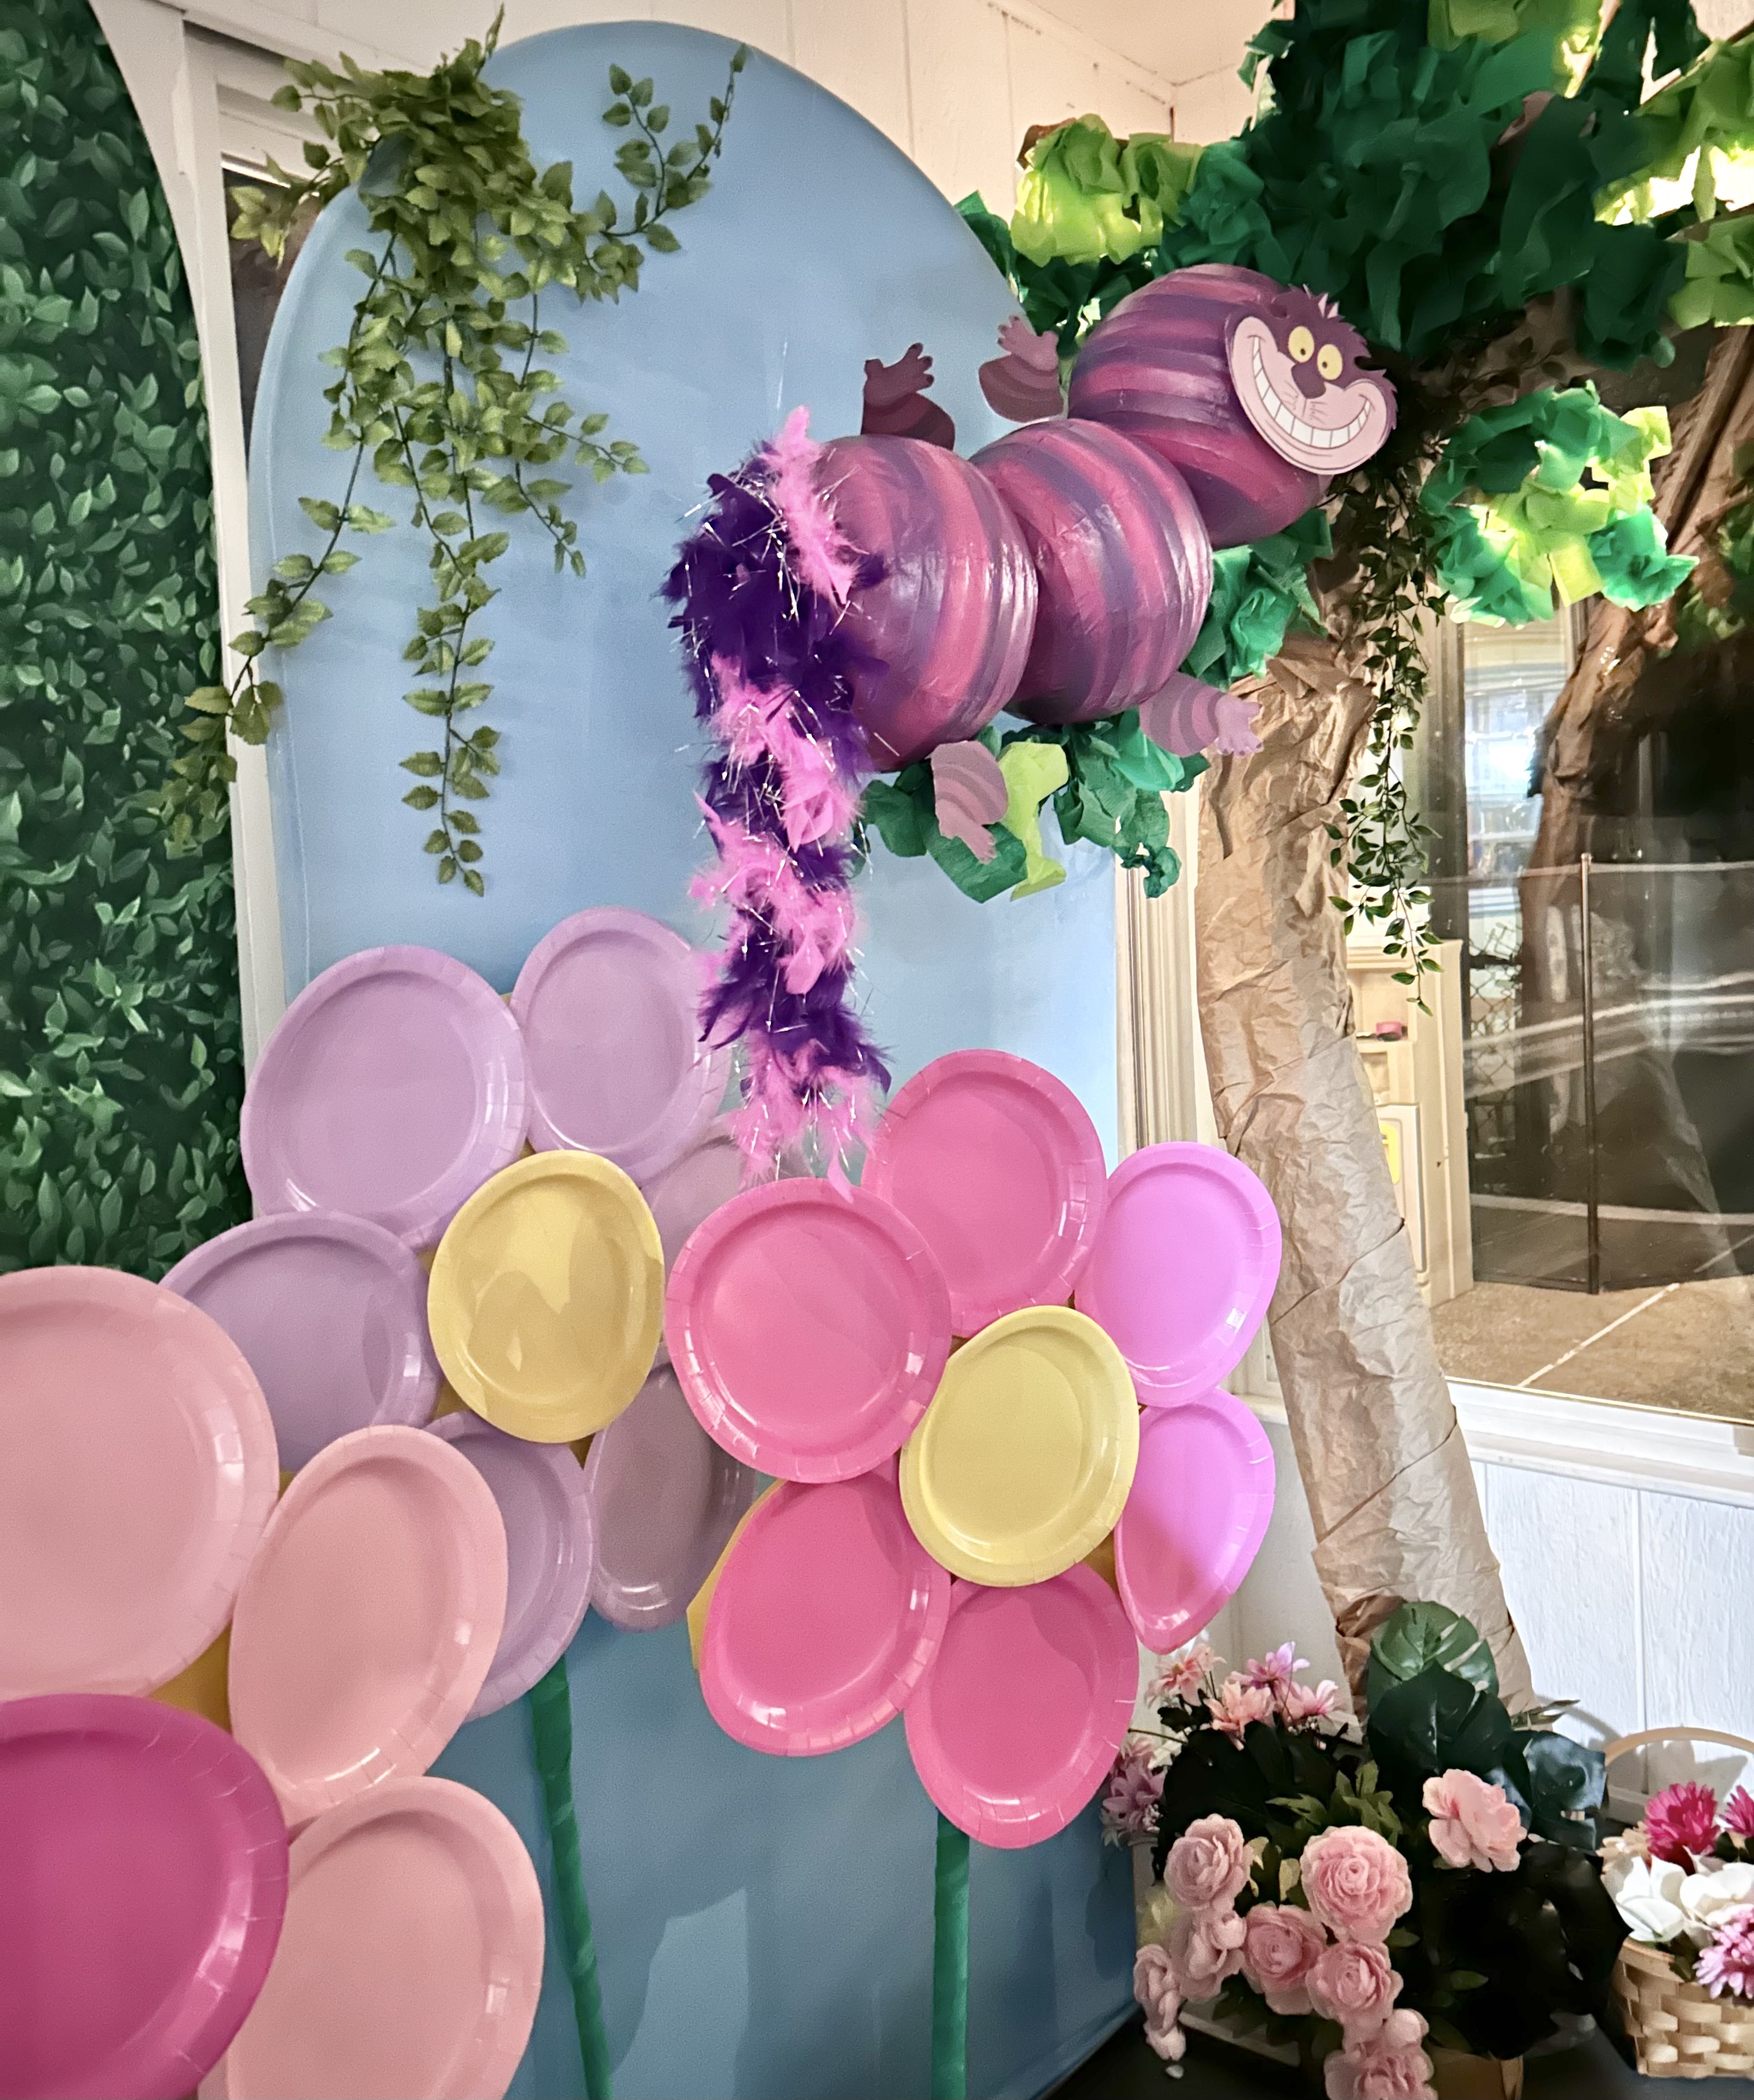
    A whimsical display featuring a tree made of paper, colorful paper flowers, and painted spheres resembling the Cheshire Cat from Alice in Wonderland, set against a blue backdrop.
    How it turned out
    A decorative backdrop featuring a vibrant wall of blooming flowers in various colors, with a small wooden easel displaying a blue heart design in front of it. The scene is set on a green, grassy floor.
    Design
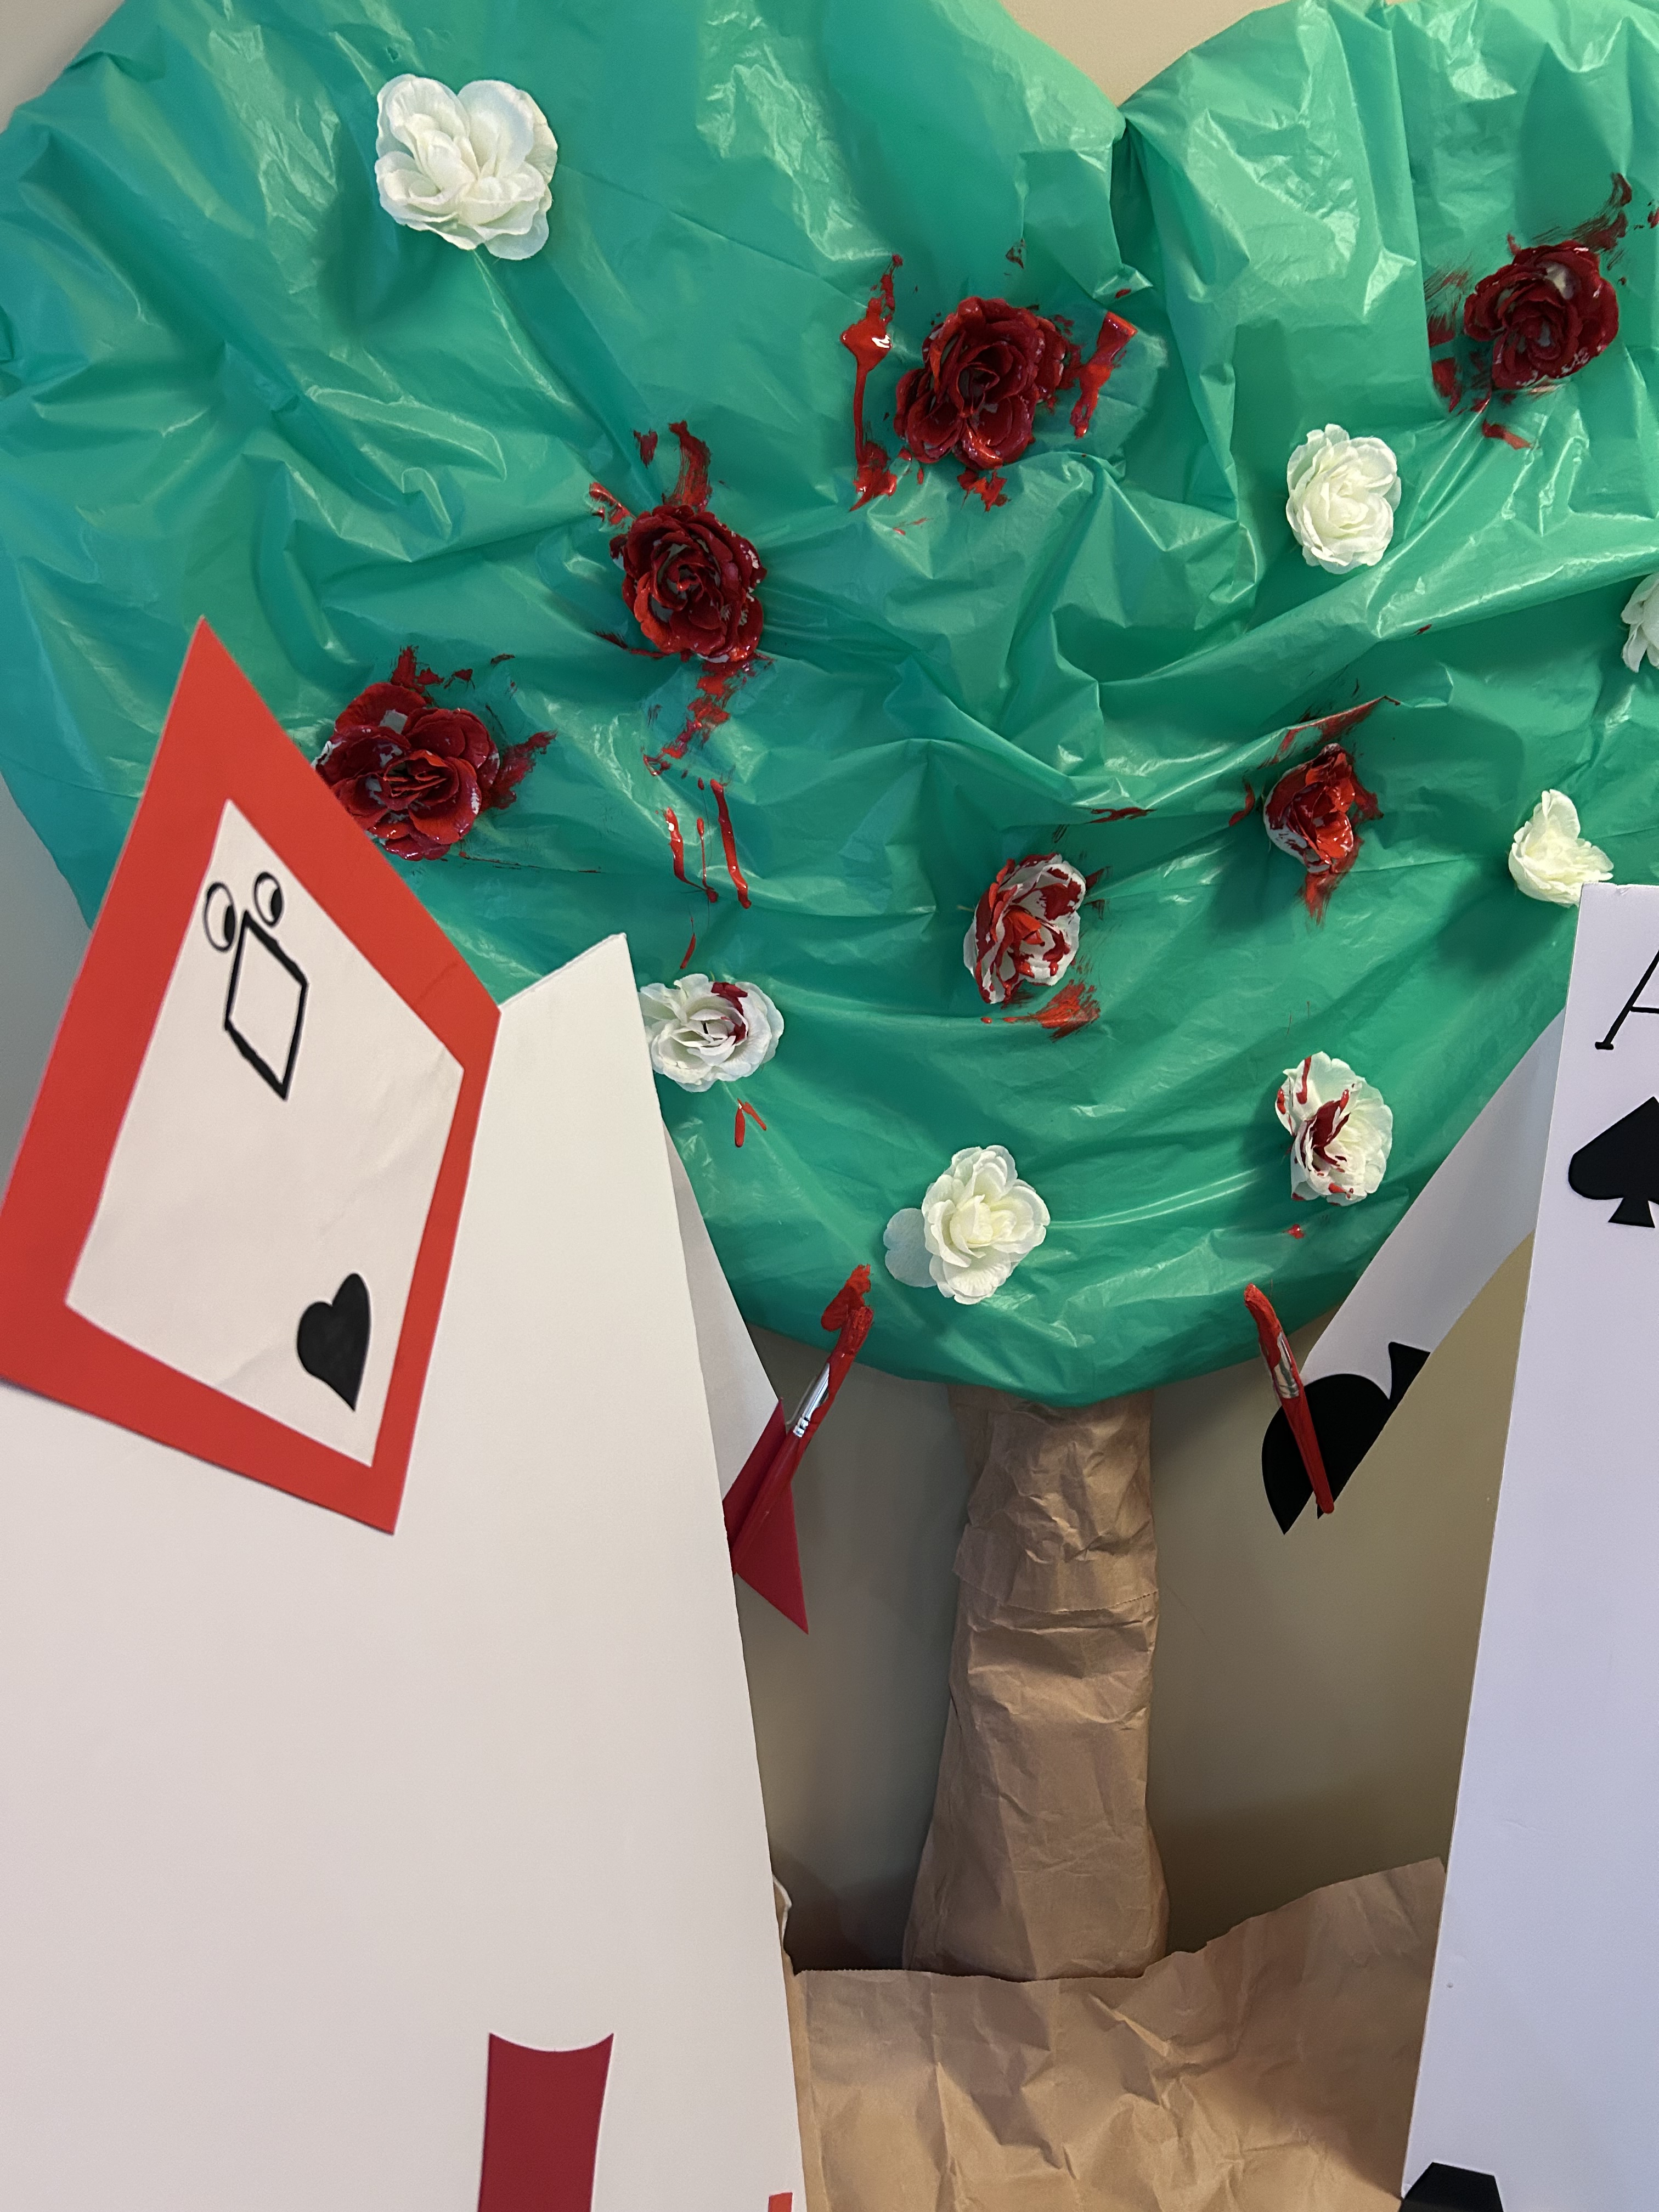
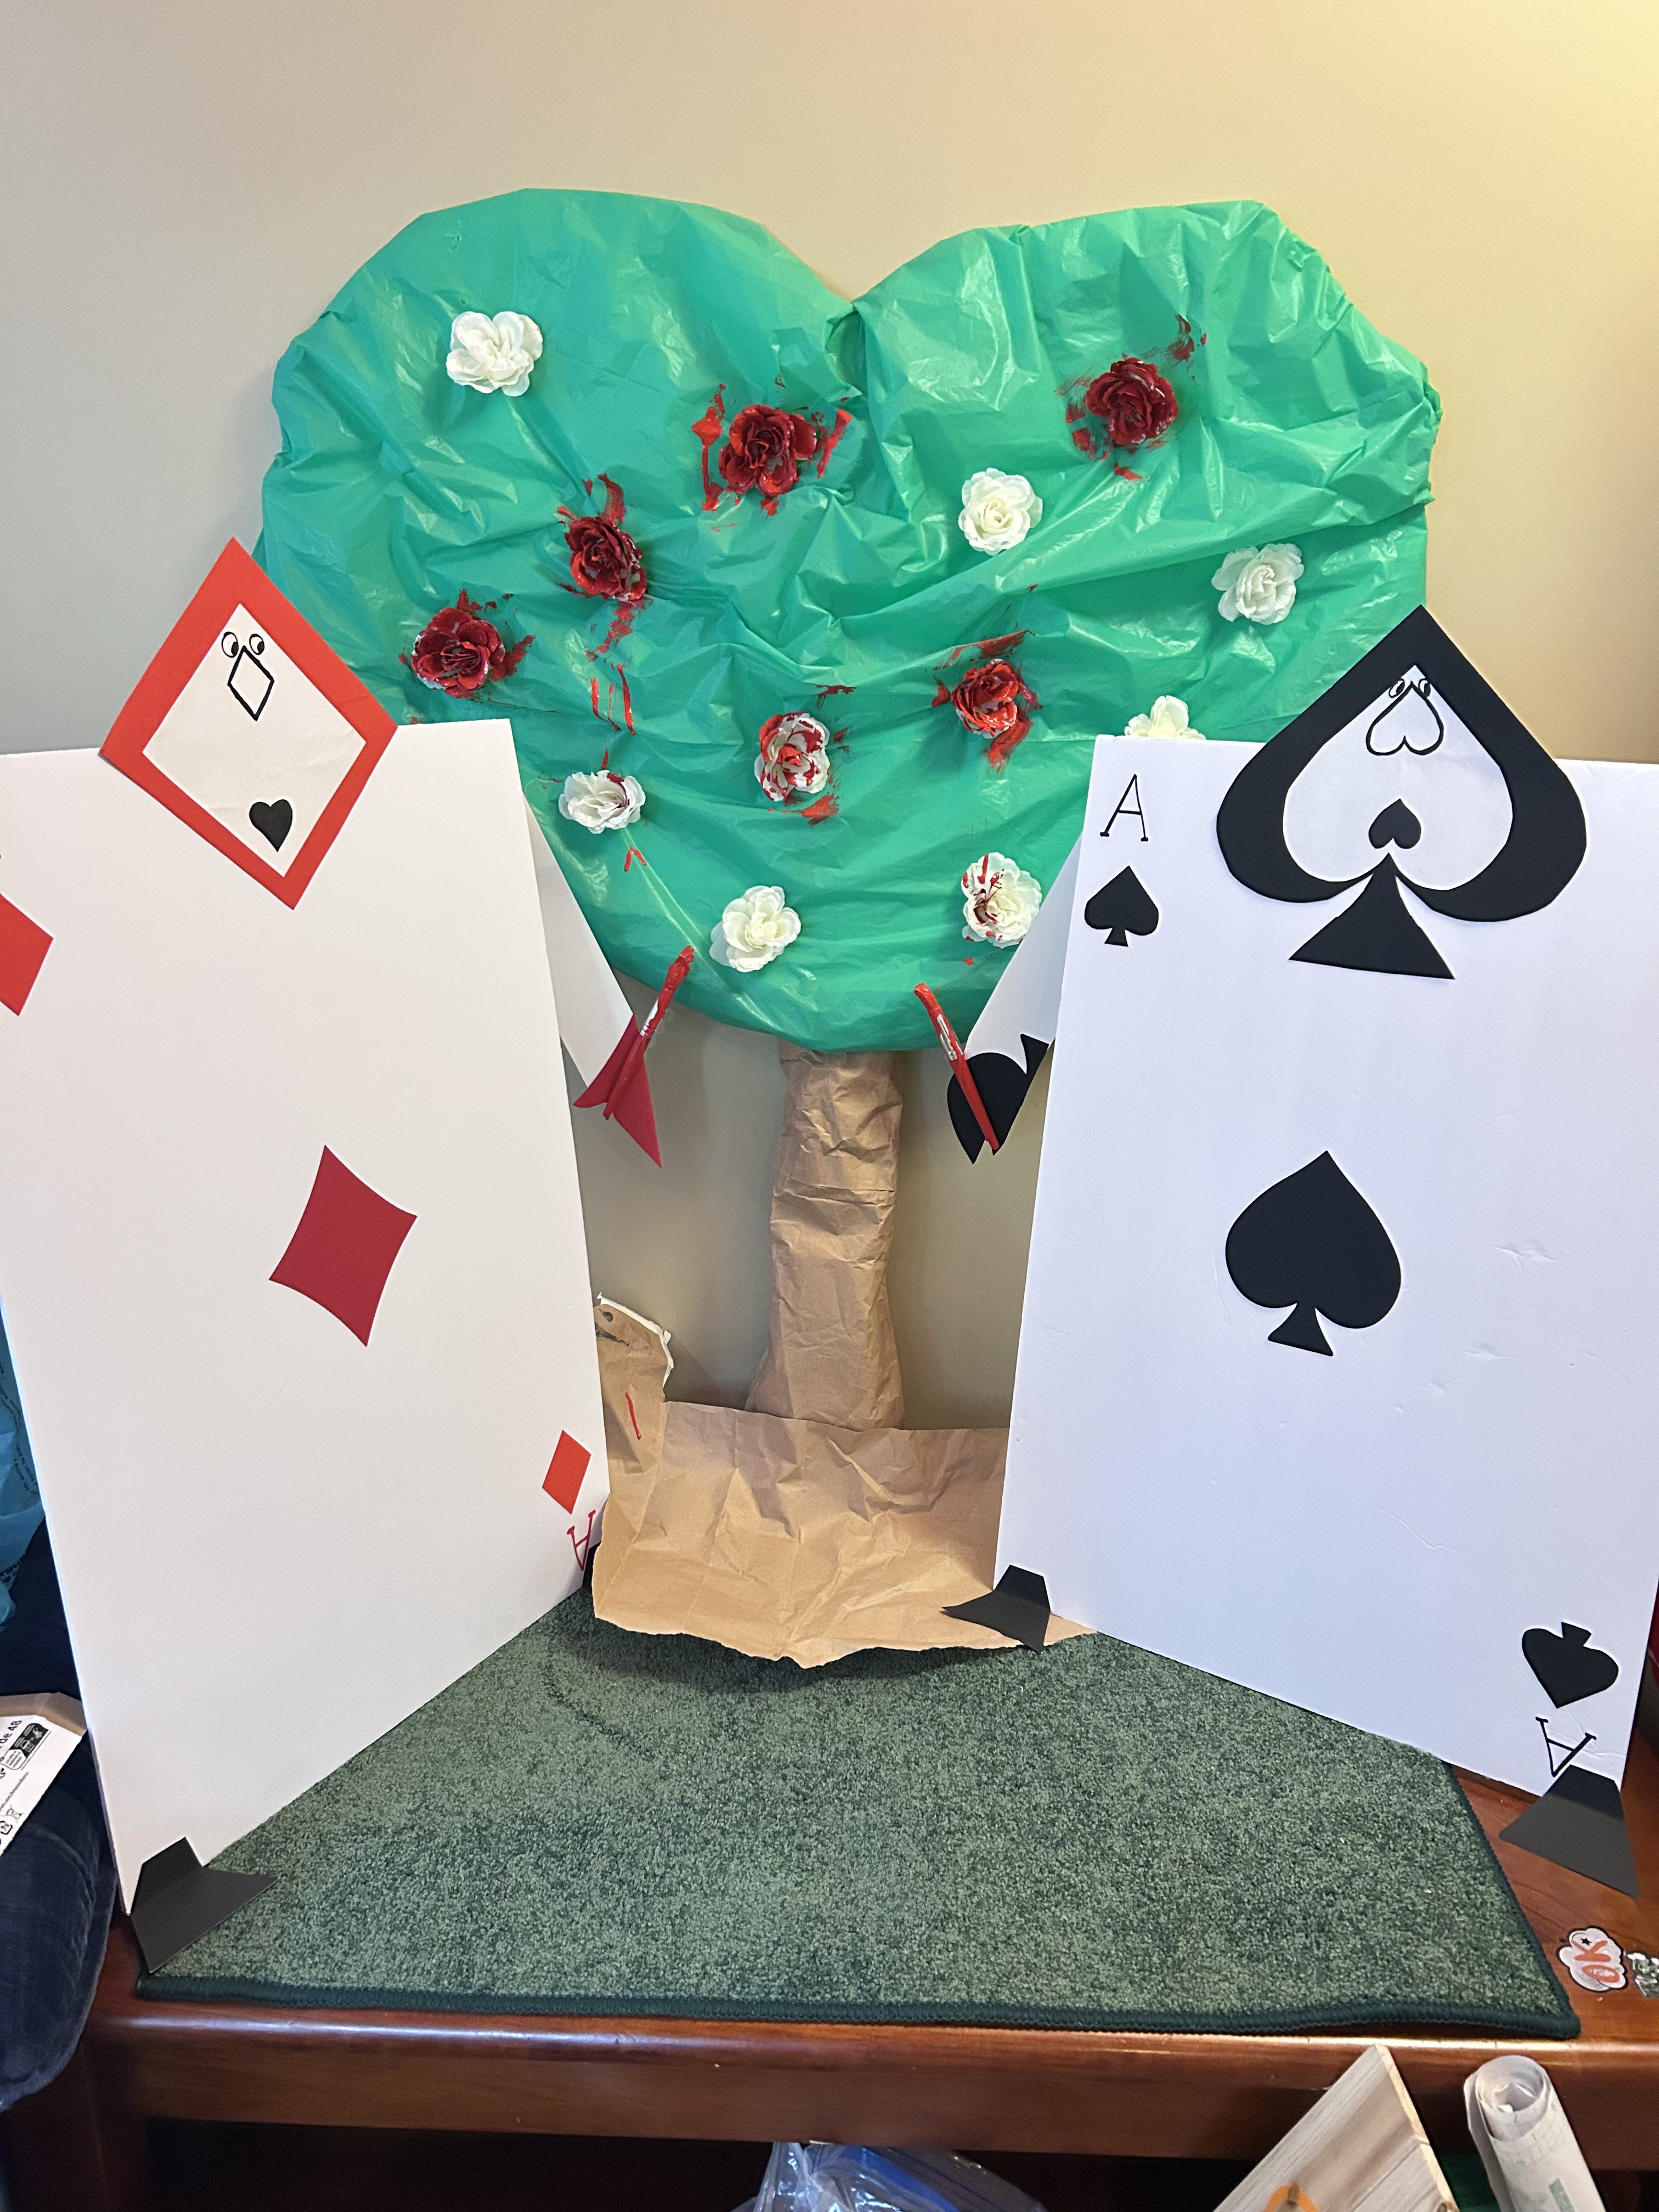
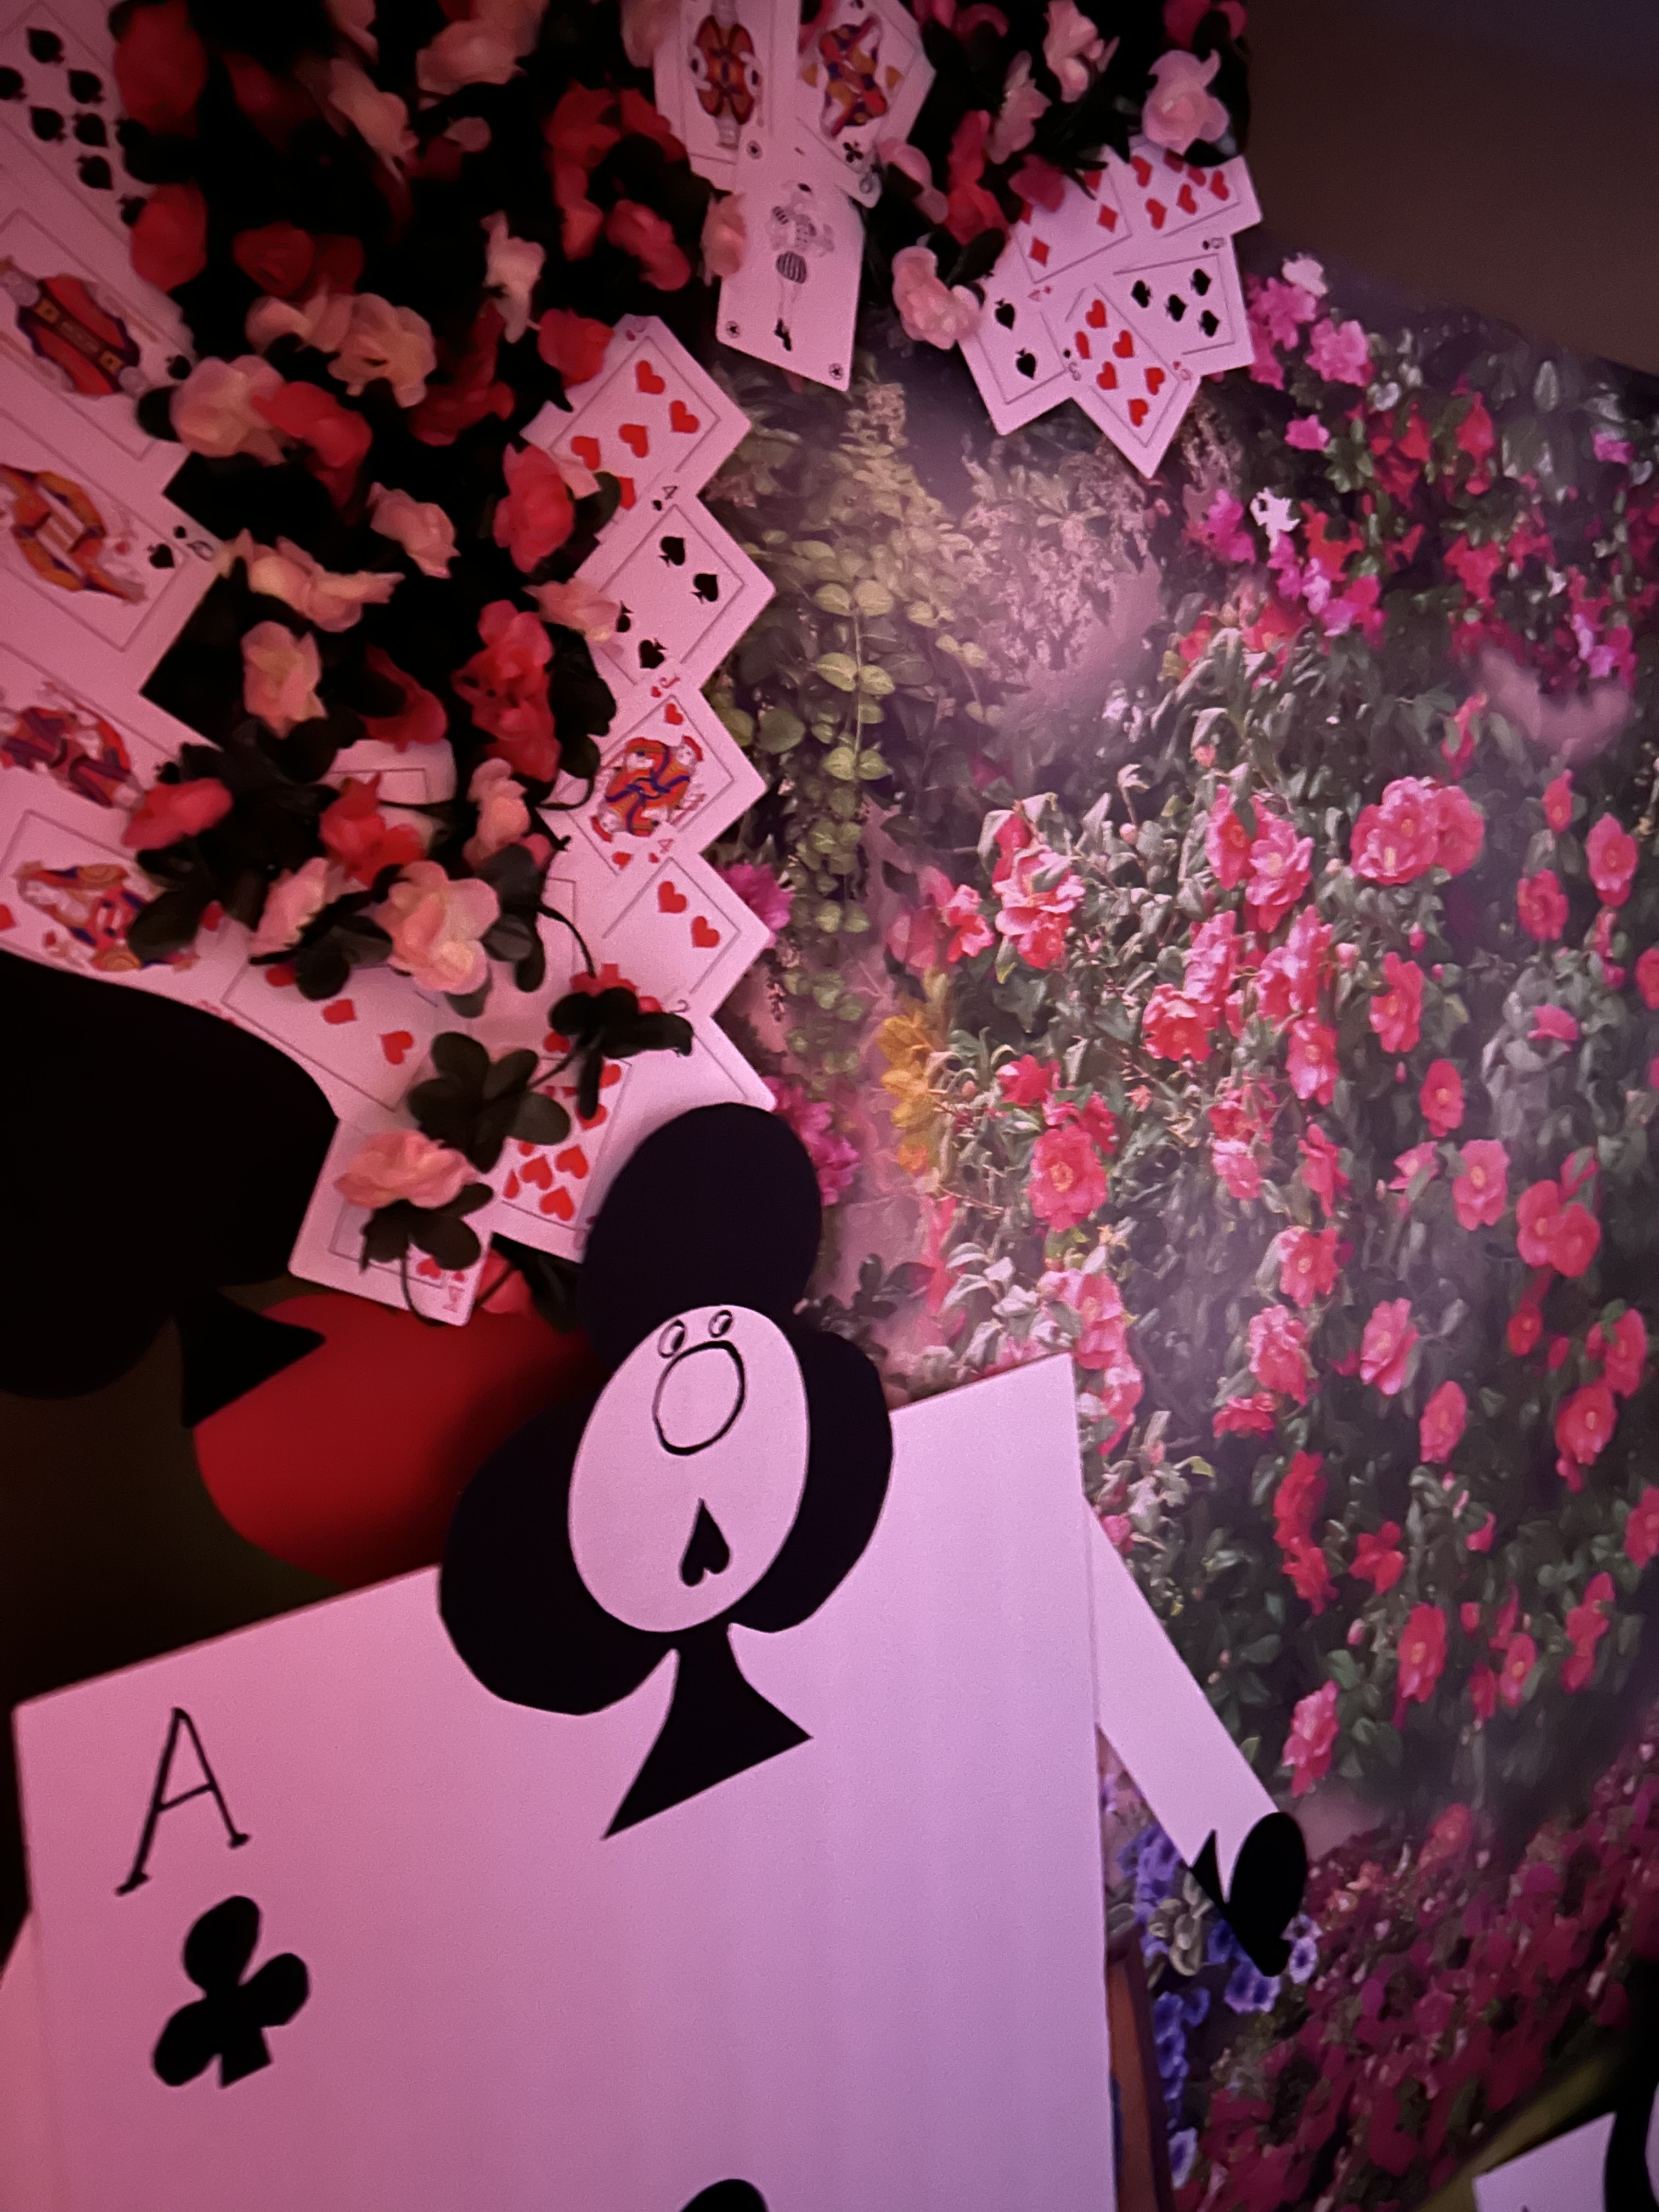
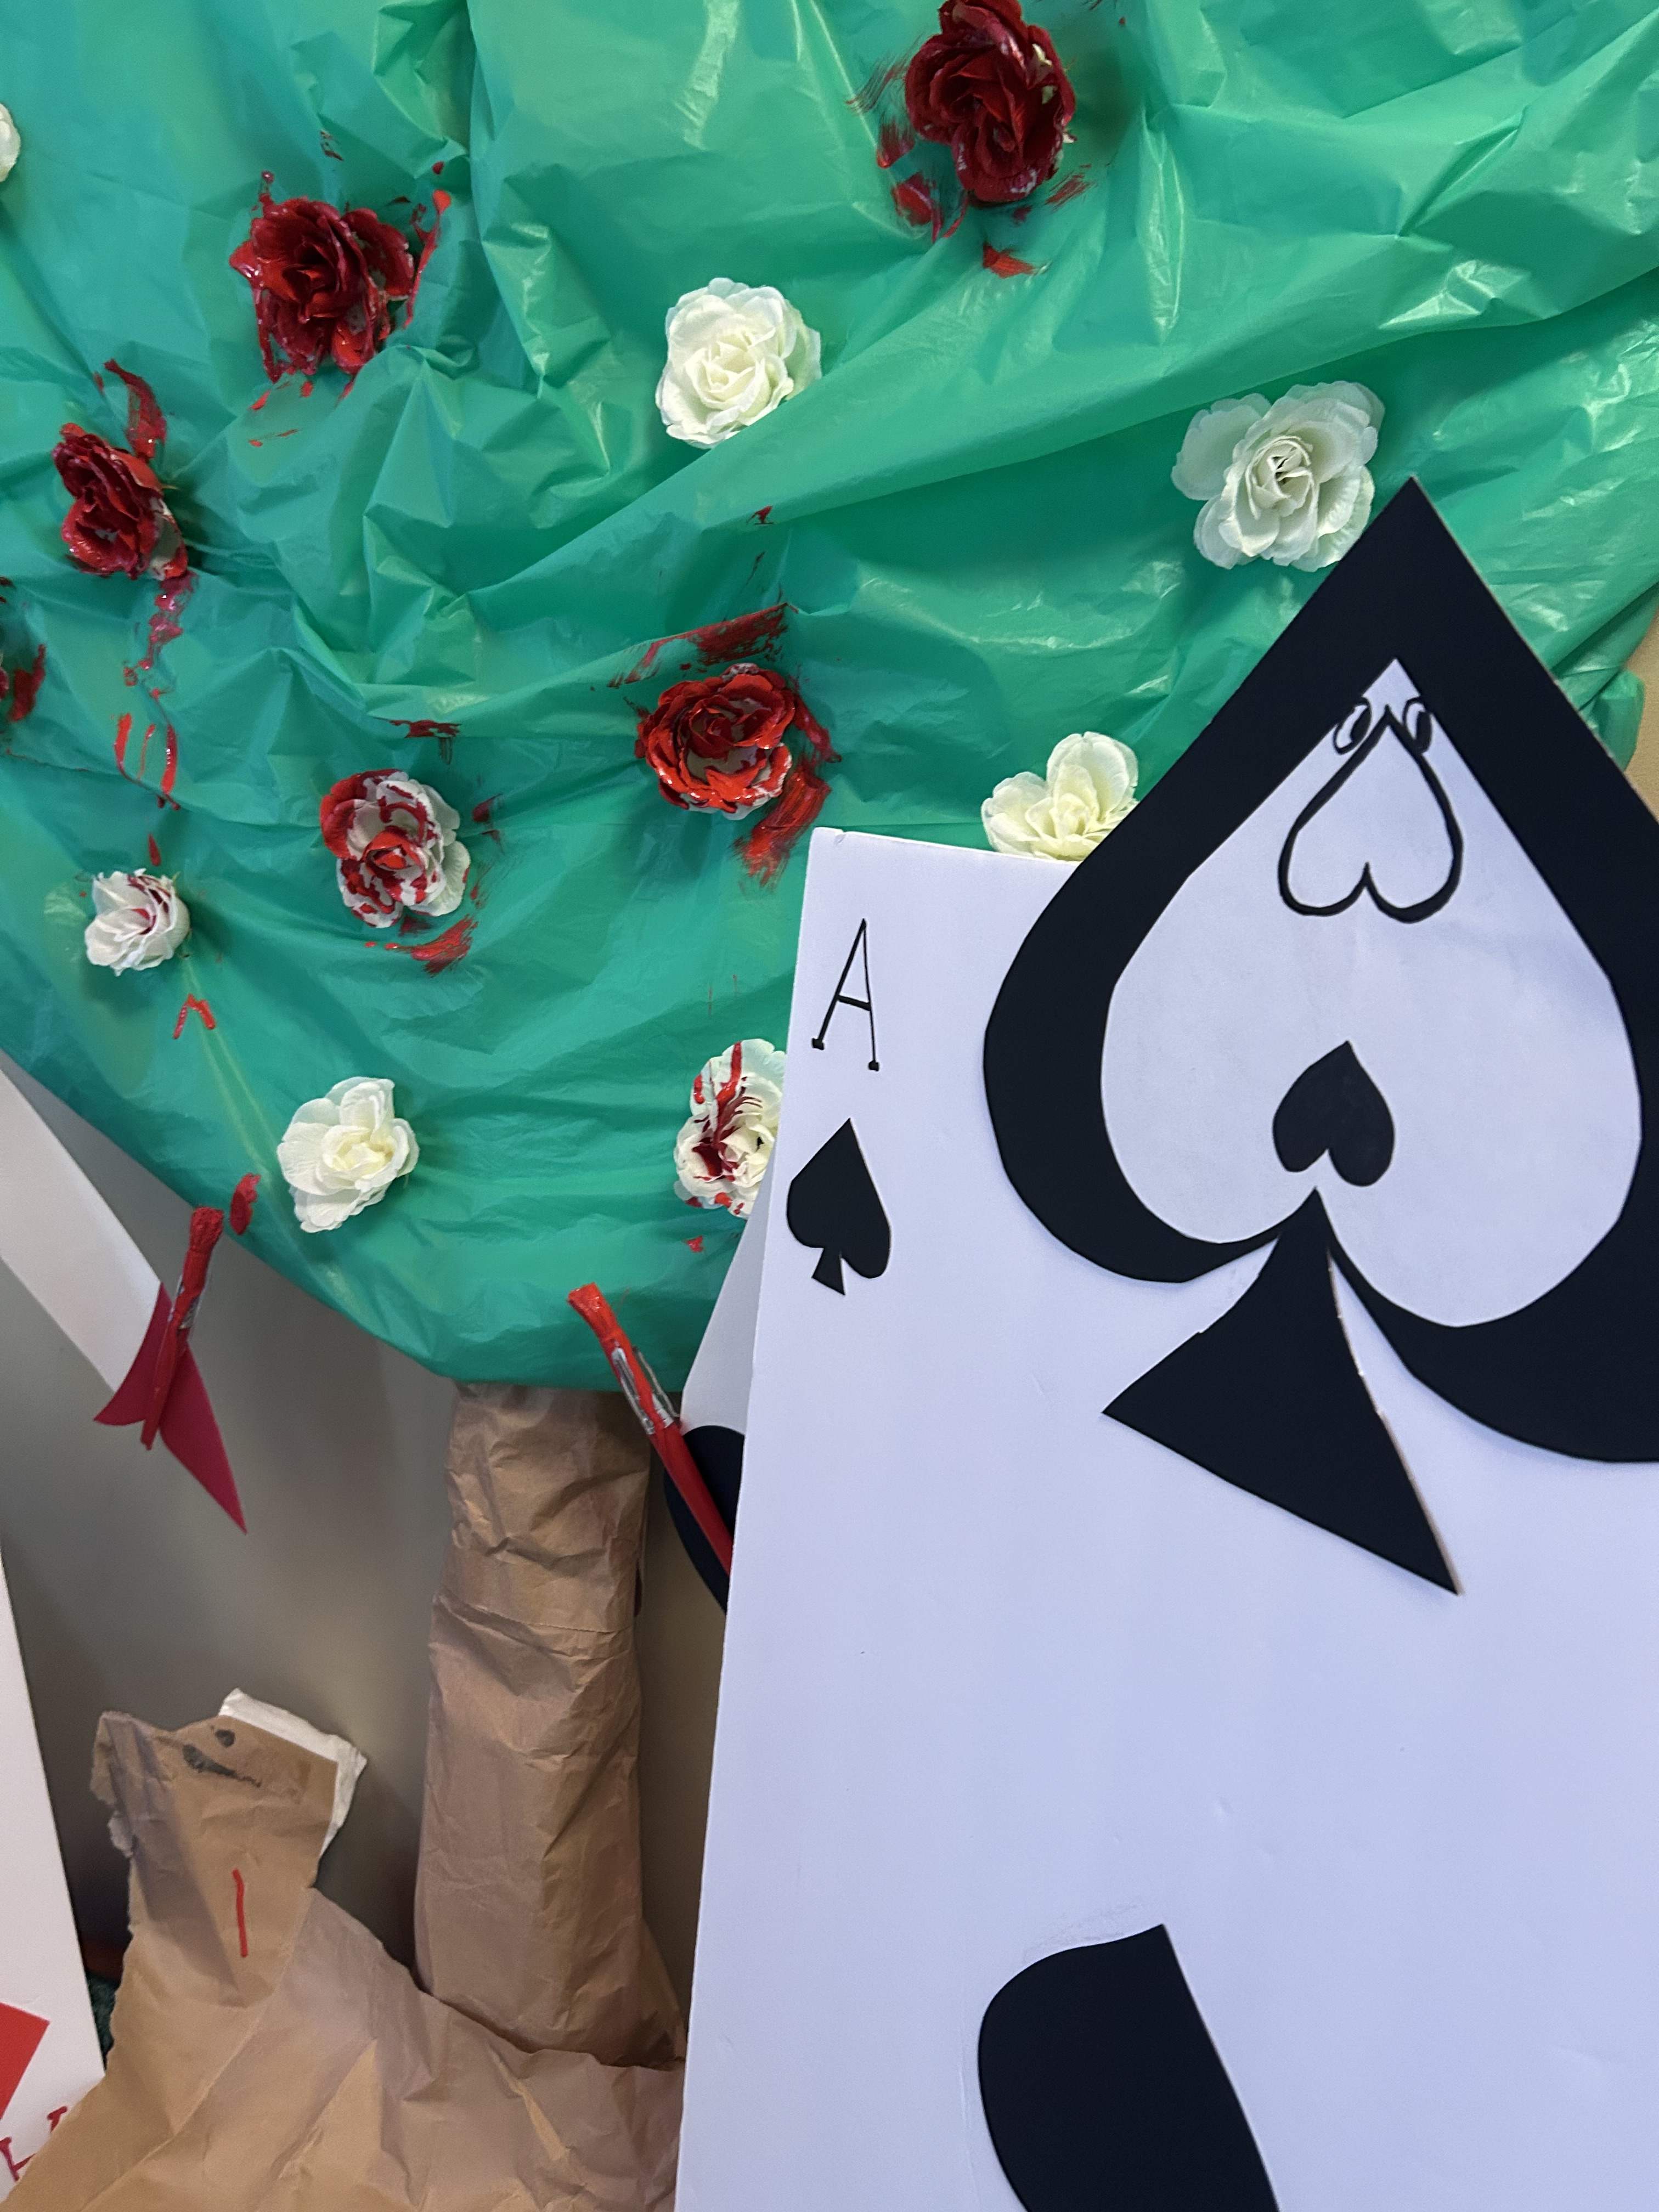
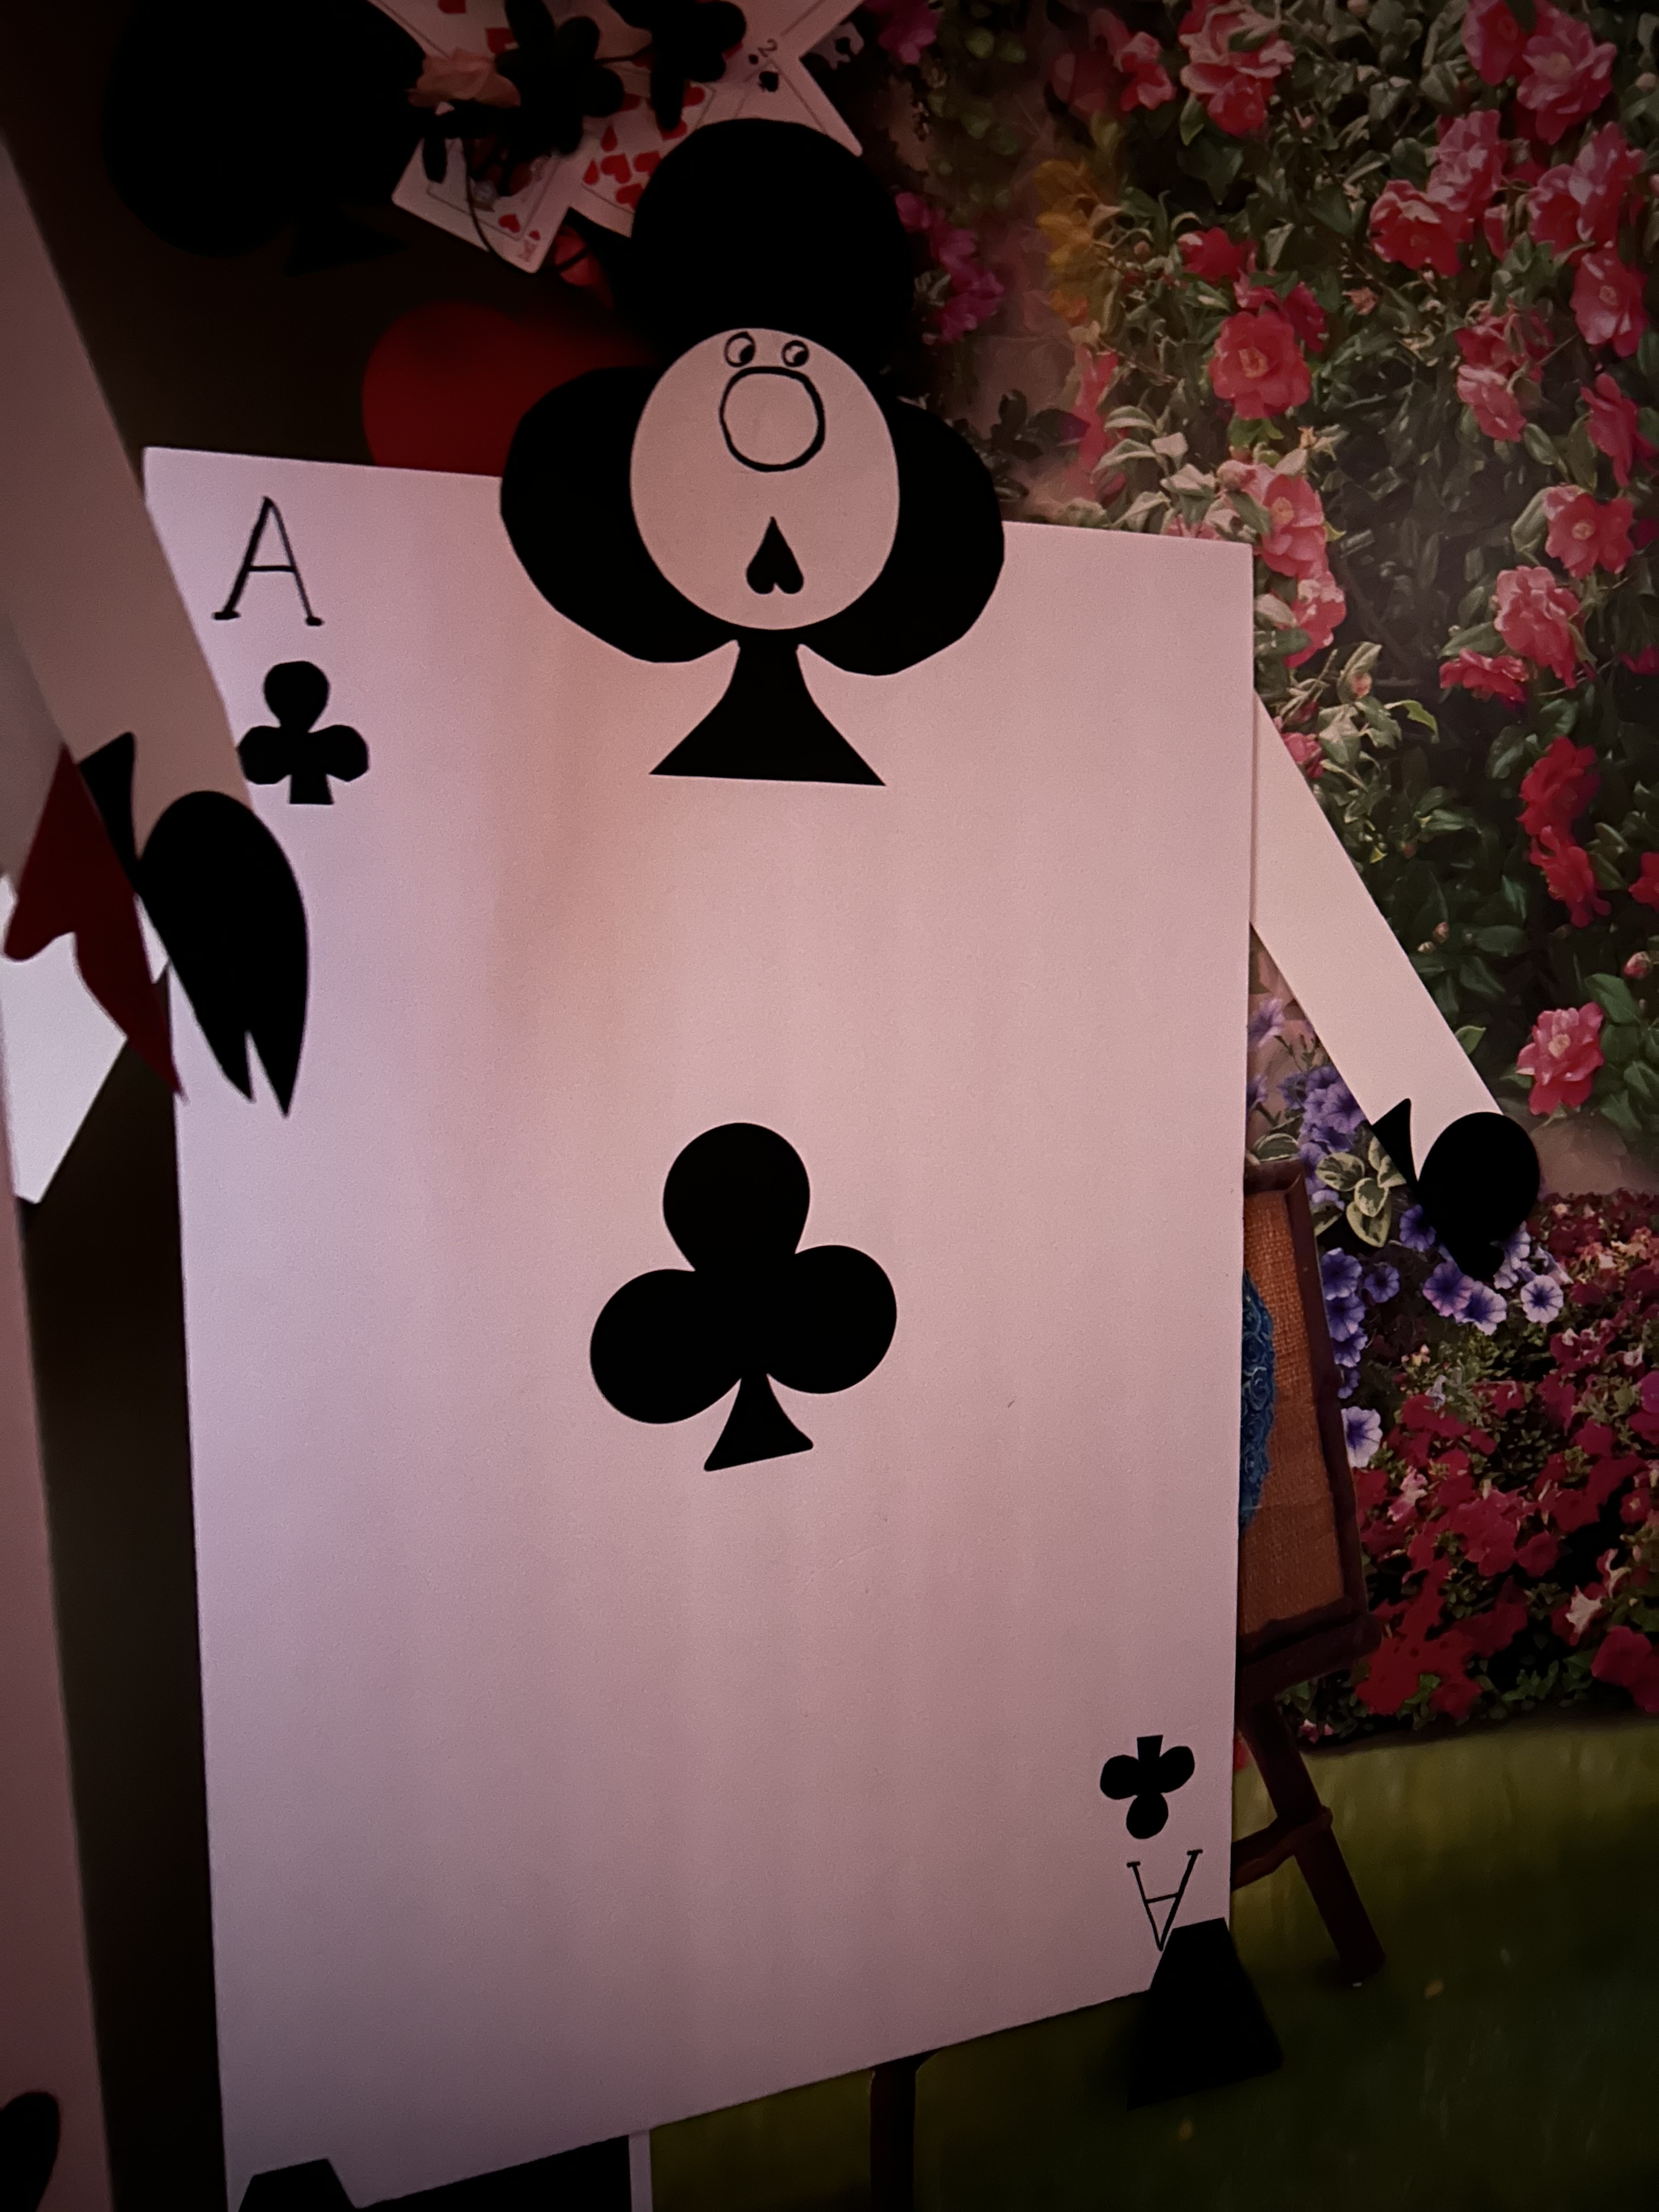
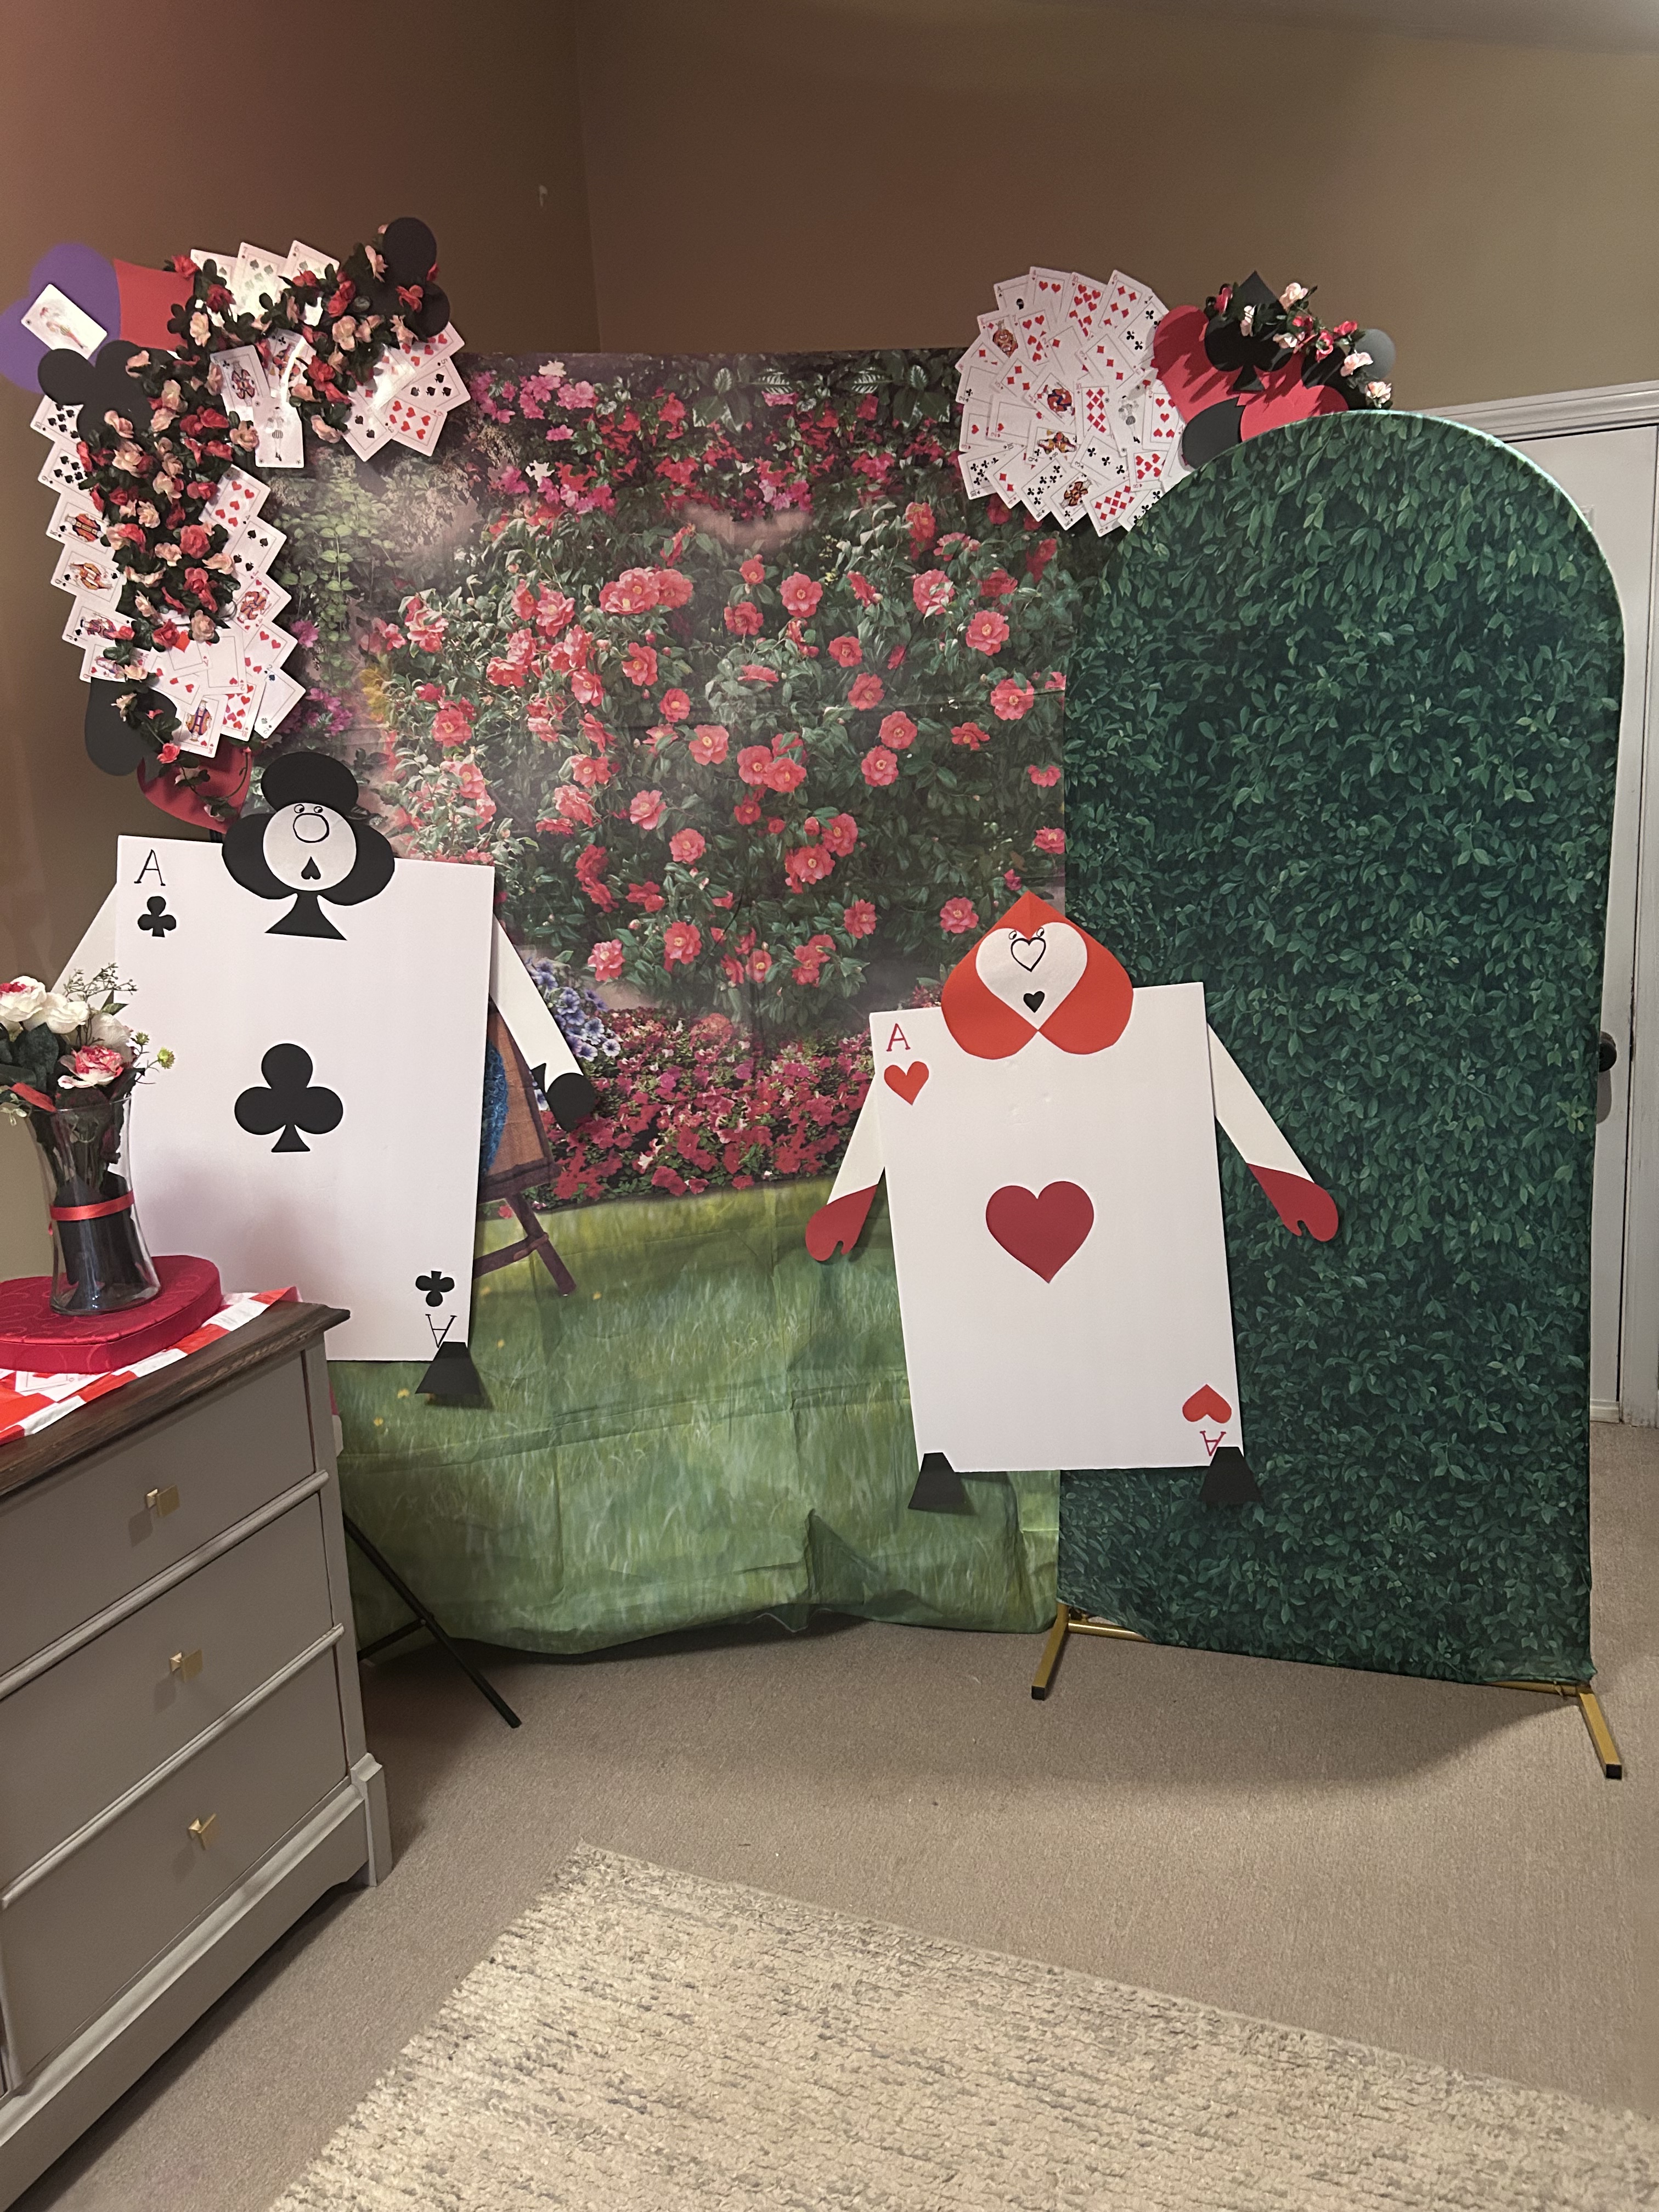
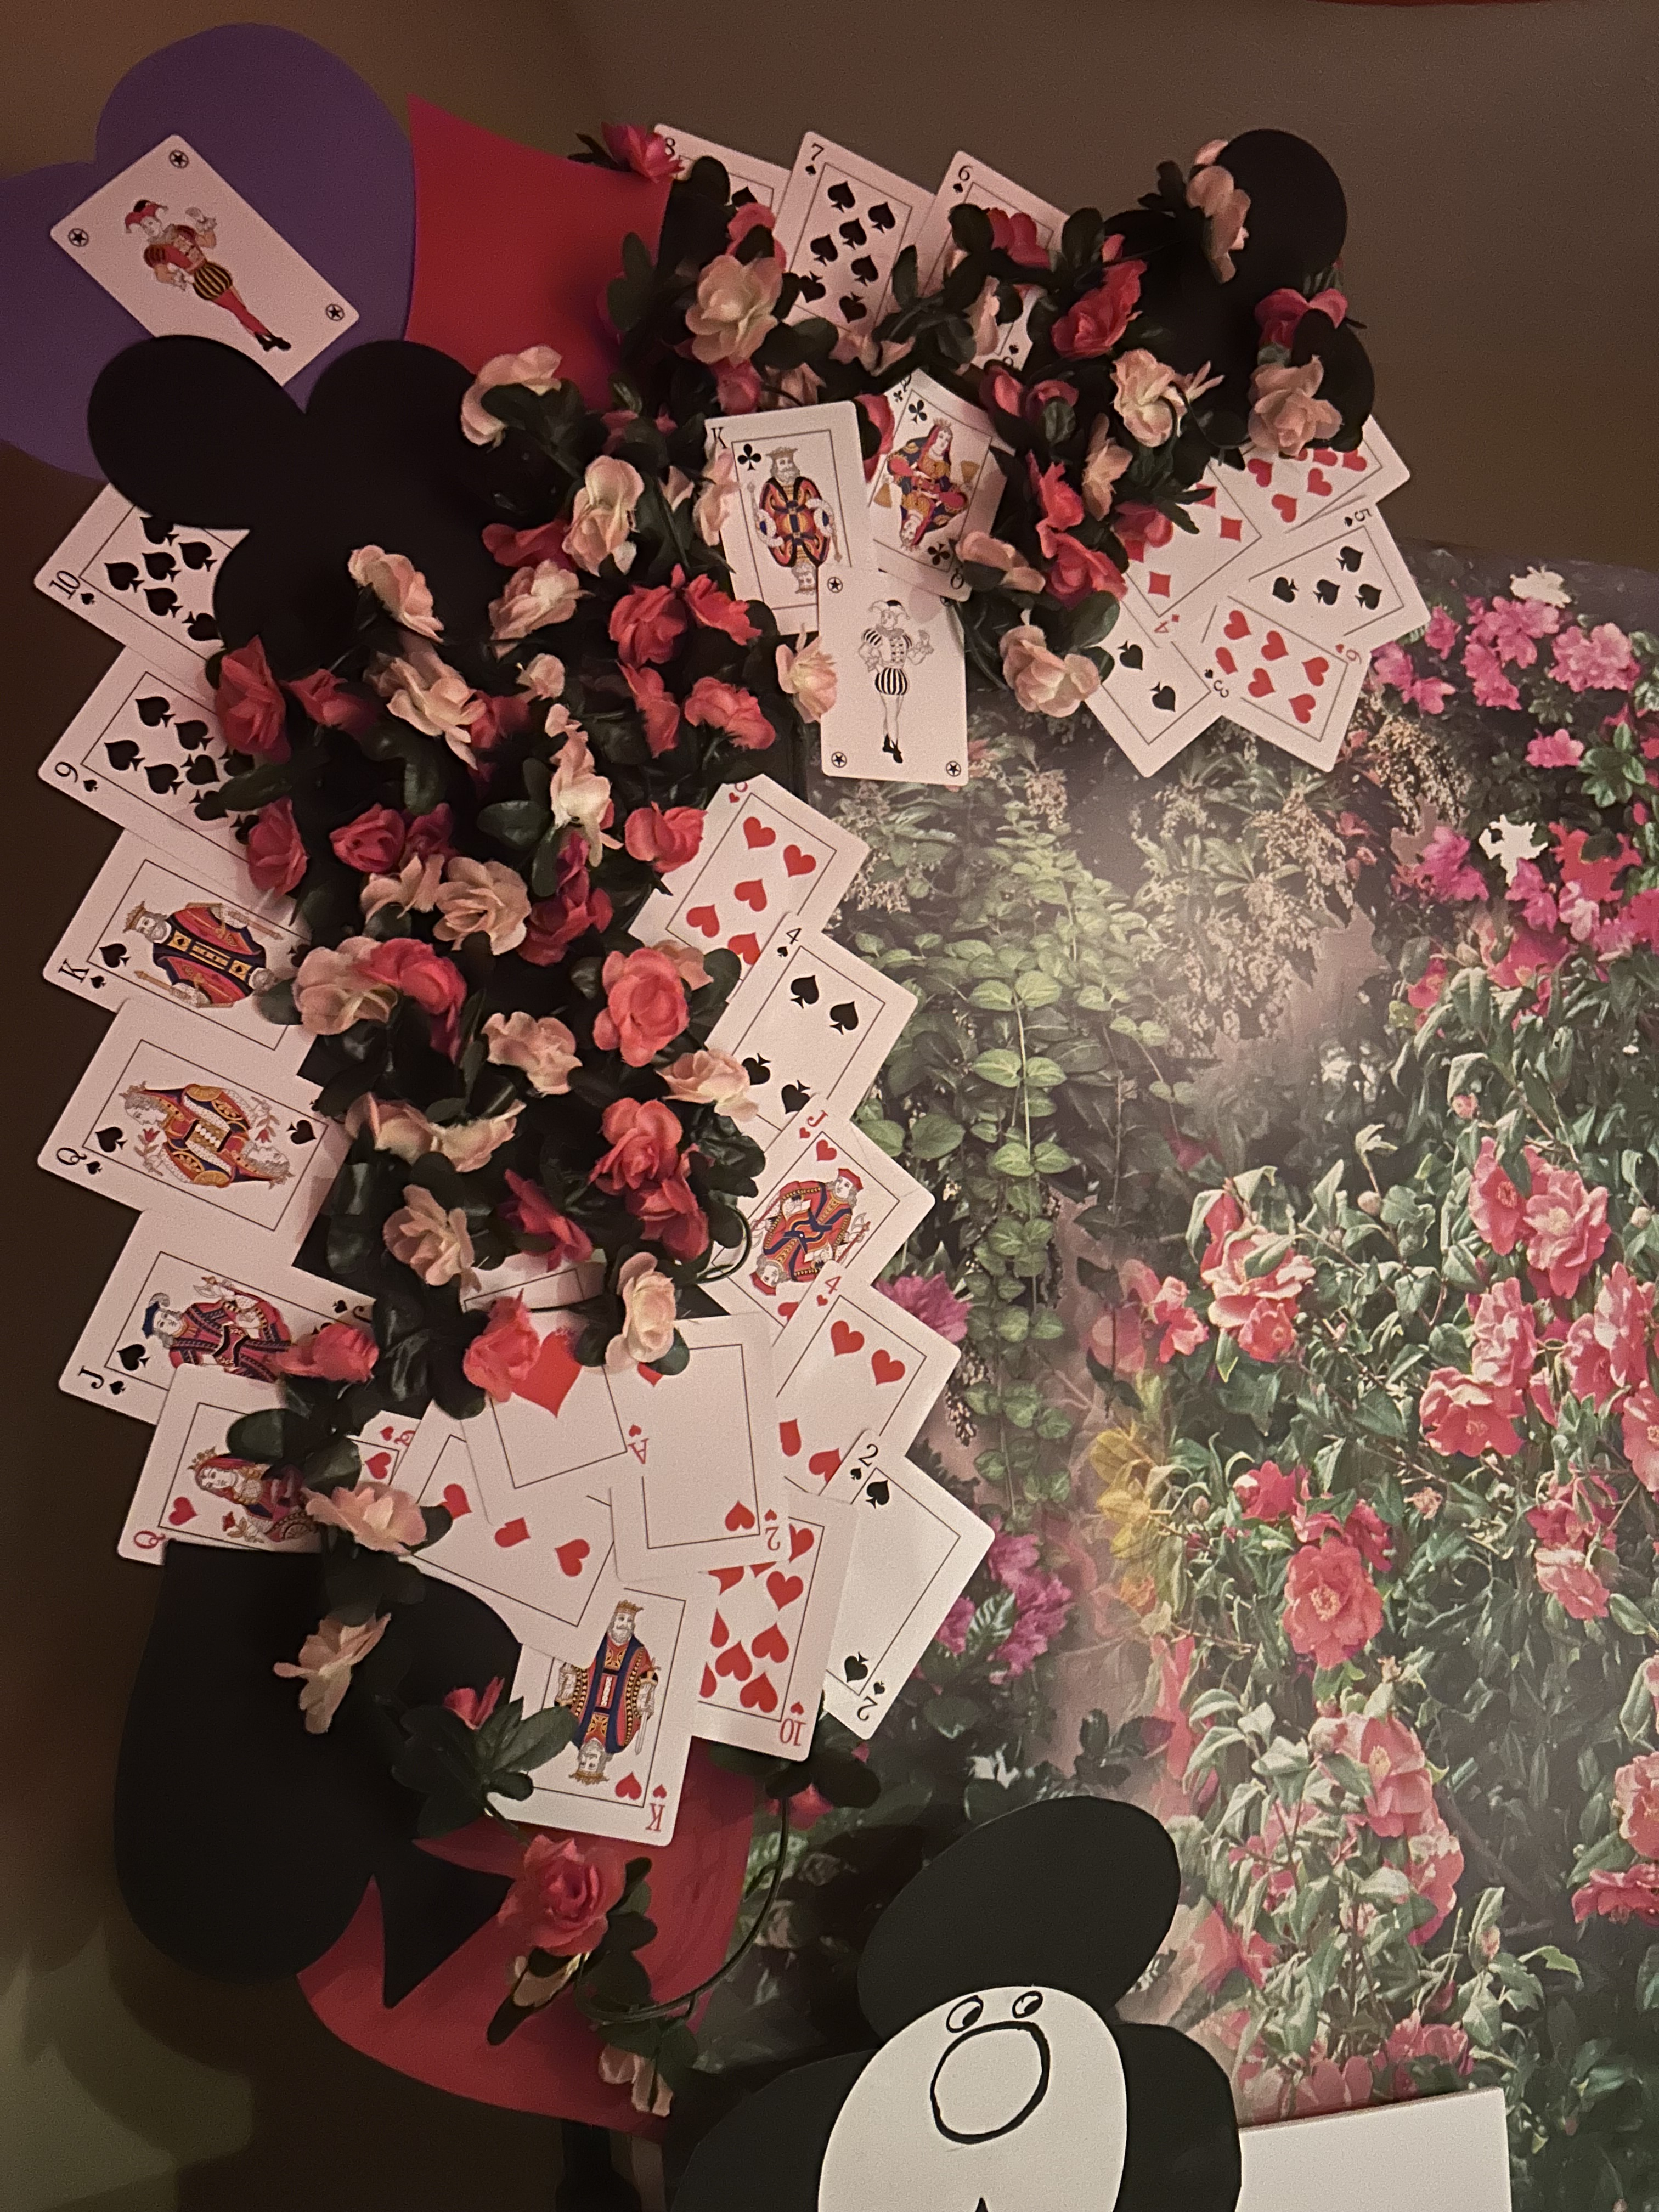
    A whimsical backdrop featuring a garden of red flowers, with cutouts of playing cards: a black spade and a red heart. Decorative elements include paper playing cards and a floral arrangement in a black vase.
    How it turned out

    You can see the rest of the party pics in my Halloween In Wonderland Party Album.

    This is my party planning process. I will continue to come up with fun party themes and go crazy making them happen because ironically that’s what keeps me sane-ish.

    Home
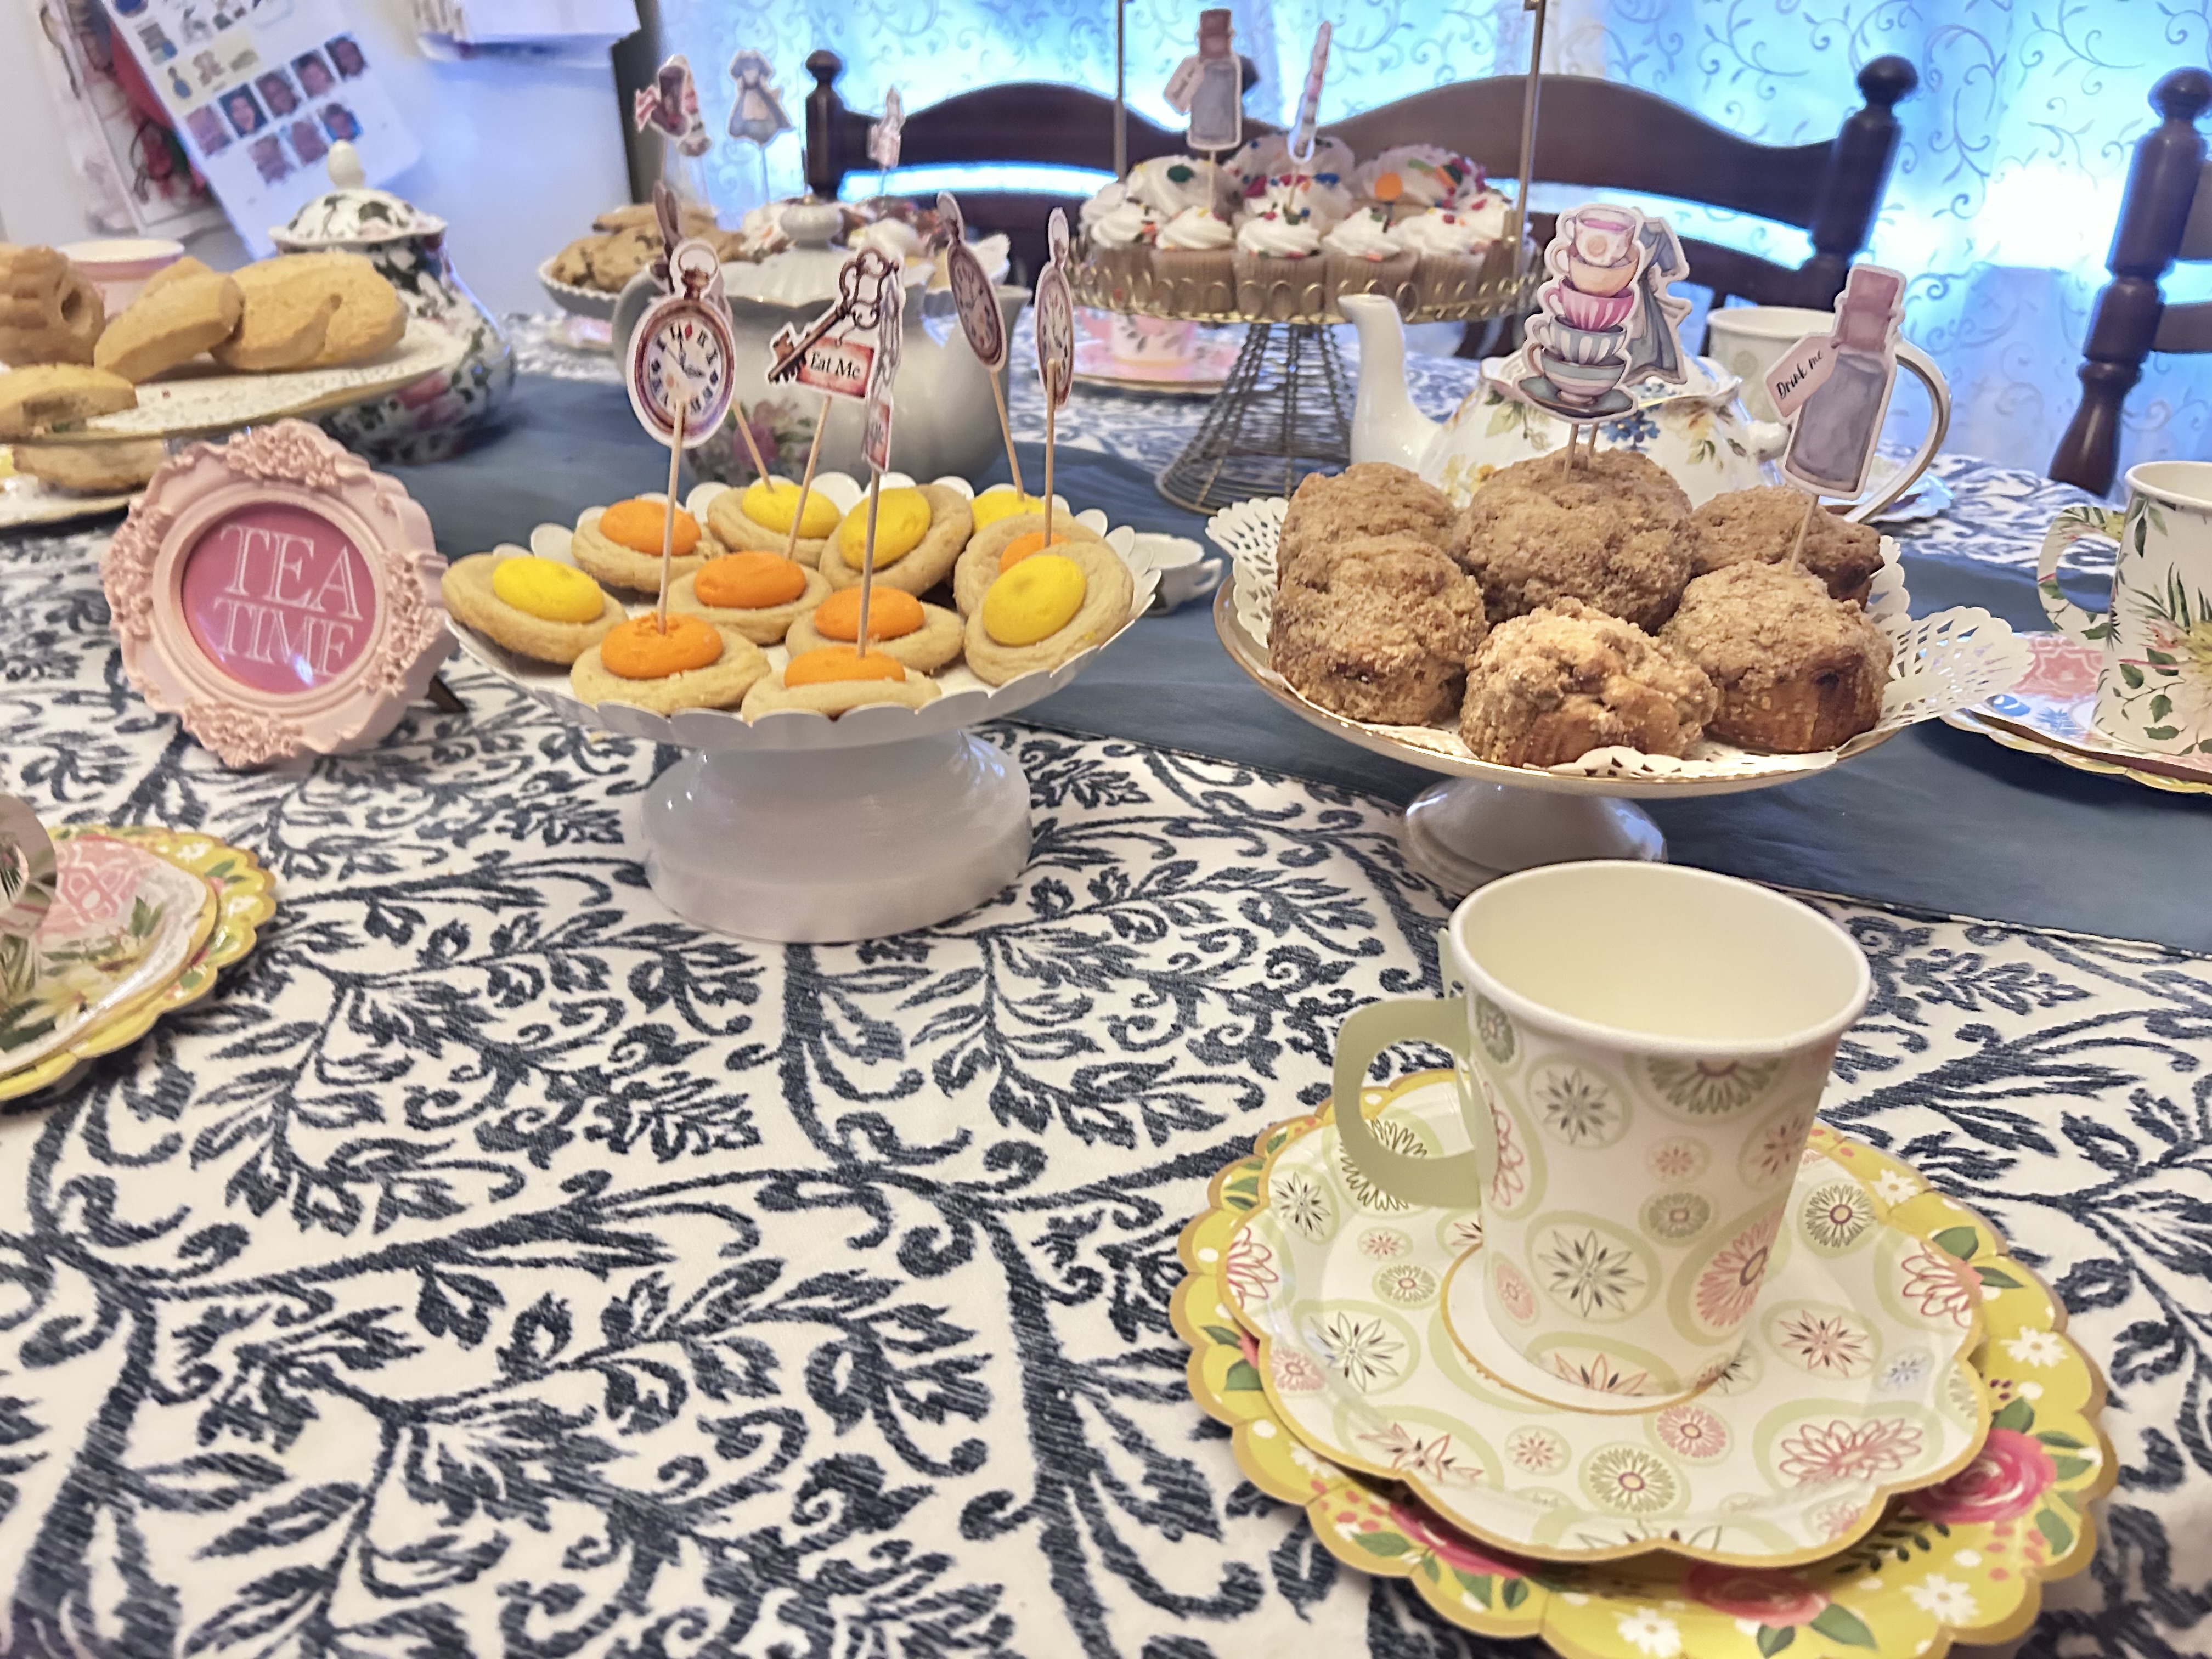
  • Check out the photos from my Alice In Wonderland-themed Halloween party!

    Tap on a photo to open.

  • Planning Parties Keeps Me Sane-ish

    Ever since I can remember I’ve loved planning parties. After having kids, planning their birthday parties has been a great outlet for my creativity and it helps to keep me sane…ish.
    This year my daughter chose her birthday party theme – Monica And Friends – which is the most popular comic book series and media franchise in Brazil. I loved Monica And Friends growing up and I’m so happy that my children share the same love for the series. I was excited to plan her party, however I knew it would be hard to find party decorations since the series is not known in the U.S.

    The 35 Year Old Dolls That Started It All

    I don’t remember exactly what age I was when I got two of my favorite dolls: Monica and Jimmy Five (“Cebolinha” in Portuguese). I am pretty sure they are about 35 years old. I have my sister to thank for bringing me the two dolls, which are about 9 inches tall and pretty heavy, in her carry-on all the way from Brazil earlier this year. I have so many good memories of playing with them for years, then my brother and sister got to enjoy them and now they have been passed on to my kids.

    Those Who Can’t Buy, DIY.

    Monica And Friends has been incredibly popular in Brazil for over 50 years. It has been translated to 14 languages and distributed in 40 countries. Unfortunately for me, the U.S. is not one of the countries in which the franchise is distributed, thus making it virtually unknown here. That meant I wouldn’t be able to find any Monica-themed party decor to buy here in the U.S. So if I wanted to plan a party that turned out even half as cute as the amazing Monica And Friends party inspo pictures I found online I would have to get really creative with the DIY.

    I figured I was going to have to end up printing a lot of stuff myself at home. I must admit, I did use a lot of printer ink (mostly because of the comic book party favors I decided to print and assemble myself – which came out incredible, although very time consuming and expensive). I also printed stickers with the characters’ faces, personalized labels and posters.

    The Coolest Invitation Ever (according to the kids who received it)

    Since Monica And Friends is a comic book series I thought what could be more fitting than making the invitations look like a comic book? I downloaded images from their app and designed the invitation myself on the Pic Collage app, which I used for everything I printed.

    I made the front of the invitation look like the cover of a comic book and the inside look like a story. I added quote bubbles to the images and wrote the party information inside them.

    DIY Backdrop

    DIY photo backdrop made with home-printed character banner over square foil balloon wall.

    Pictured above is the backdrop I came up with, made with a square foil balloon wall and a character banner I printed myself with my home printer. I’m pretty happy with how it came out, although I wish I had ordered two sets of the balloon wall so that the backdrop would come out larger. It turned out to be the perfect height for the kids which is really what matters.

    DIY Party Favor Bags

    I found a lot of favor bag ideas online, and finally decided to go with a simple plain red bag with a personalized tag, tied with yellow ribbon. I purposely used a larger size red bag than most common favor bags, so kids would be able to pick out their own giant lolipops, candy bags/boxes, popcorn bags and comic book and fit everything into their red favor bags.

    Popcorn Bags

    I love making popcorn bags or boxes for kids birthday parties. They are always a hit with adults and kids. For these ones I used Dollar Tree popcorn bags, printed round labels with Monica’s face and filled the bags about half way in order to fold and close them. I like to try different popcorn flavors for different parties, and this time I used Boom Chicka Pop Sweet & Salty Kettle Corn.

    DIY Personalized Giant Lollipops

    These giant lollipops have become a staple of all our parties, and all the kids love them! I have been buying these since my daughter’s first birthday party and they are fairly cheap and easy to make. I bought the lollipops at Dollar Tree, printed personalized label stickers to cover the original labels, and put them in cellophane bags I got online. I made the block base with styrofoam and wrapped it in comic book pages I printed in black and white.

    DIY Coloring Mat

    I like to come up with a fun activity for the kids to do during the party. I saw an inspiration photo of what looked like a giant coloring mat and had the idea to make one. This is a fun activity kids can do, and I recommend it to be set outdoors (to avoid the mess inside the house). I printed Monica And Friends coloring pages, glued them onto a roll of white paper and put out washable watercolor pallets (reused from another party), water cups and brushes.

    Candy Boxes And Bags

    For past parties I have done an open Candy Bar for kids to help themselves to all kinds of candies. Since this time I wasn’t able to use any store-bought party decor, everything that was going on the tables including candy, desserts and snacks had to double as decoration. I found a lot of pictures online of really cute packaged candy with character stickers that I used as inspiration to make the candy boxes and bags. In order to make the candy part of the decoration, it had to match the theme colors: red, yellow, green, blue. In addition to printing character stickers for the boxes and bags, I chose candy in those specific colors.

    DIY Comic Books As Party Favors

    Most kids in the U.S. are not familiar with Monica And Friends comic books. Although the comic books are published in multiple languages, including English, they are only sold in Brazil.

    I thought a good way to introduce the series to our young guests would be to give each child a comic book in English as a party favor. In the past I’ve had multiple family members who visit from Brazil bring my kids Monica comic books in English (as well as in Portuguese). I so wish I had the idea of giving out the English comic books several months in advance so there would have been enough time for my dad or sister to bring the books directly from Brazil. It would have taken a lot less work and cost a fraction of the price.

    As with everything for this party, since I wasn’t able to buy the books I decided to make them myself. I looked up multiple options to have the books made by a printing service, and as it turns out it would have cost a lot to have them professionally printed. I then decided to have only the single-sided cover printed on glossy paper at Staples, and print the inside double-sided pages myself at home.

    As shown in the photo, the home-printed pages did not come out perfectly uniform, although I am fairly happy with the final result.

    I downloaded a full edition of the comic book in English and printed the pages in my home printer. The printing quality came out mostly good, with exception of a few pages that printed in a slightly different color when the ink cartridge needed to be changed. I was incredibly satisfied with the final result!

    The comic books came out absolutely beautiful and I am very proud of my hard work!

    That being said there are a few things I definitely wish I had done differently to save me time and money. Each comic book is made up of several stories. I downloaded a full comic book which made each of the 20 books that I printed over 35 pages long. That’s a lot of pages. Besides the enormous amount of work and time it took to print and put each book together, it also took a lot of ink to print all those pages in color. A lot.

    About half way through this project I regretted having made the book that long, but it was too late to make any changes because it would mean having to start over and therefore waste all the pages that had already been printed. What I wish I had done instead is chosen maybe 2 or 3 stories from the book and only printed those, as opposed to printing the entire 35+ pages. The printed book could have been half, or even a third the length of the original book and it still would have been just as nice and saved a lot of time, and money.

    DIY Character Posters

    One of the challenges of throwing a party with a theme that isn’t well known here is that most of the guests are not familiar with the characters of the series. Monica And Friends has dozens of characters, but for the party I chose to focus on the main four: Monica, Maggy, Jimmy Five and Smudge. In order to introduce the characters to our guests I decided to make posters of each character with a short summary of their main characteristics.

    I used construction paper from the dollar store, designed and printed the the posters shown above, then laminated them with clear contact paper.

    Cake Time Is The Best Time

    We’re lucky to be a part of a family of bakers, who for over two decades have made me, and now my kids, the most amazing cakes anyone could ask for! My uncle Roberto made this beautiful cake that my daughter absolutely loved, and we are so grateful.

    Easy Balloon Decor

    I made the mistake of trying to make a balloon arch in the past and it was impossibly hard, time-consuming and it did not come out quite how I envisioned, so I ordered the balloon arch from professionals this time. I have found, however, that there’s a huge variety of foil balloons online that are pretty affordable and can be easily arranged as balloon clusters and used as decor throughout the space. For this party I ordered gold and red star-shaped foil balloons, and a couple of large number “5” balloons.

    In the past I have used a helium tank bought at a party decor store in order to fill up the balloons I ordered online. I’ve had mixed results, as the helium balloons can sometimes leak a bit if filled the day before the party. I figured out that using an automatic air pump to fill the balloons (with air, not helium) can work out really well especially for foil balloons. Although they don’t float on their own, the foil balloons can still be arranged in clusters and hung with a string or even taped onto the wall.

    Things I did not DIY

    A few months ago I reached out to my favorite local party planning company, Build-A-Party, to ask if they had a Monica And Friends backdrop, and at the time they only had the backdrop that features one of the characters, Maggy, but not the entire group

    Thankfully, due to multiple requests by clients, they were able to acquire the backdrop in time for my daughter’s party. I am so glad I was able to rent the backdrop as well as the 3 cylinder tables with table covers (watermelon is the character Maggy’s favorite food, so it appears as part of the theme) and the multiple colorful cake and pastry stands. They also made the beautiful balloon arch around the circular backdrop. I absolutely love how everything turned out! Being able to rent/buy these items made such a huge difference given how many other things I had to make myself.

    I must say I am in fact a pro at making brigadeiro. I used to make brigadeiro professionally for several years, and that’s why I can confidently say it is a lot of work and I am so glad I did not have to make the brigadeiros for this party.

    I love to have a wide variety of snacks for the kids to choose from at parties. I usually get cookies, mini cupcakes, muffins or whatever they have at the grocery store bakery. Sometimes mini donuts if they’re available and different kinds of chips, fruit pouches and crackers and make sure to set up everything within reach so the kids can feel comfortable grabbing whatever they want to eat.

    We also served a variety of other appetizers, snacks and pizza. Some could argue my husband got a little overly excited with he pizza order, and ended up ordering way too many pizzas to the point of some guests taking full pizzas as leftovers. God forbid anyone ever say they went hungry at one of my parties!

    Drinks

    I usually like to have a variety of cold drinks available, especially at summer parties when the weather can get pretty hot. We were lucky with this party, because although the weather forecast was initially showing rain, it ended up being sunny and hot for the whole party (and we only got a tornado warning after the party was over- story for another post). Anyway, I usually do 3 coolers with ice and a drink table. This time I decided to separate the drinks in two areas, with two drink tables for adults and for kids. We set up 2 of the coolers in the adult area; one with alcoholic beverages and the other with soda and water. In the picture below is showing the adult drink table, set up with the ice machine, a tub with ice and bottles of sparkling wine and different juice flavors, and berry and citrus garnish.
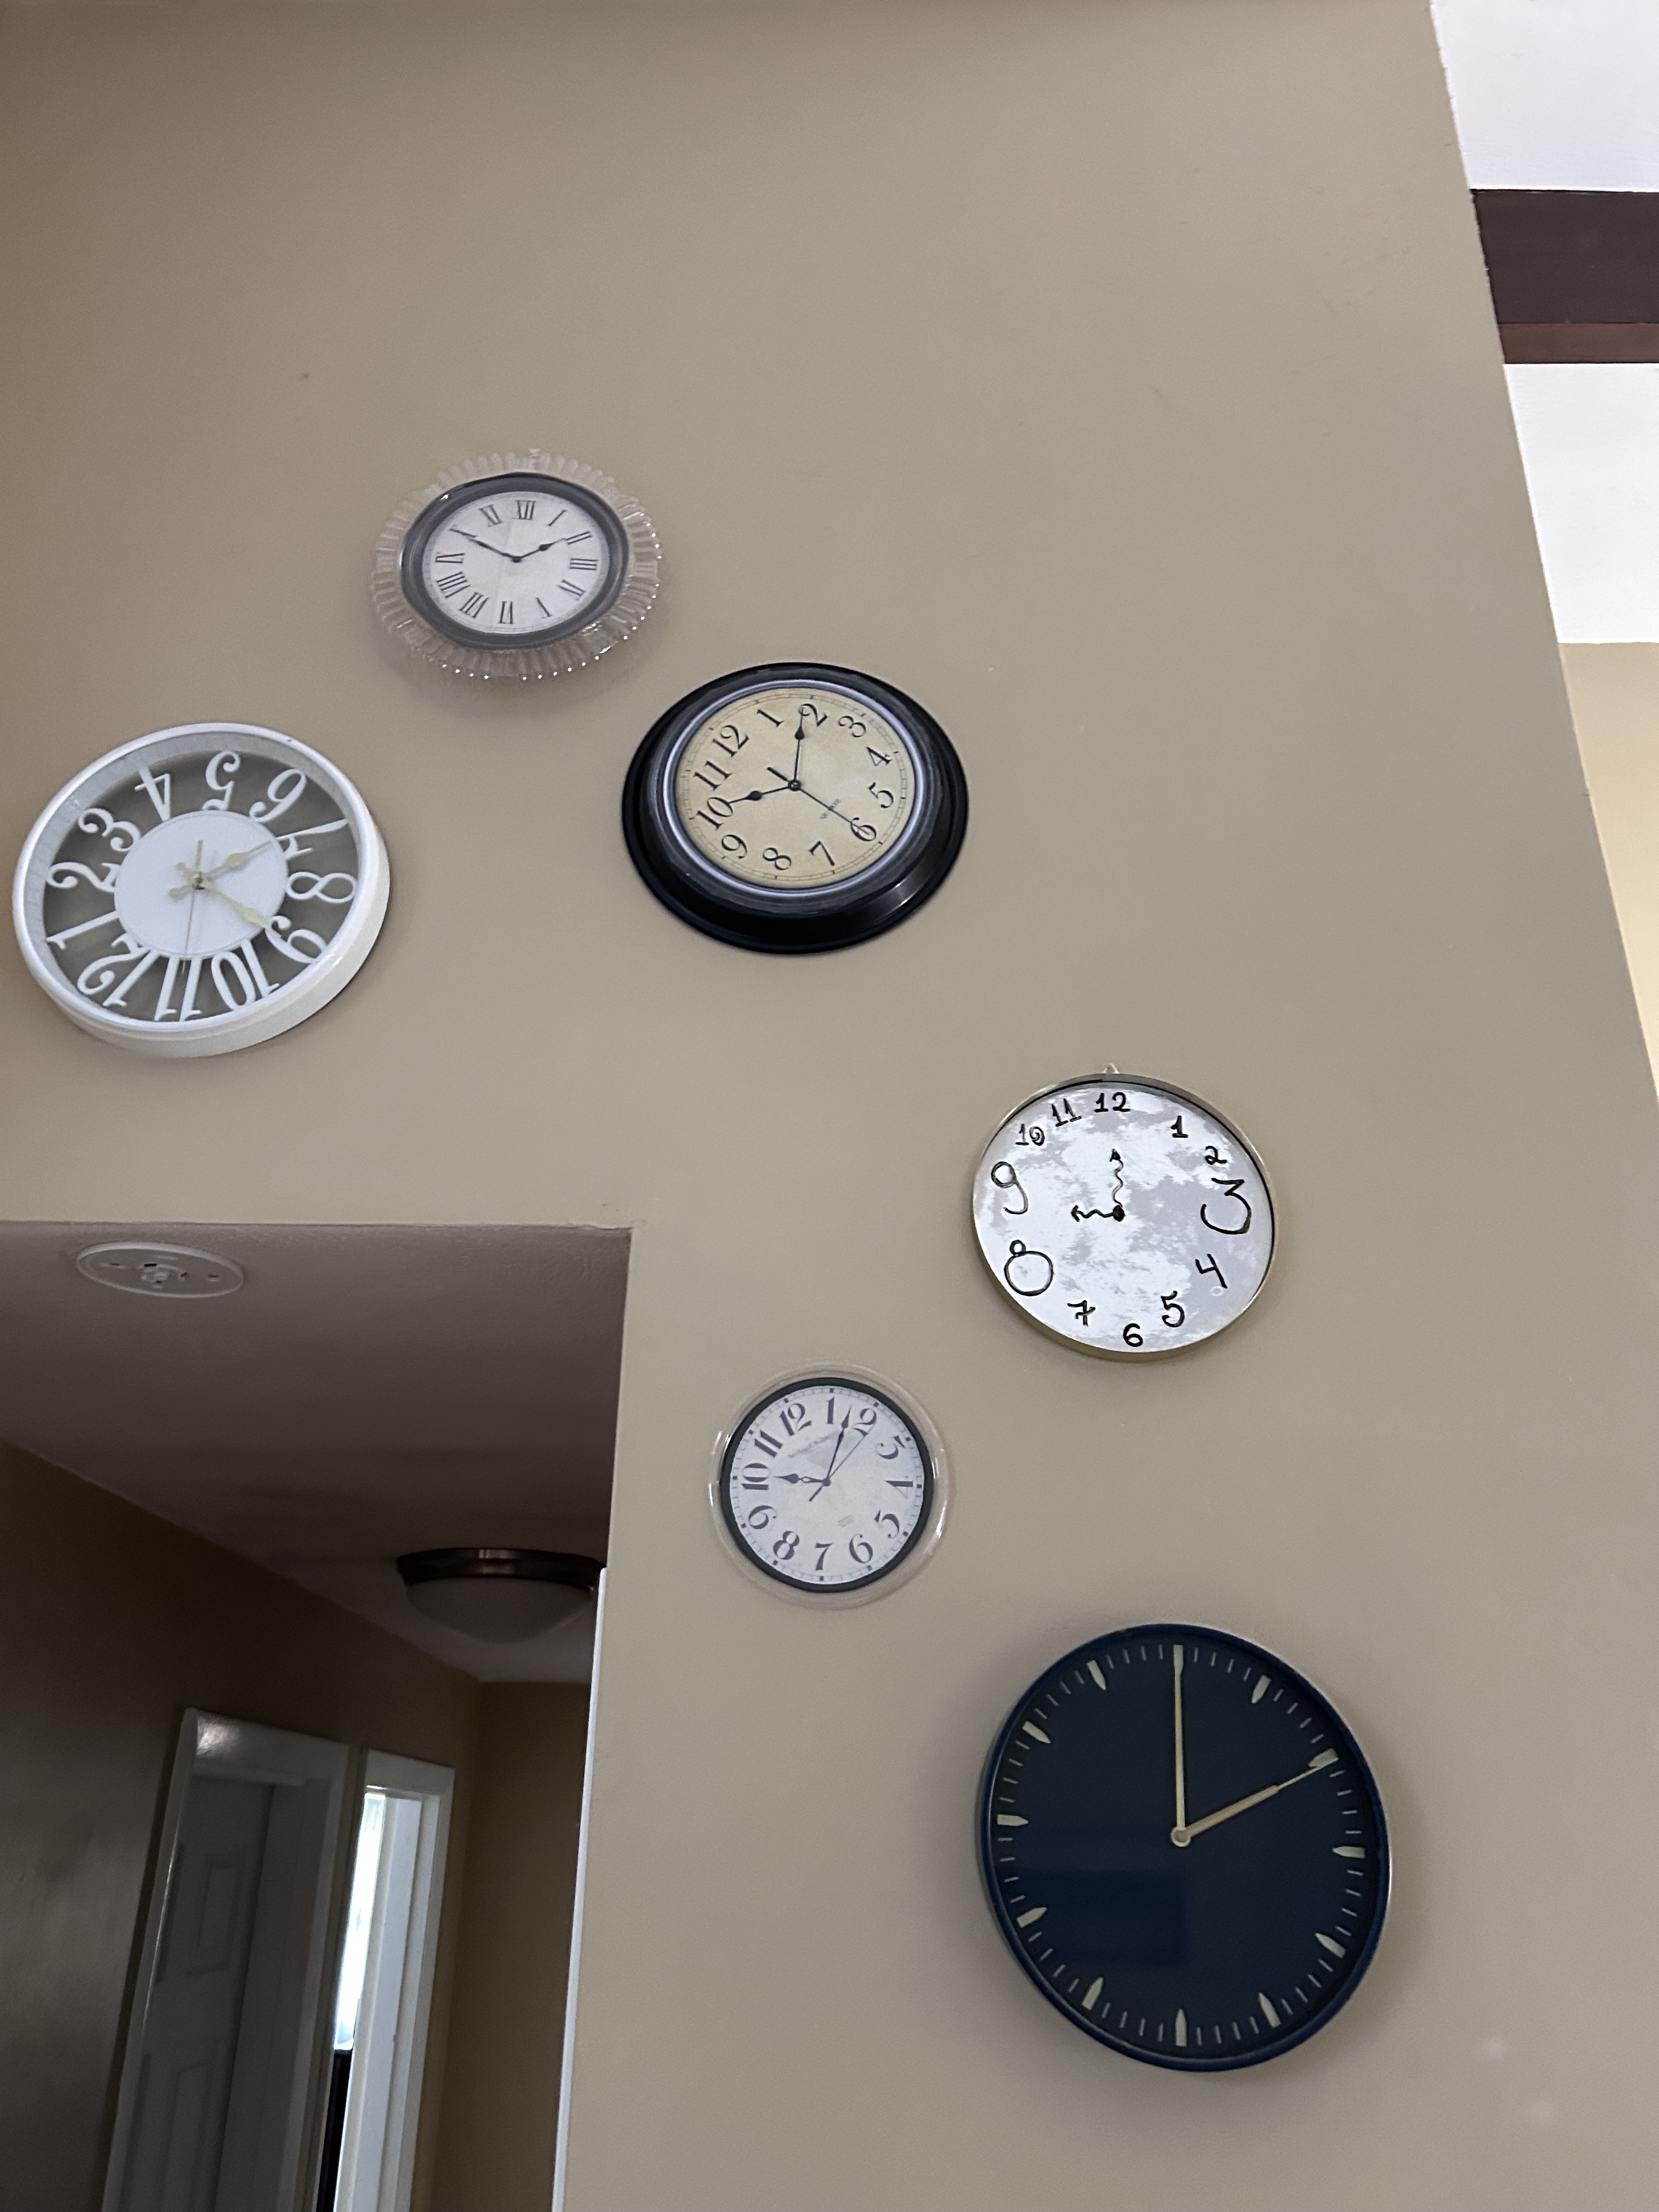
    Behind the fence shown in the picture above is the kids area, where the swing set is and where the kids spent most of the time playing. You might also notice a round table in the picture (of which I apparently failed to take a decent picture) where I set up cups, straws and two lemonade dispensers accessible for the kids. Also on the table is a smaller tub filled with ice, mini water bottles and juice pouches. In the kids area we also set up the smaller cooler filled with water and juice pouches.
    It’s all in the details

    Among the many things I was excited about for this party, is the outfits that my daughters were going to wear. In the comic books the main character, Monica, wears a red dress, so we got the birthday girl, one too. Monica’s best friend, Maggy, wears a yellow dress, which is what we got for her little sister.

    They were both so excited to wear their new dresses. but what I was the most excited about is the accessories I got for them. Since Monica often carries her favorite blue stuffed bunny (Samson), I was able to find the most adorable blue bunny earrings and bracelets with a blue bunny charm.

    Maggy loves to eat, and her favorite food is watermelon (thus the watermelon details throughout the decor) so I found watermelon earrings and bracelets with a watermelon charm to go with the yellow dress.

    I came across a watermelon necklace set that separately looks like watermelon slices, then forms a heart when put together, that both girls could wear. It looked super cute and perfectly on theme.

    The Best Party Of Planning Any Party

    I love hosting and seeing all my guests having a good time and enjoying the party I worked so hard on. Absolutely nothing is better than seeing the joy on my daughter’s face looking at all the balloons, colors and her favorite characters all around her knowing it was all for her birthday. It’s so worth every minute of hard work and staying up late so many nights making everything. Priceless.